
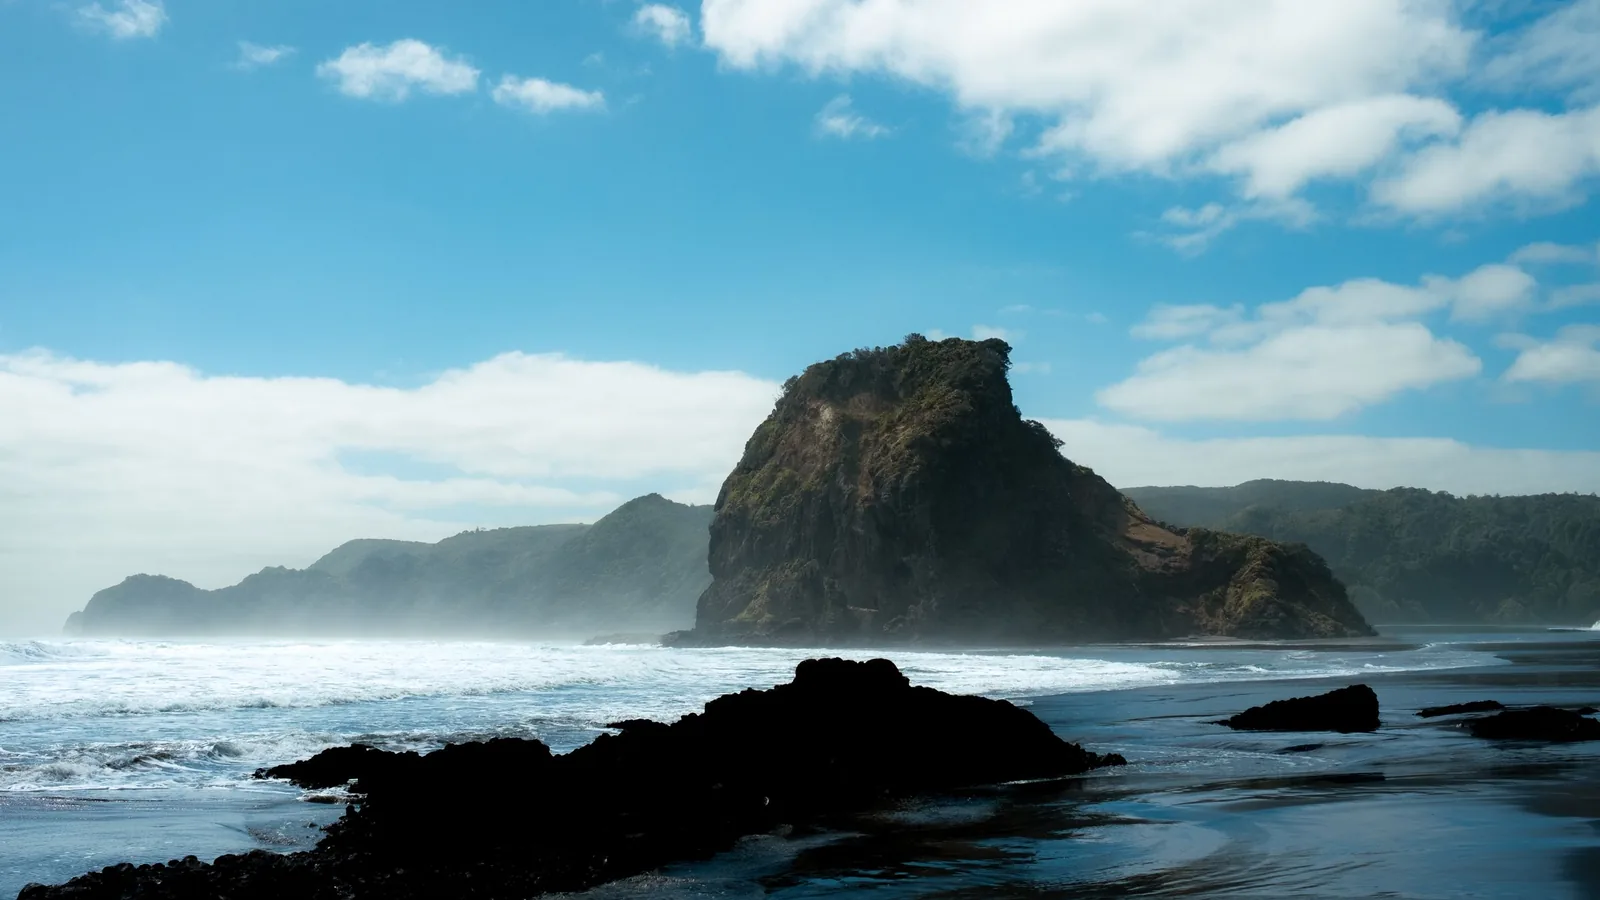
New Zealand
Raglan’s long left points, Piha’s black sand, Stent Road in Taranaki and Mangamaunu on the South Island: waves on both islands, with colder water toward the south.
118 tees · Photo: Tom Macret
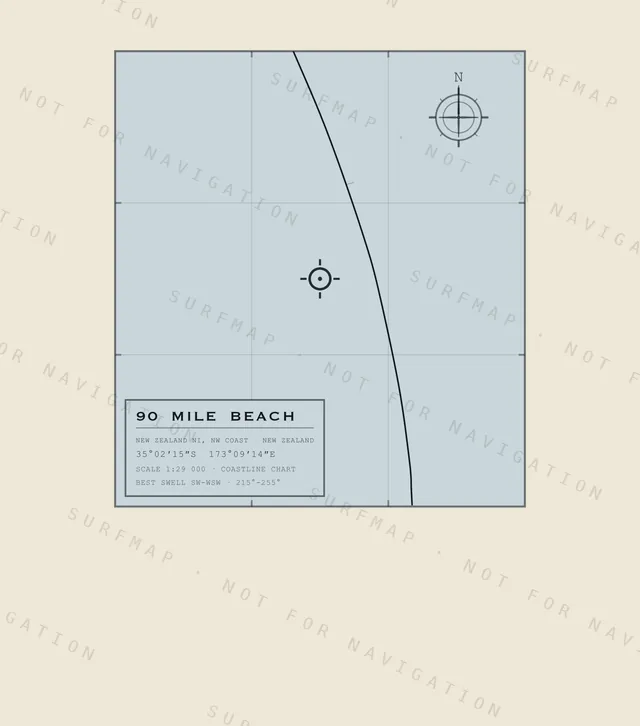
90 Mile Beach
New Zealand NI · NW Coast · New Zealand
$39.00
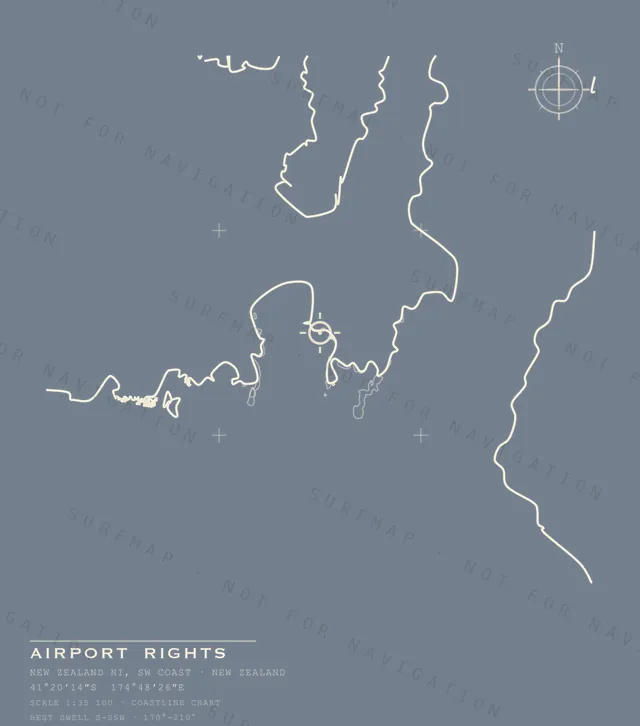
Airport Rights
New Zealand NI · SW Coast · New Zealand
$39.00
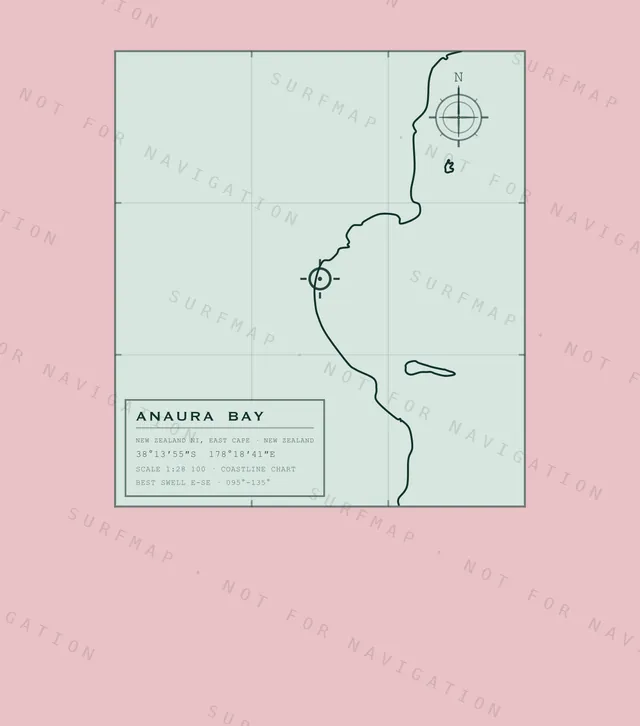
Anaura Bay
New Zealand NI · East Cape · New Zealand
$39.00
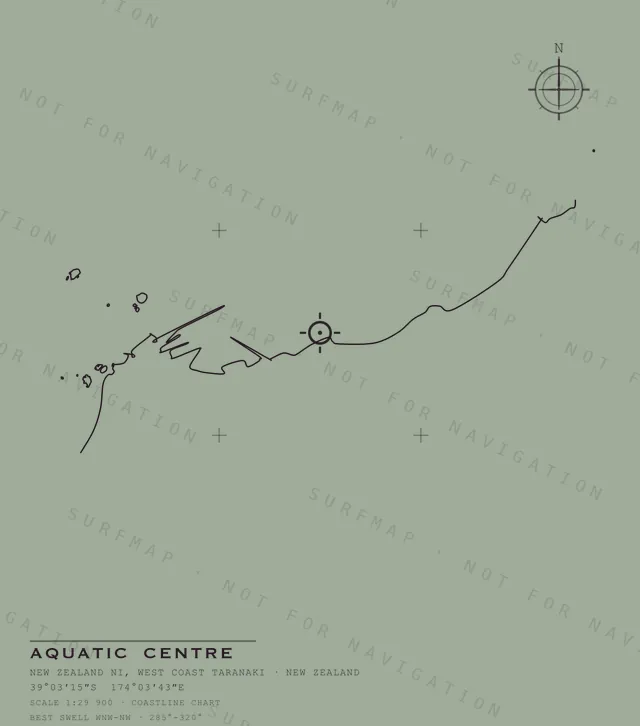
Aquatic Centre
New Zealand NI · West Coast Taranaki · New Zealand
$39.00
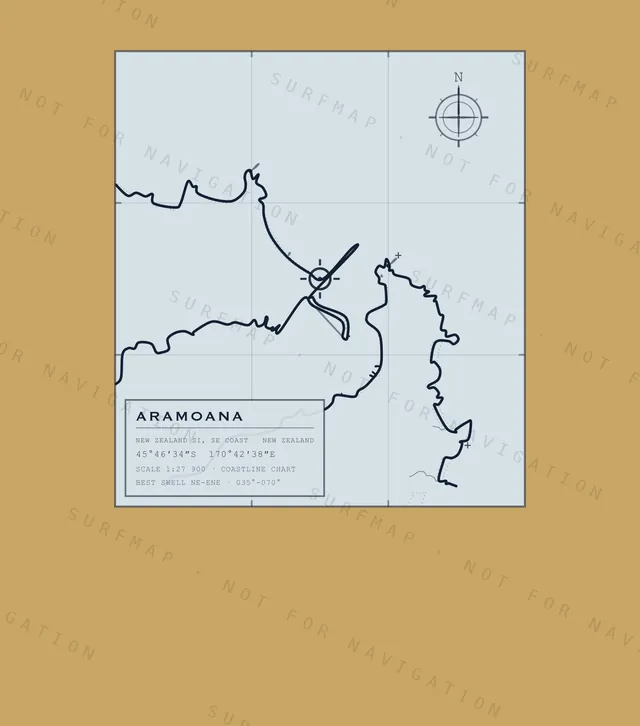
Aramoana
New Zealand SI · SE Coast · New Zealand
$39.00
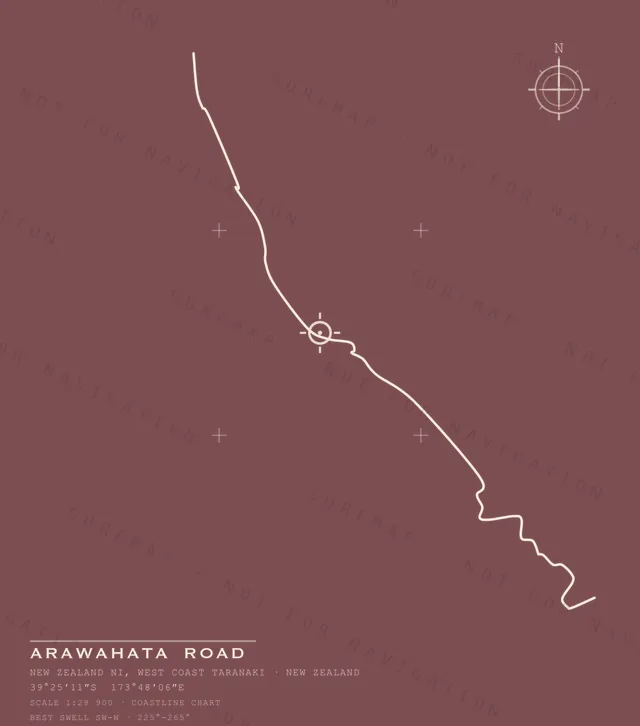
Arawahata Road
New Zealand NI · West Coast Taranaki · New Zealand
$39.00
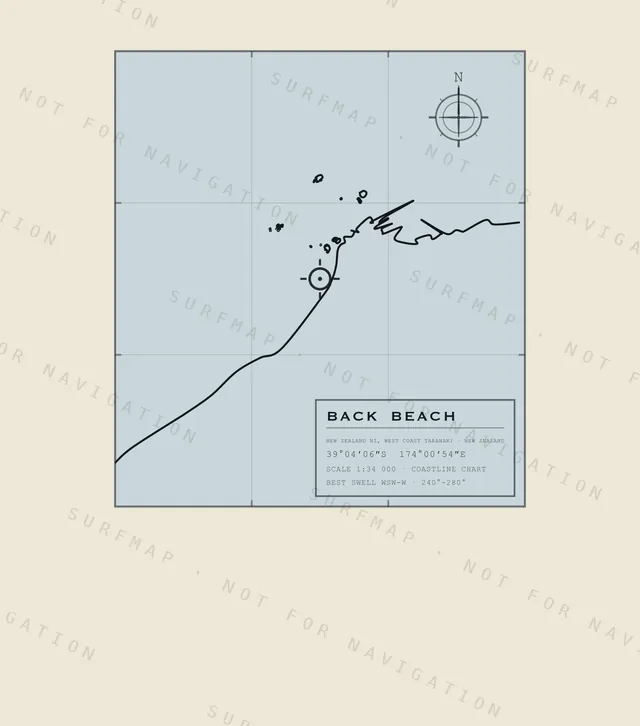
Back Beach
New Zealand NI · West Coast Taranaki · New Zealand
$39.00
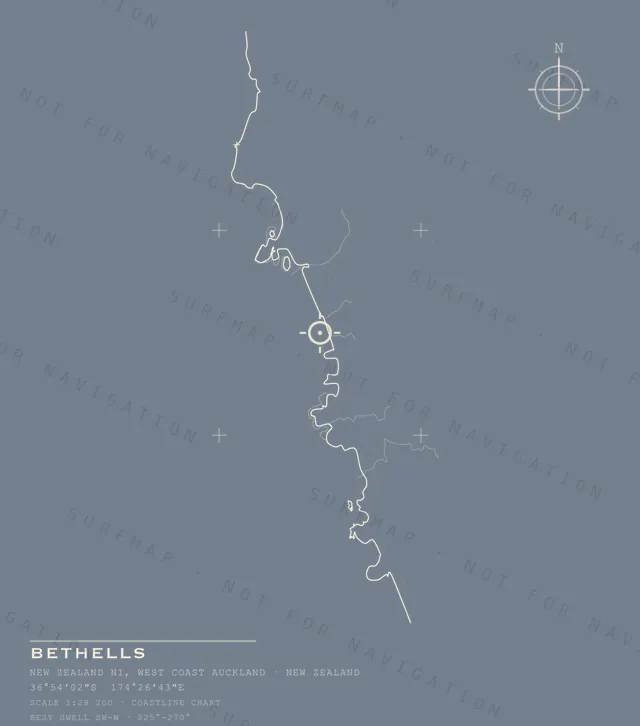
Bethells
New Zealand NI · West Coast Auckland · New Zealand
$39.00
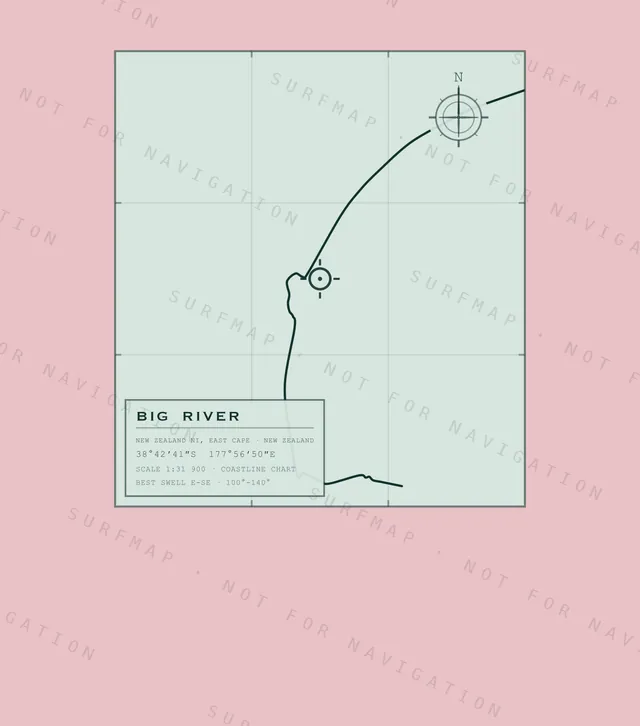
Big River
New Zealand NI · East Cape · New Zealand
$39.00
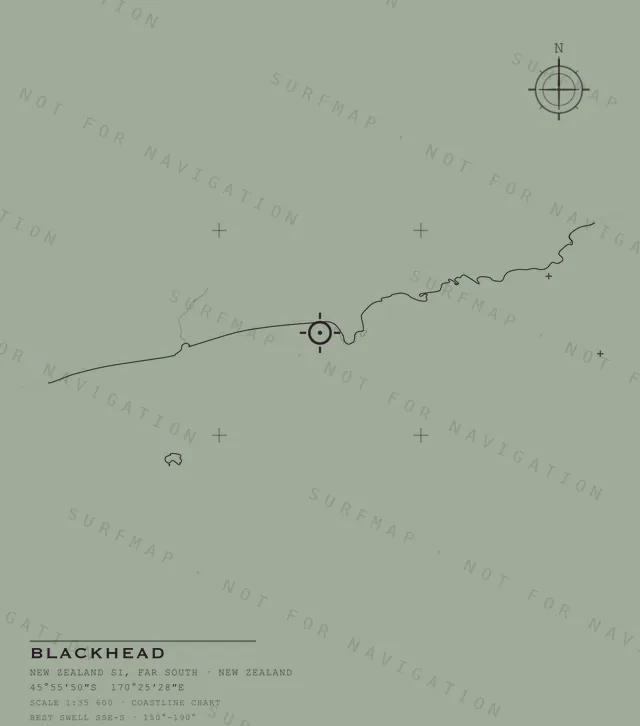
Blackhead
New Zealand SI · Far South · New Zealand
$39.00
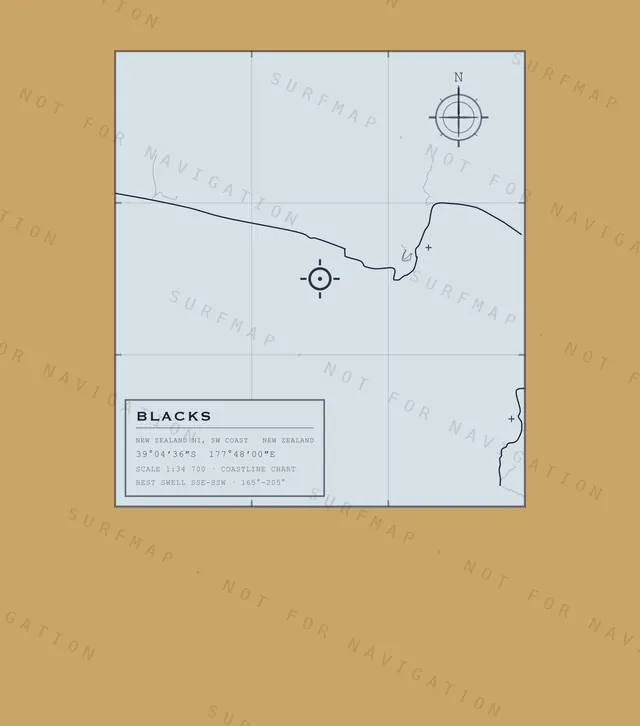
Blacks
New Zealand NI · SW Coast · New Zealand
$39.00
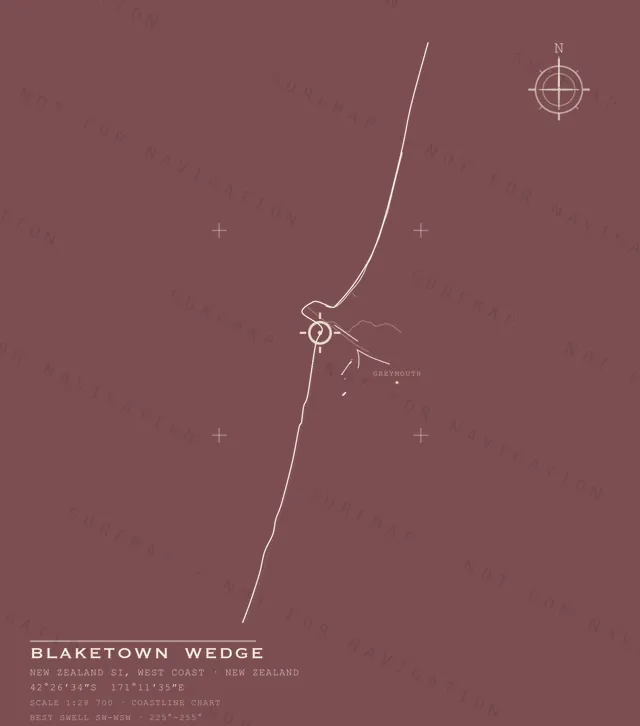
Blaketown Wedge
New Zealand SI · West Coast · New Zealand
$39.00
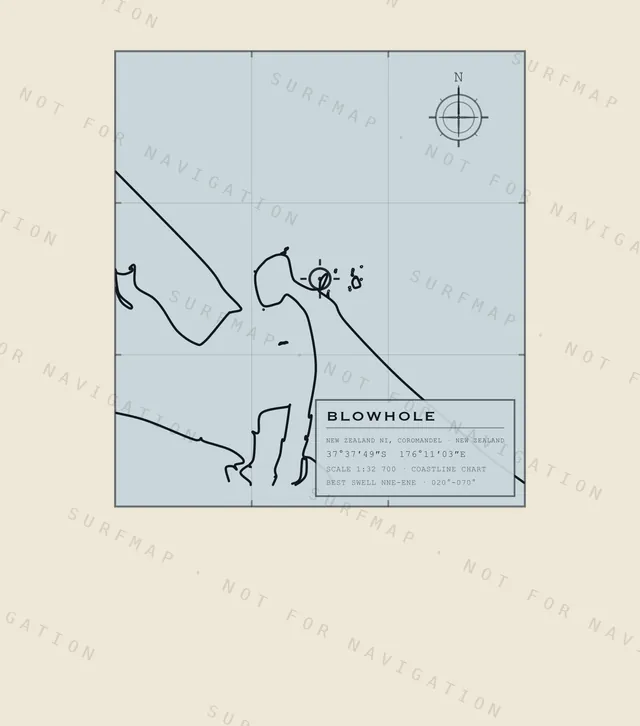
Blowhole
New Zealand NI · Coromandel · New Zealand
$39.00
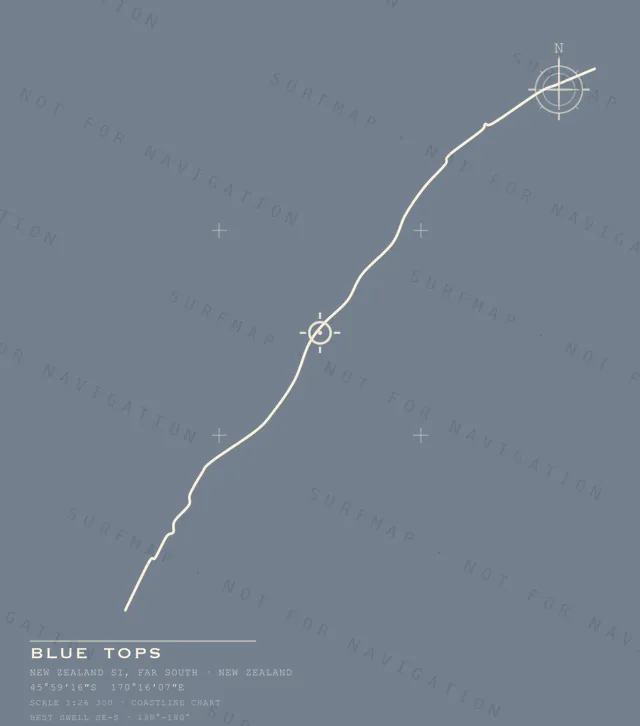
Blue Tops
New Zealand SI · Far South · New Zealand
$39.00
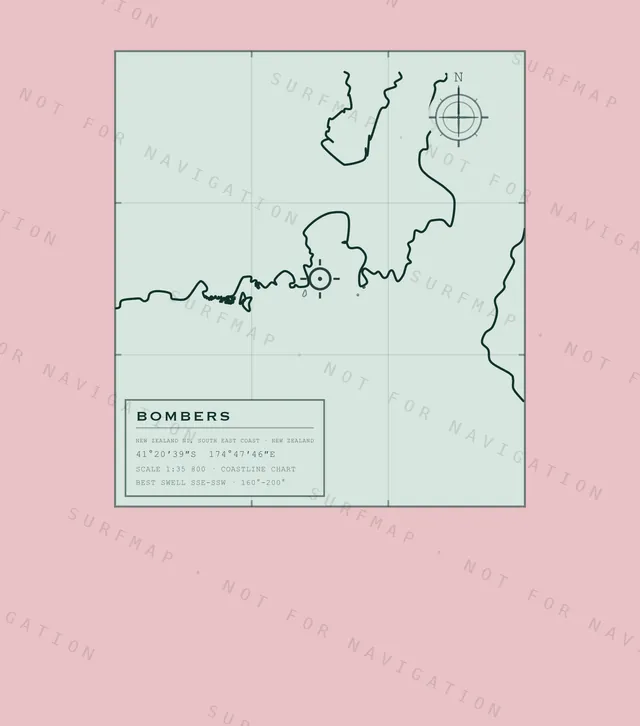
Bombers
New Zealand NI · South East Coast · New Zealand
$39.00
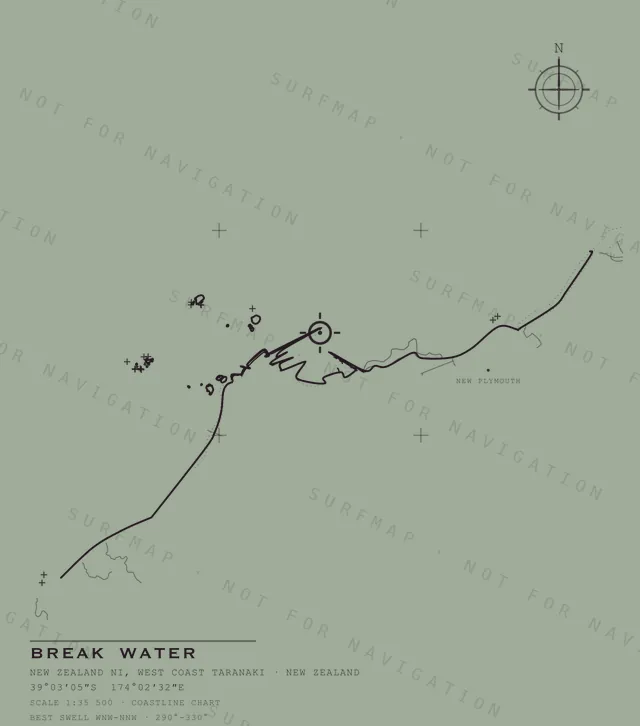
Break Water
New Zealand NI · West Coast Taranaki · New Zealand
$39.00
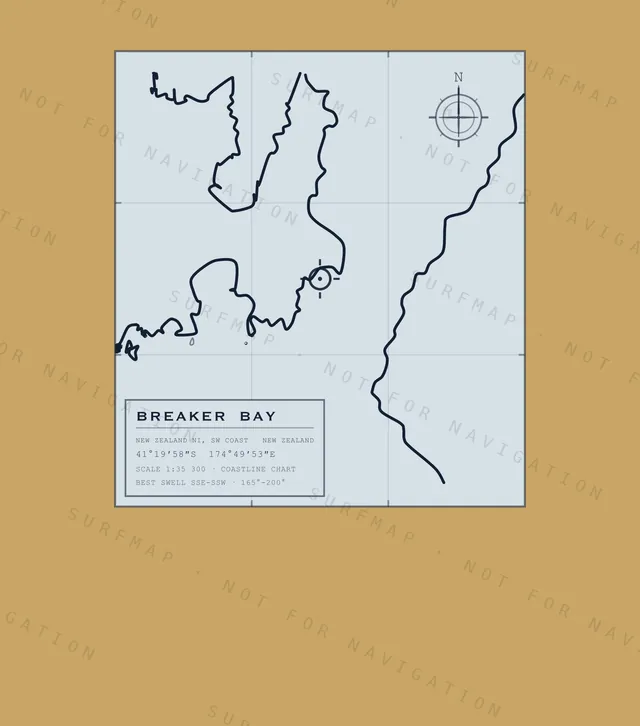
Breaker Bay
New Zealand NI · SW Coast · New Zealand
$39.00
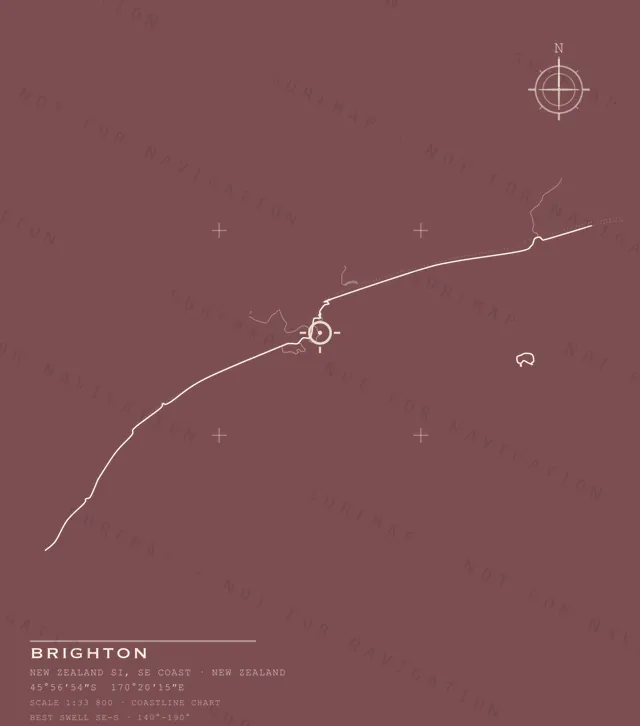
Brighton
New Zealand SI · SE Coast · New Zealand
$39.00
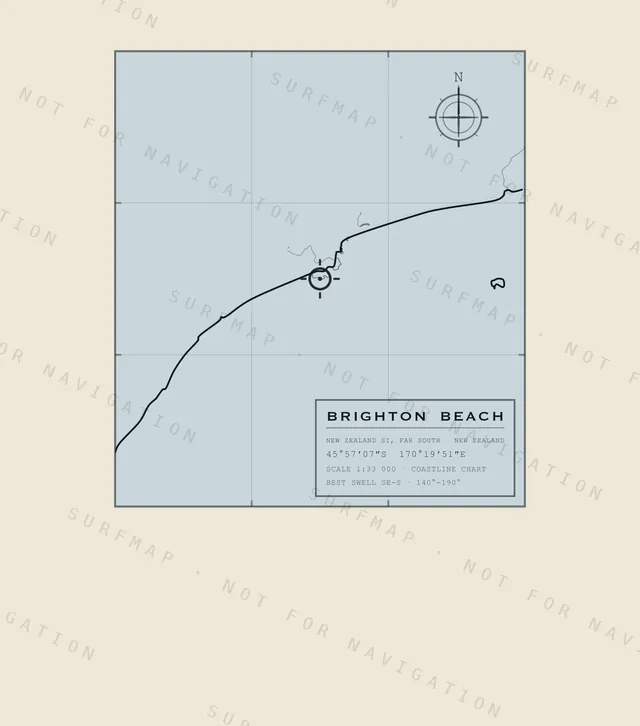
Brighton Beach
New Zealand SI · Far South · New Zealand
$39.00
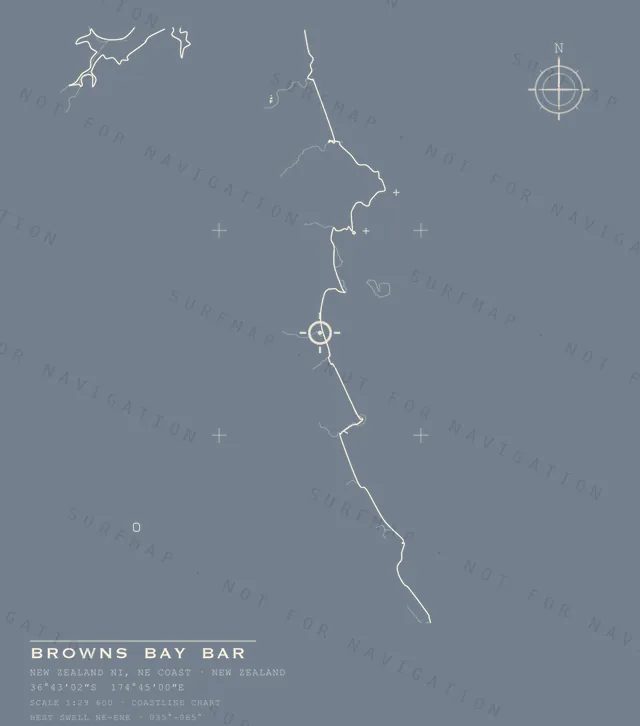
Browns Bay Bar
New Zealand NI · NE Coast · New Zealand
$39.00
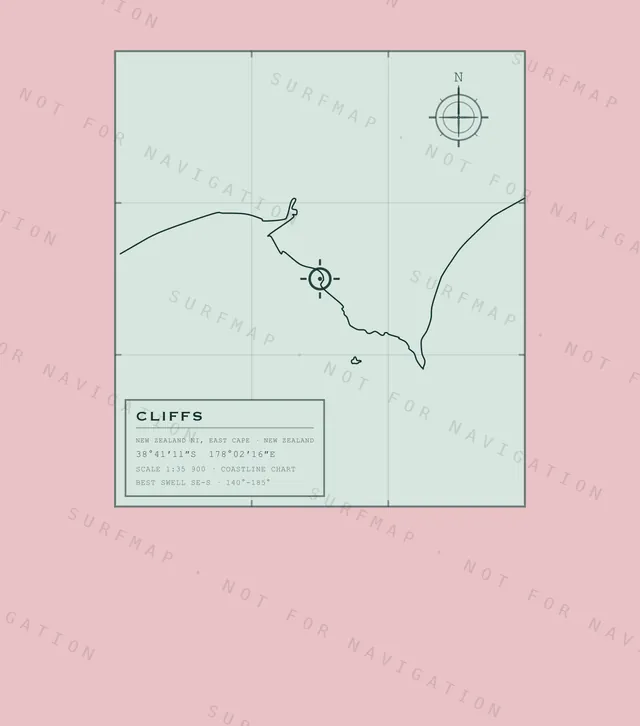
Cliffs
New Zealand NI · East Cape · New Zealand
$39.00
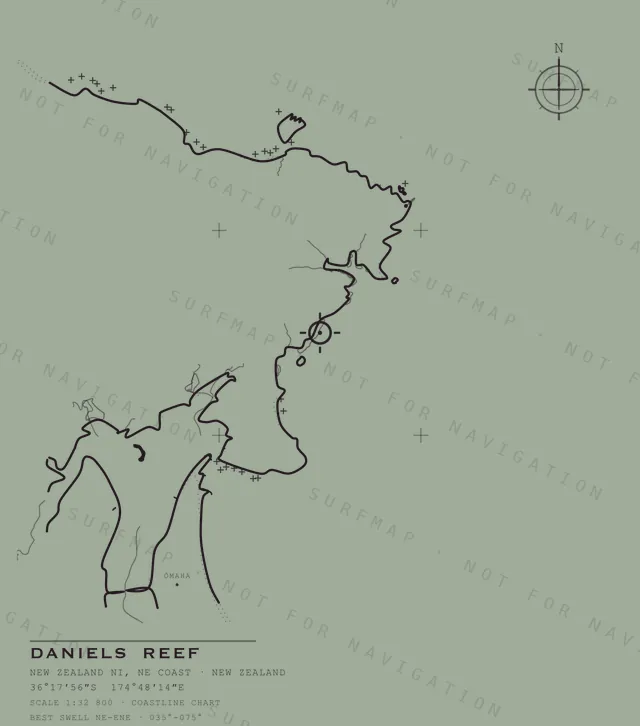
Daniels Reef
New Zealand NI · NE Coast · New Zealand
$39.00
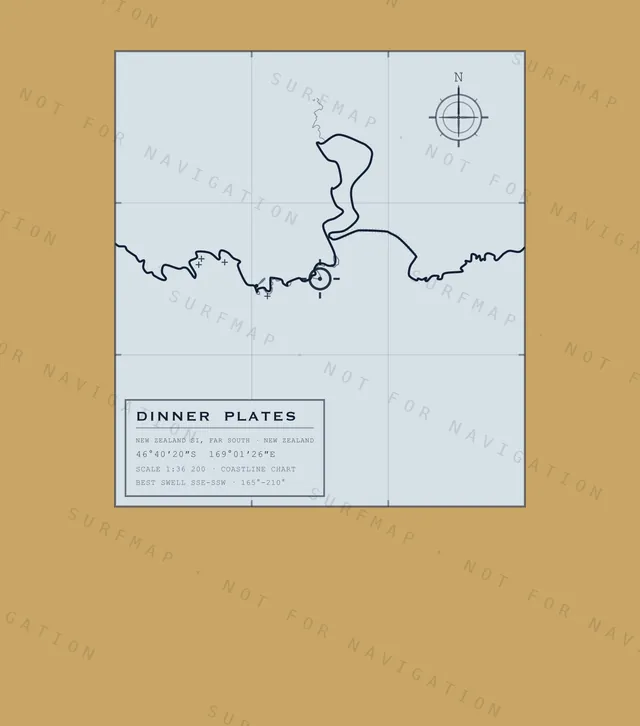
Dinner Plates
New Zealand SI · Far South · New Zealand
$39.00
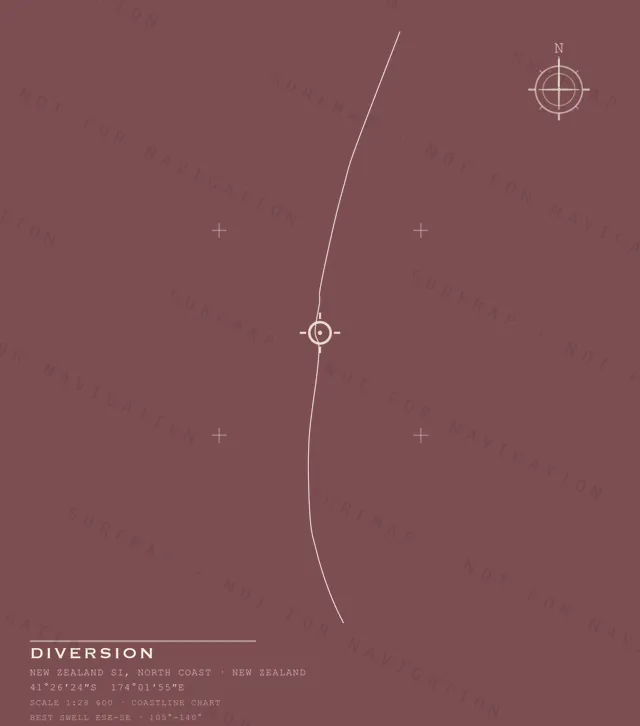
Diversion
New Zealand SI · North Coast · New Zealand
$39.00
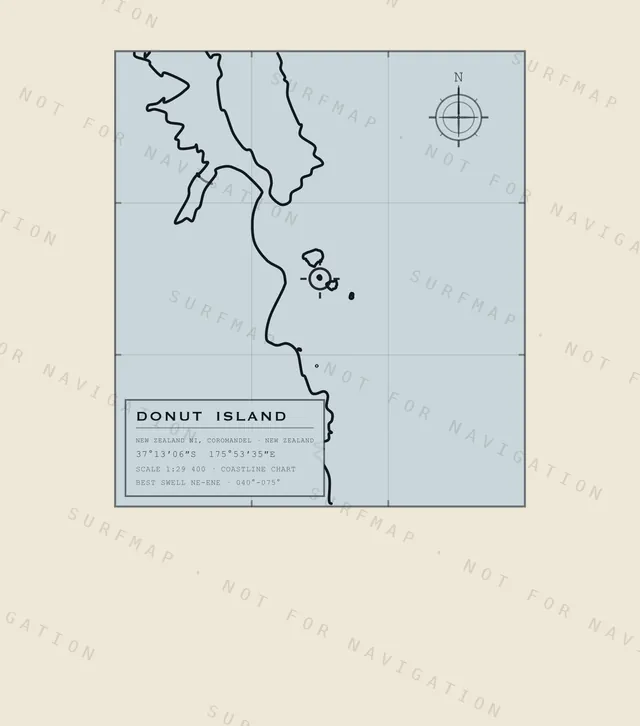
Donut Island
New Zealand NI · Coromandel · New Zealand
$39.00
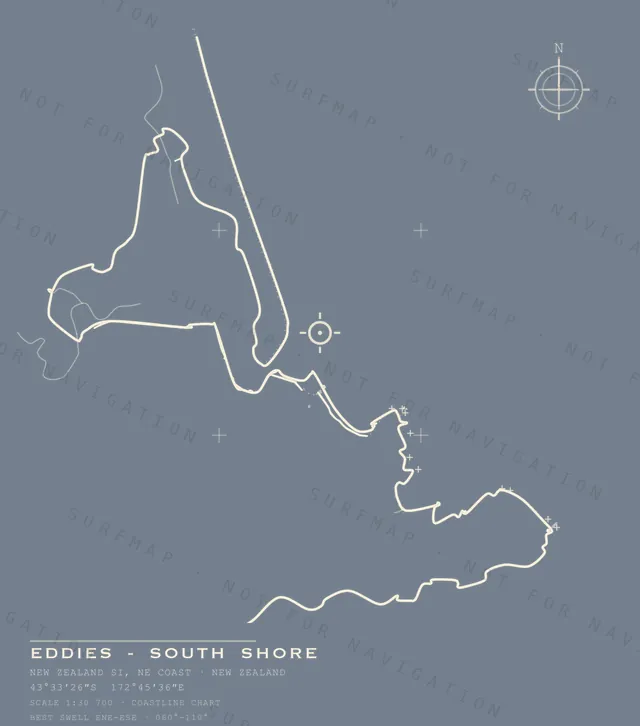
Eddies - South Shore
New Zealand SI · NE Coast · New Zealand
$39.00
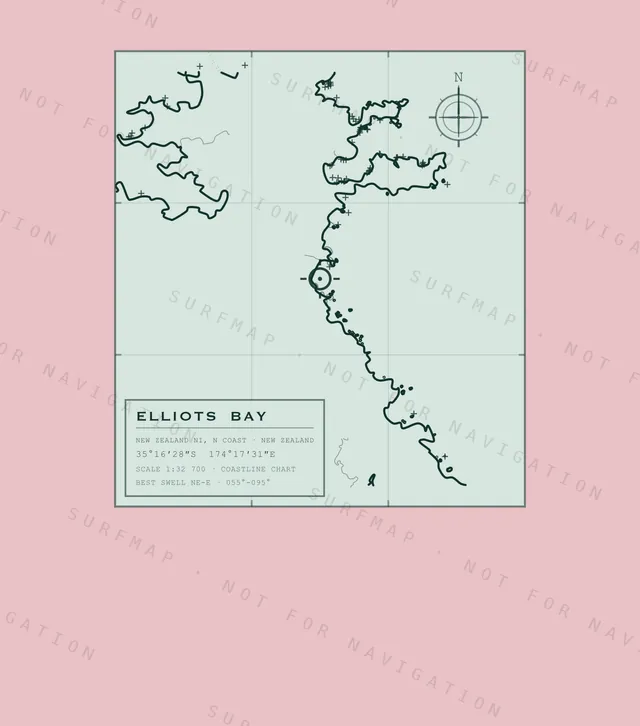
Elliots Bay
New Zealand NI · N Coast · New Zealand
$39.00
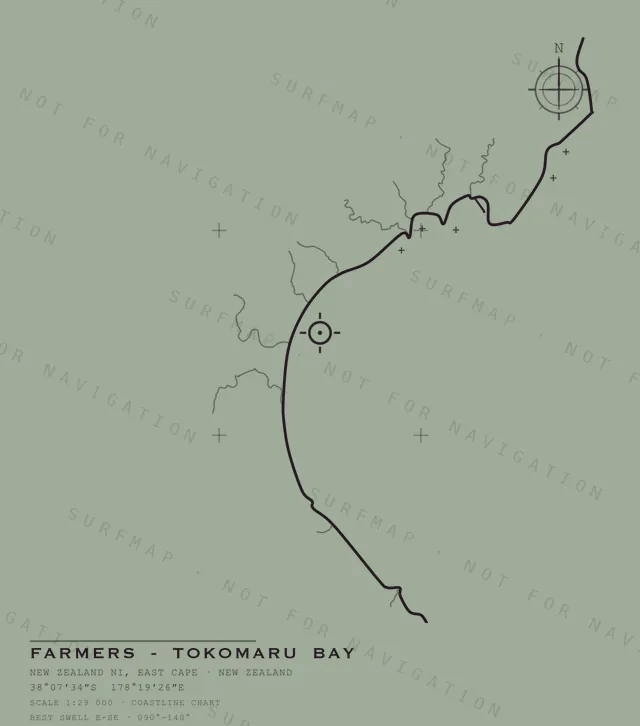
Farmers - Tokomaru Bay
New Zealand NI · East Cape · New Zealand
$39.00
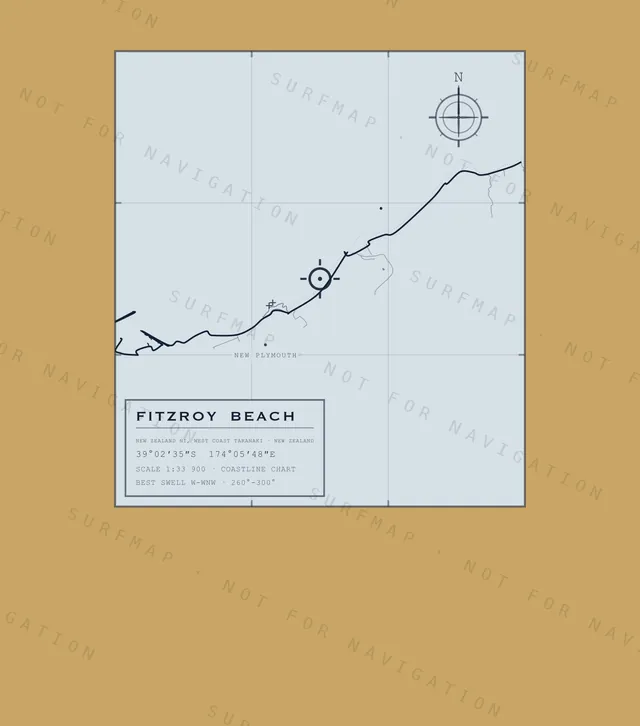
Fitzroy Beach
New Zealand NI · West Coast Taranaki · New Zealand
$39.00
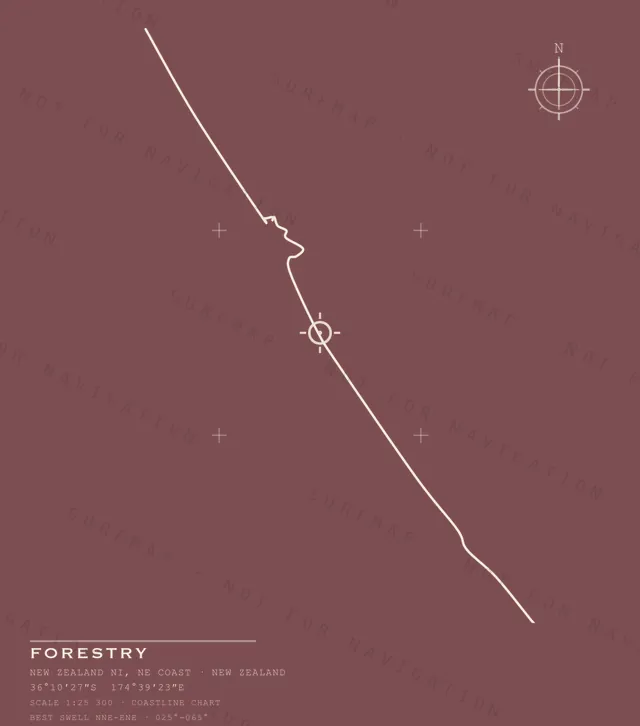
Forestry
New Zealand NI · NE Coast · New Zealand
$39.00
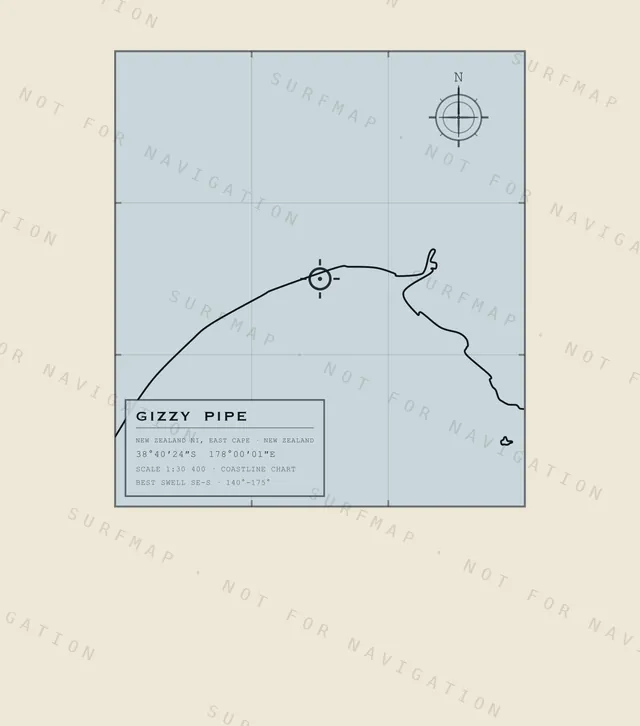
Gizzy Pipe
New Zealand NI · East Cape · New Zealand
$39.00
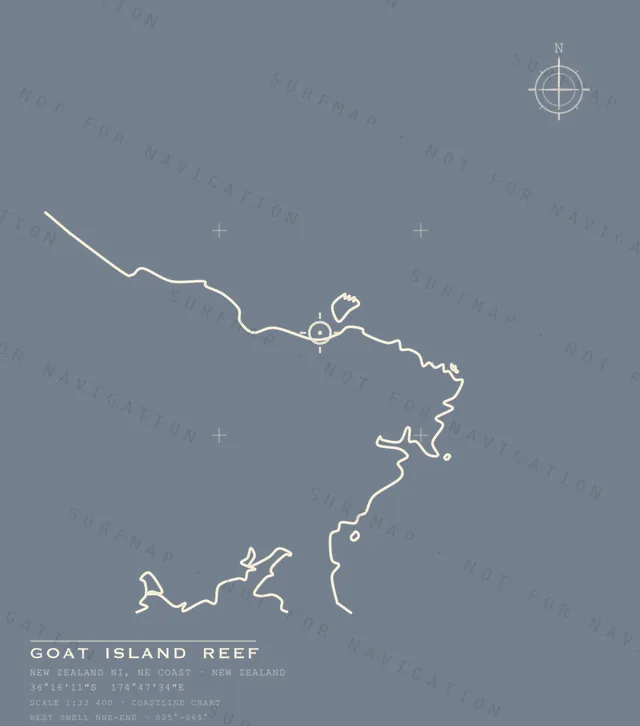
Goat Island Reef
New Zealand NI · NE Coast · New Zealand
$39.00
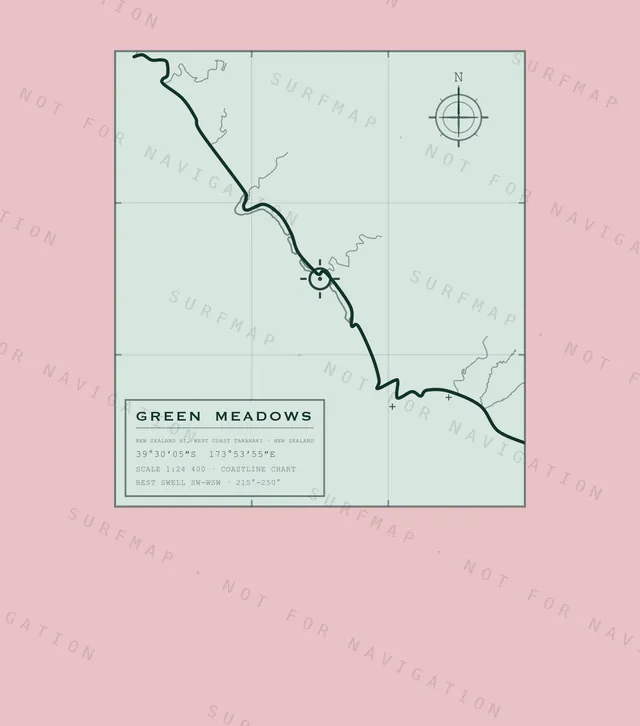
Green Meadows
New Zealand NI · West Coast Taranaki · New Zealand
$39.00
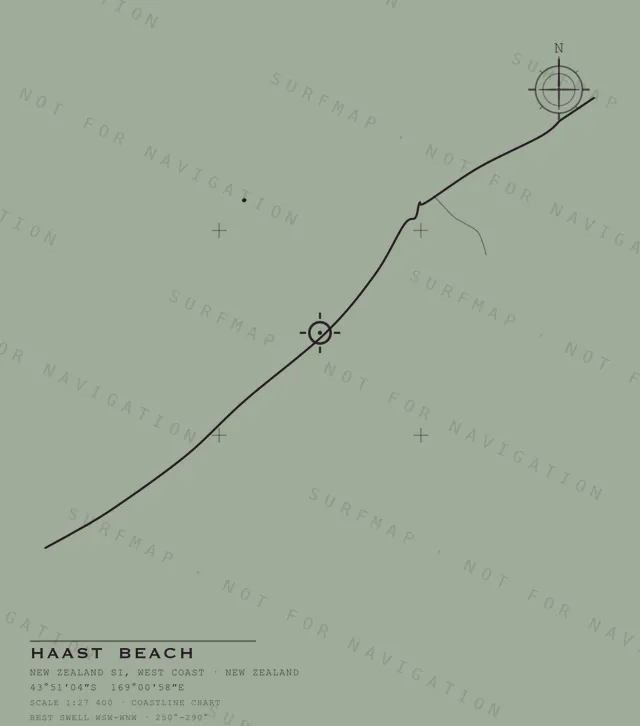
Haast Beach
New Zealand SI · West Coast · New Zealand
$39.00
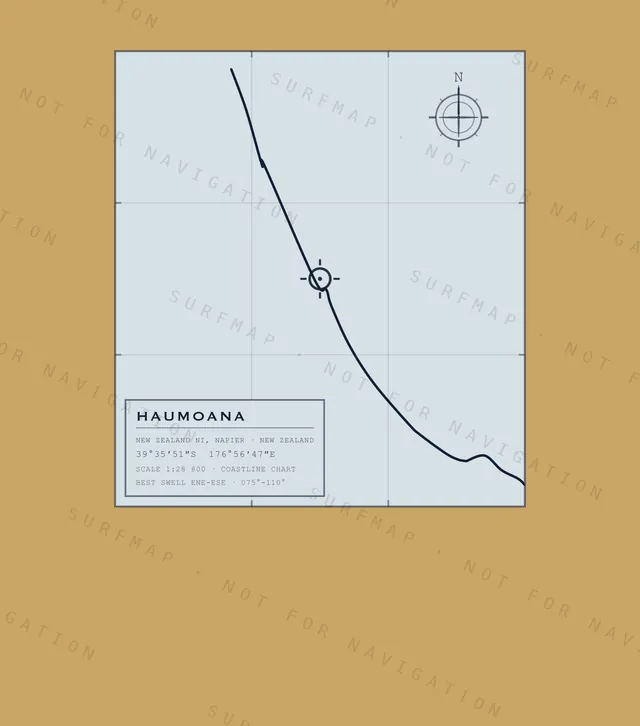
Haumoana
New Zealand NI · Napier · New Zealand
$39.00
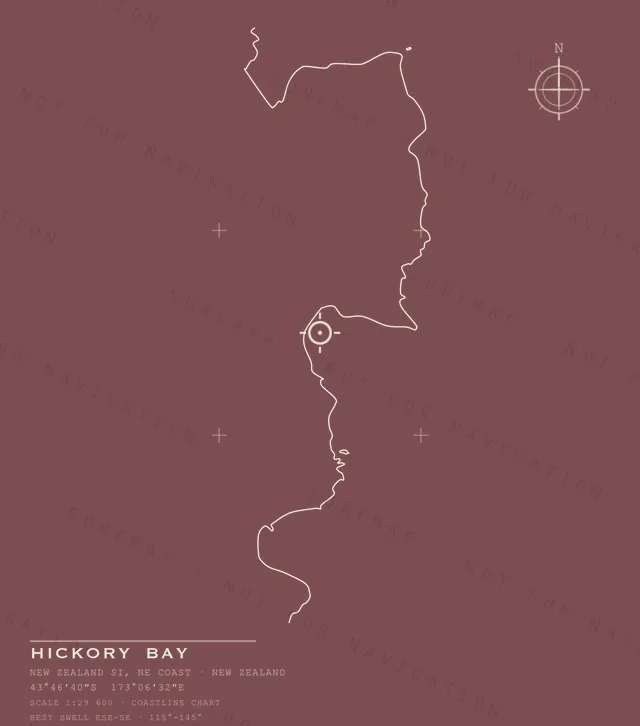
Hickory Bay
New Zealand SI · NE Coast · New Zealand
$39.00
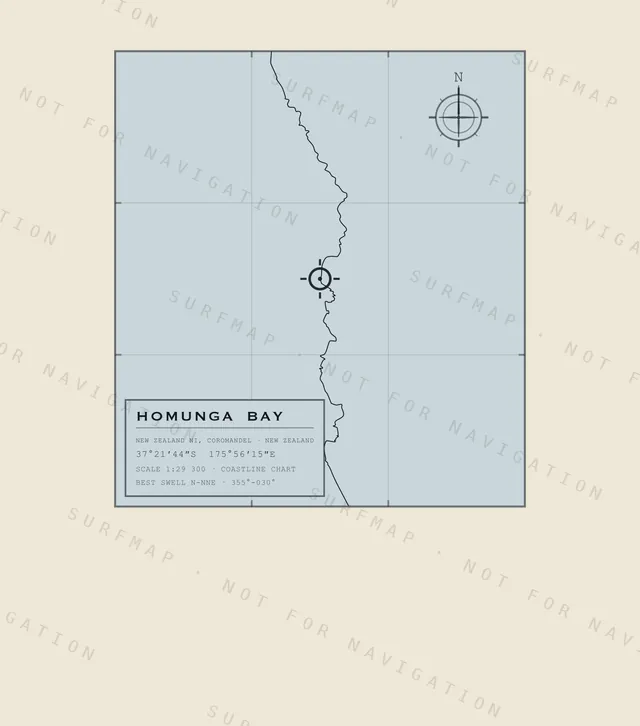
Homunga Bay
New Zealand NI · Coromandel · New Zealand
$39.00
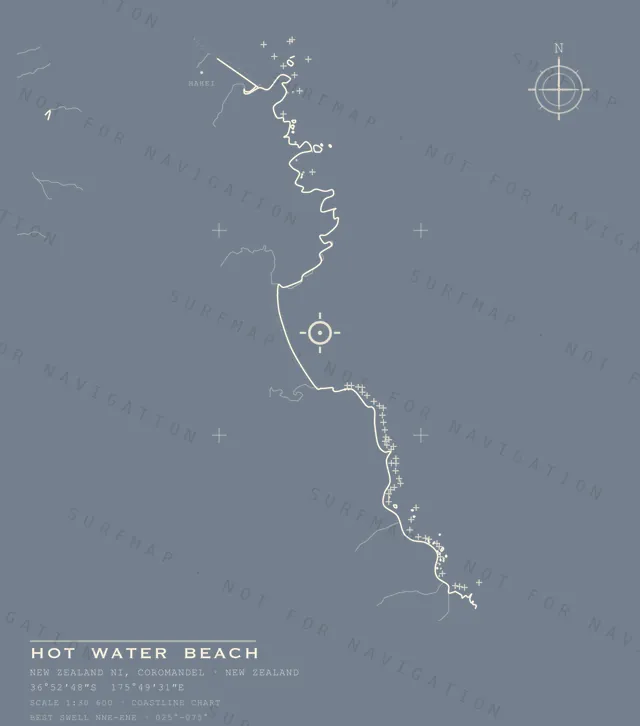
Hot Water Beach
New Zealand NI · Coromandel · New Zealand
$39.00
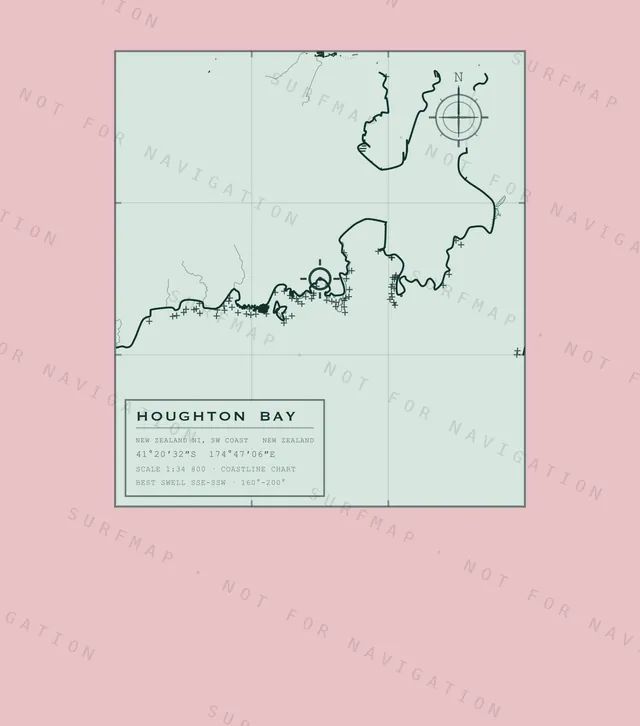
Houghton Bay
New Zealand NI · SW Coast · New Zealand
$39.00
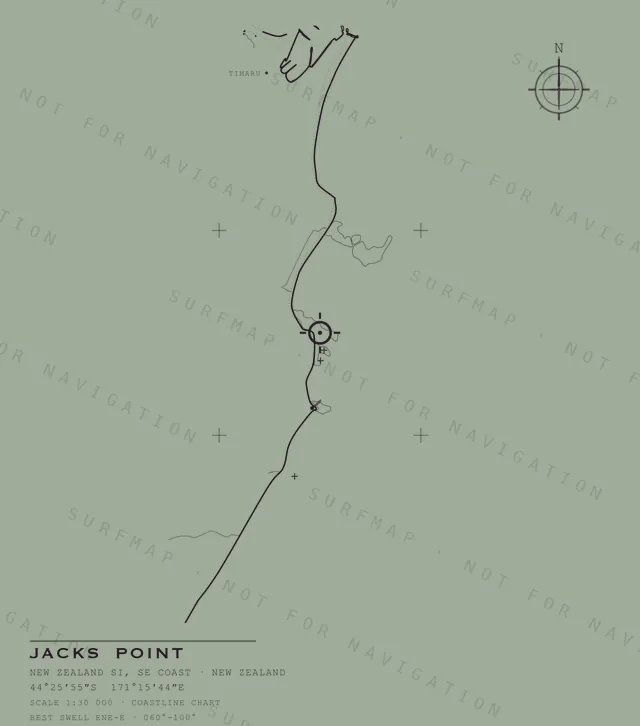
Jacks Point
New Zealand SI · SE Coast · New Zealand
$39.00
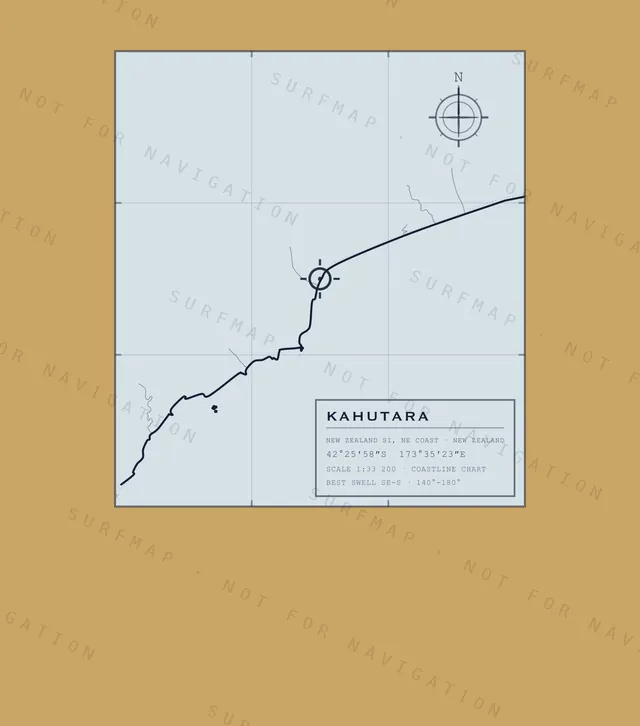
Kahutara
New Zealand SI · NE Coast · New Zealand
$39.00
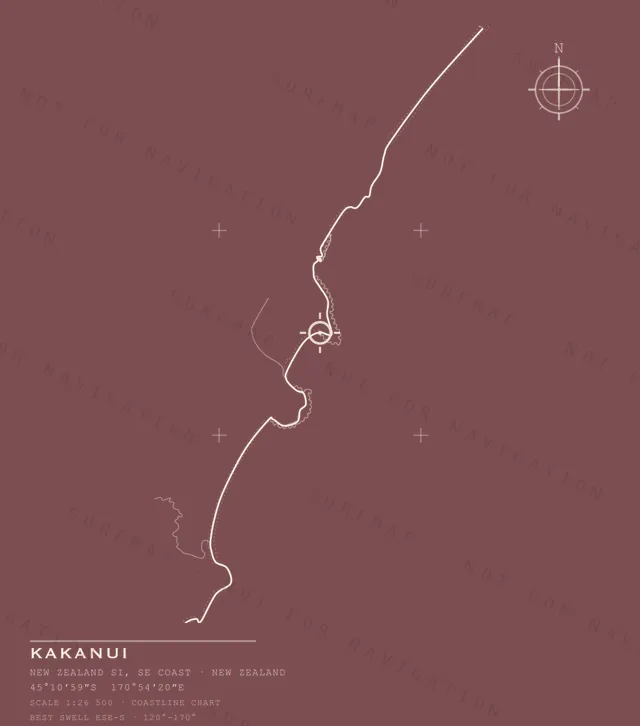
Kakanui
New Zealand SI · SE Coast · New Zealand
$39.00
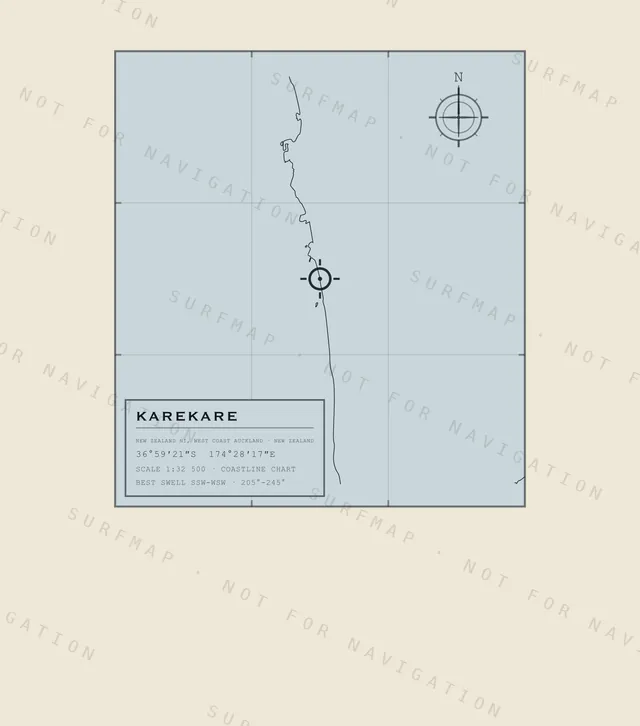
Karekare
New Zealand NI · West Coast Auckland · New Zealand
$39.00
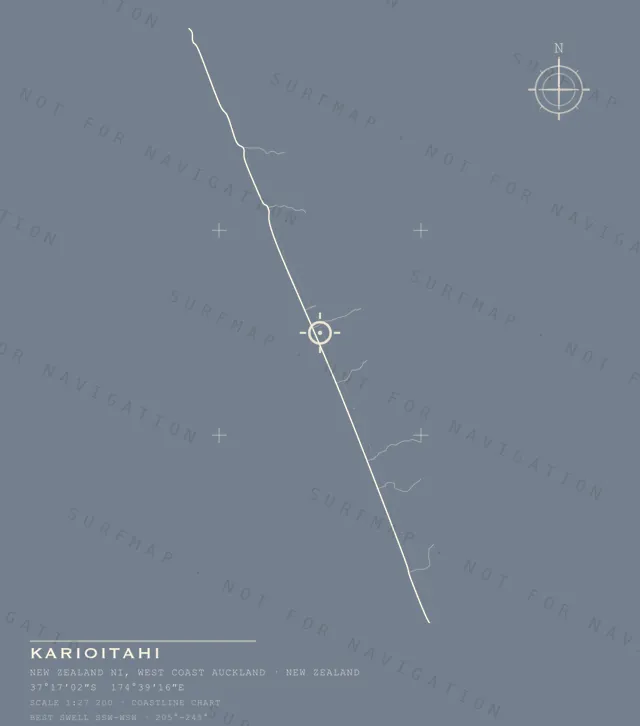
Karioitahi
New Zealand NI · West Coast Auckland · New Zealand
$39.00
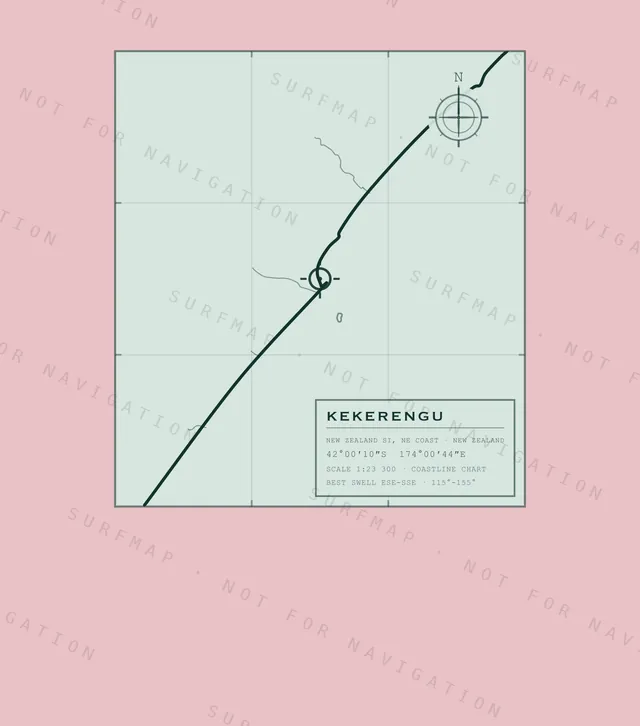
Kekerengu
New Zealand SI · NE Coast · New Zealand
$39.00
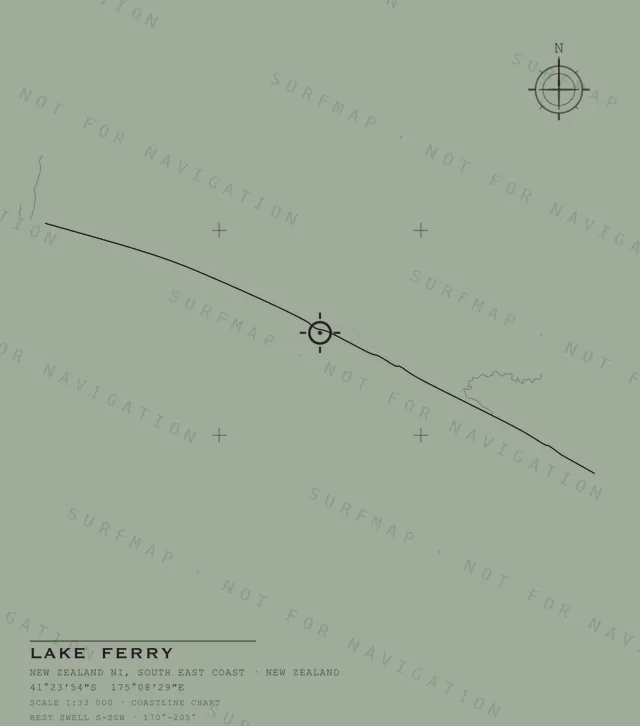
Lake Ferry
New Zealand NI · South East Coast · New Zealand
$39.00
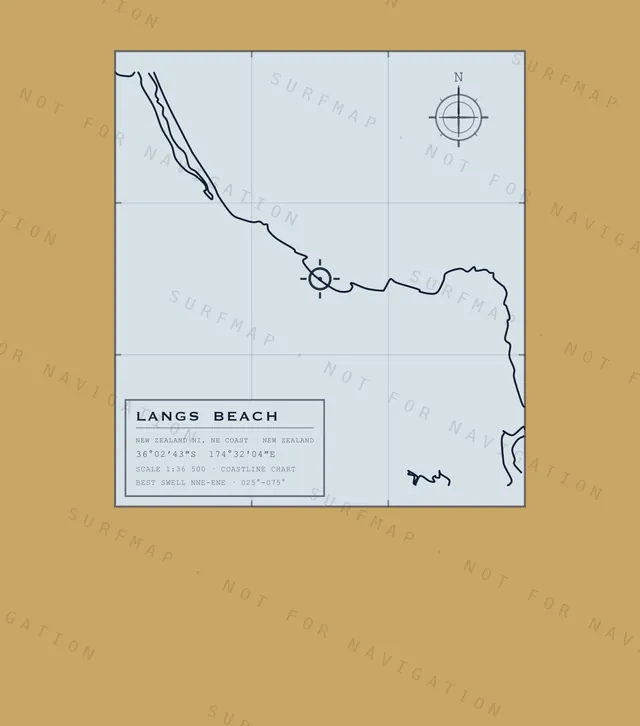
Langs Beach
New Zealand NI · NE Coast · New Zealand
$39.00
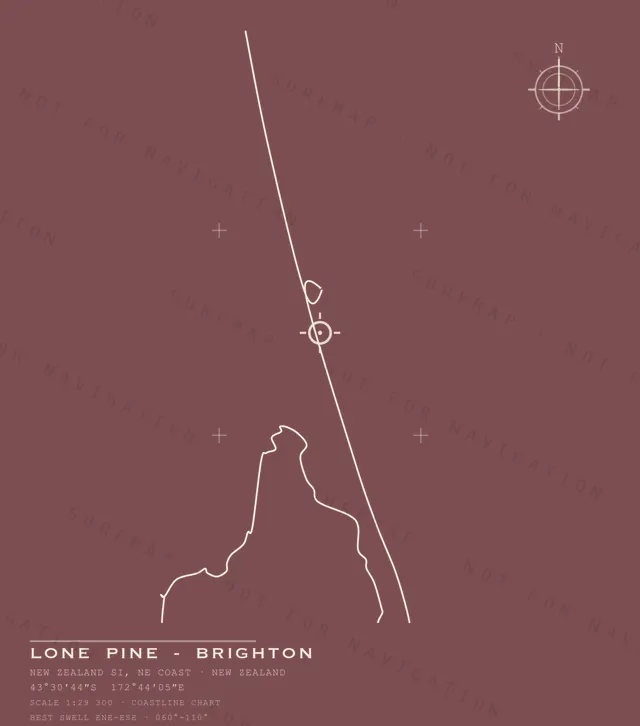
Lone Pine - Brighton
New Zealand SI · NE Coast · New Zealand
$39.00
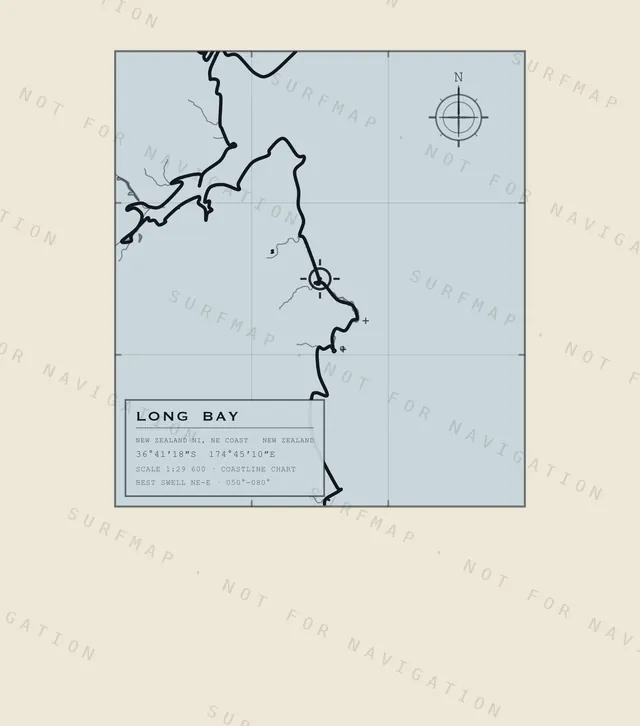
Long Bay
New Zealand NI · NE Coast · New Zealand
$39.00
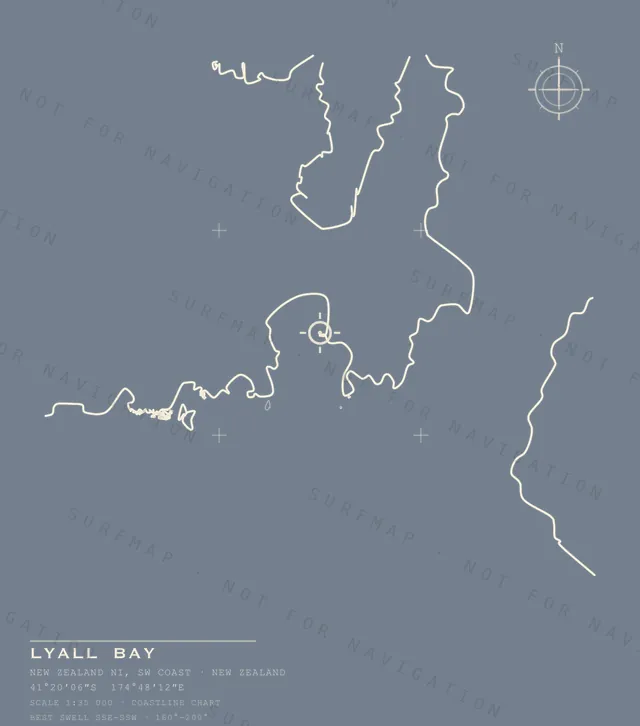
Lyall Bay
New Zealand NI · SW Coast · New Zealand
$39.00
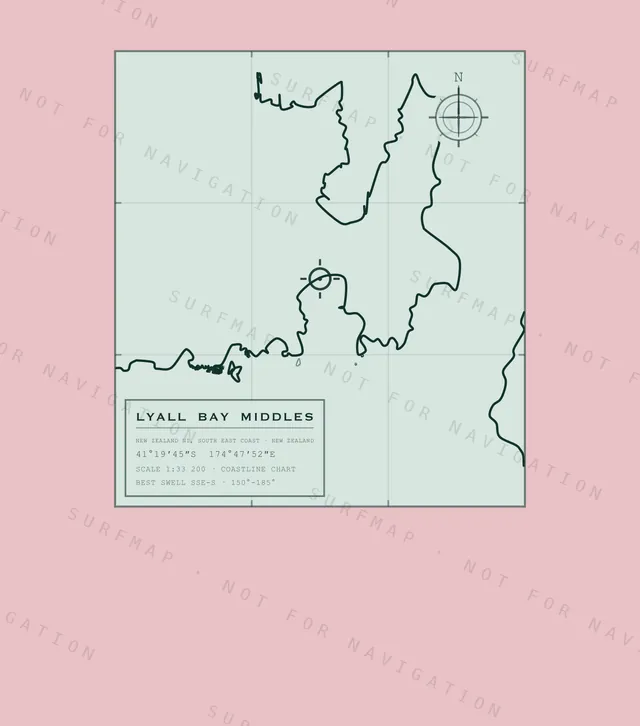
Lyall Bay Middles
New Zealand NI · South East Coast · New Zealand
$39.00
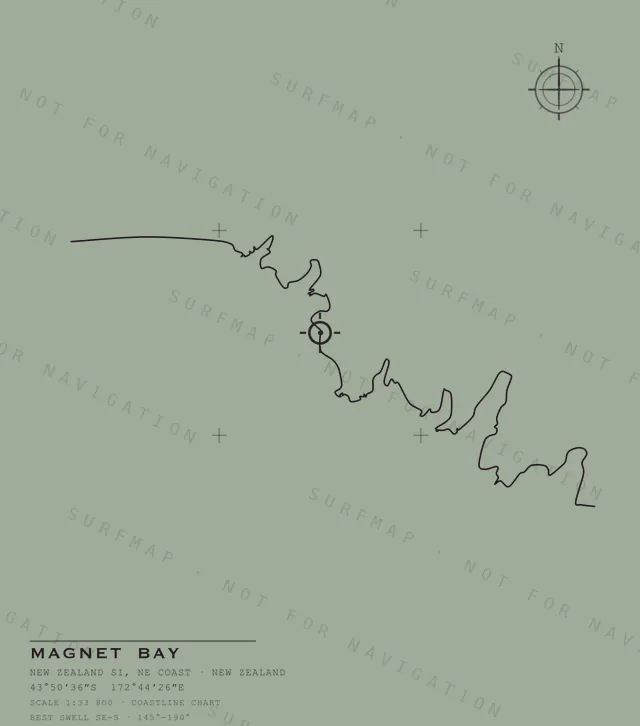
Magnet Bay
New Zealand SI · NE Coast · New Zealand
$39.00
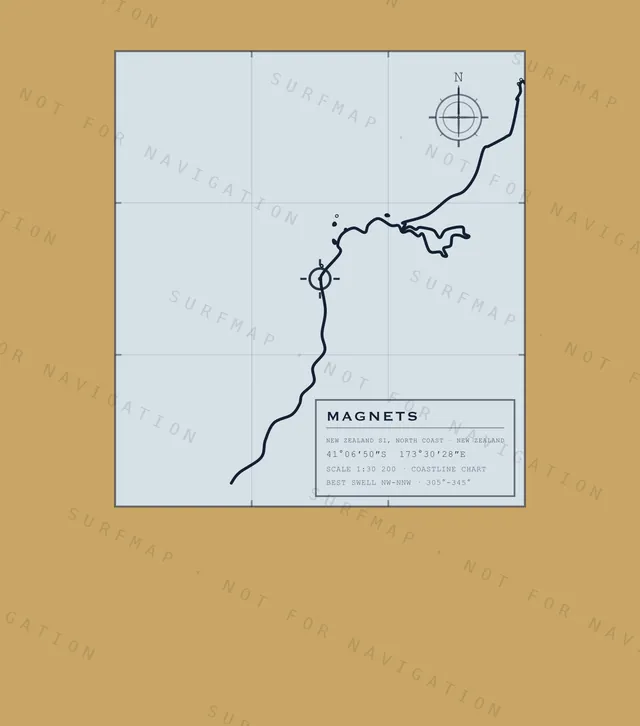
Magnets
New Zealand SI · North Coast · New Zealand
$39.00
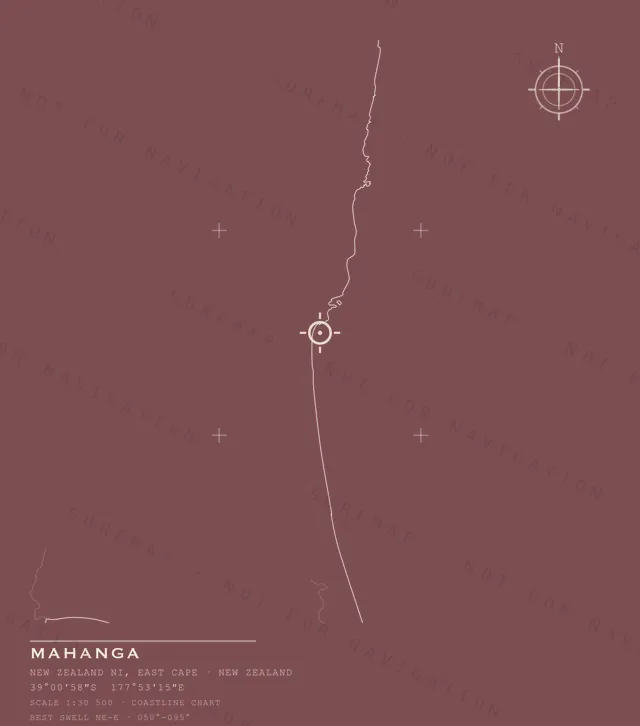
Mahanga
New Zealand NI · East Cape · New Zealand
$39.00
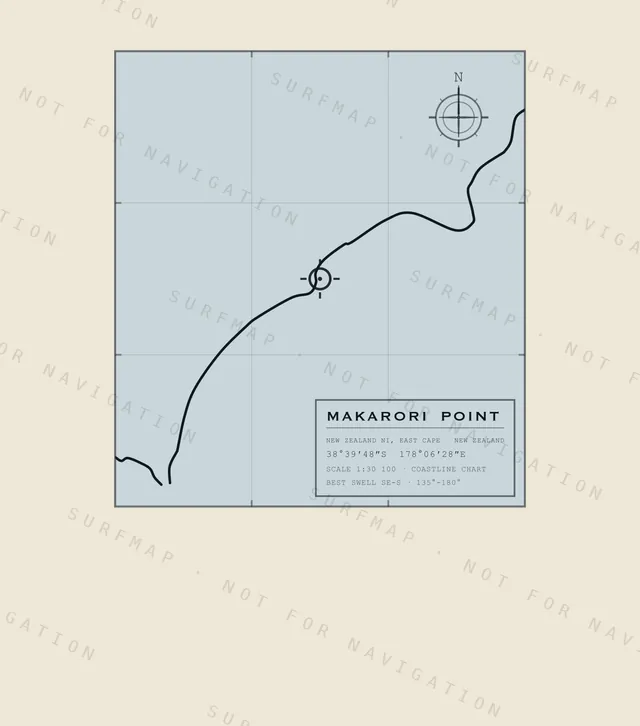
Makarori Point
New Zealand NI · East Cape · New Zealand
$39.00
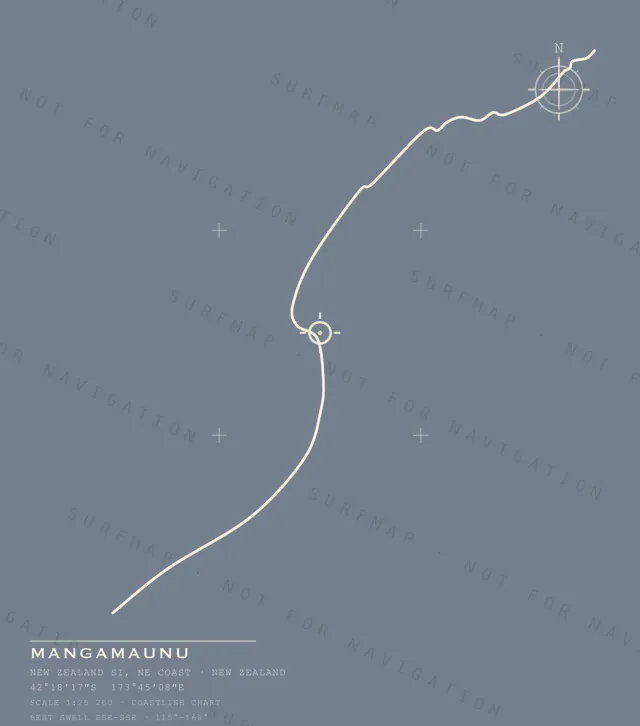
Mangamaunu
New Zealand SI · NE Coast · New Zealand
$39.00
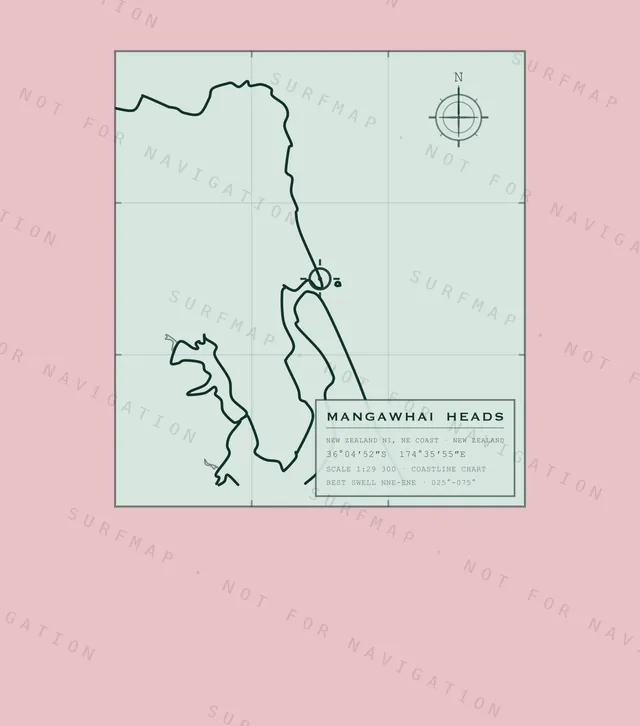
Mangawhai Heads
New Zealand NI · NE Coast · New Zealand
$39.00
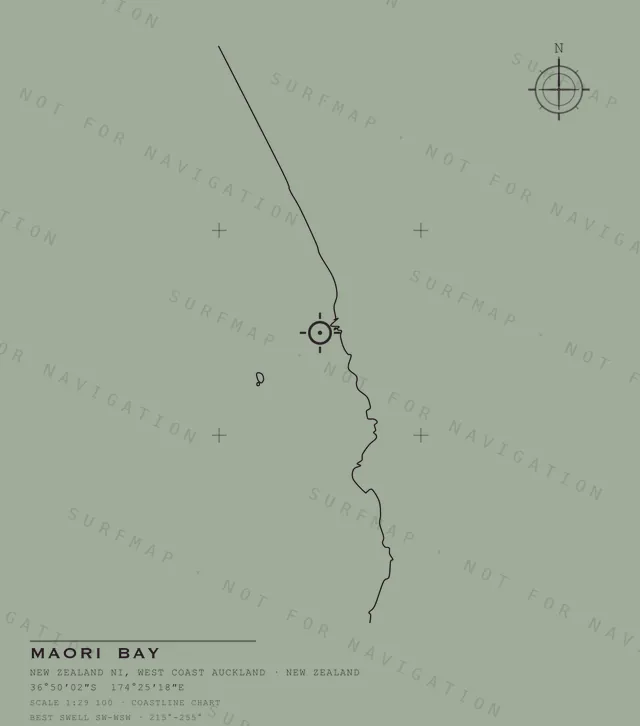
Maori Bay
New Zealand NI · West Coast Auckland · New Zealand
$39.00
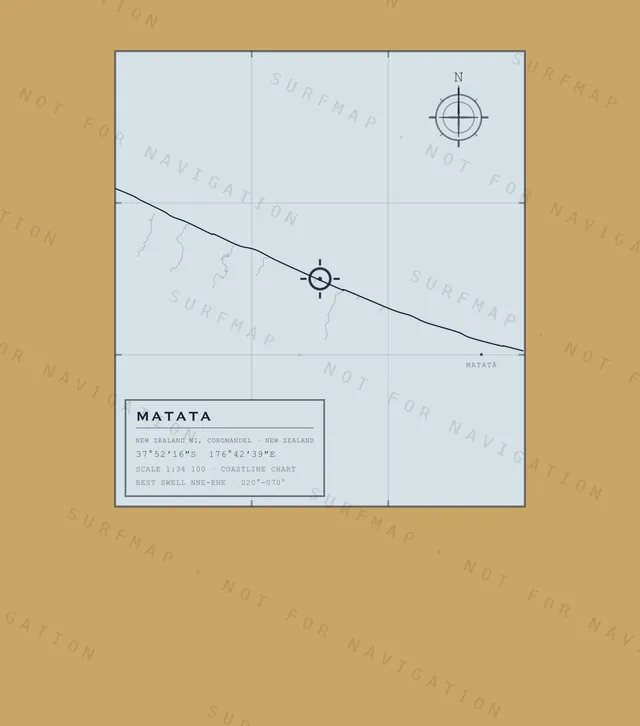
Matata
New Zealand NI · Coromandel · New Zealand
$39.00
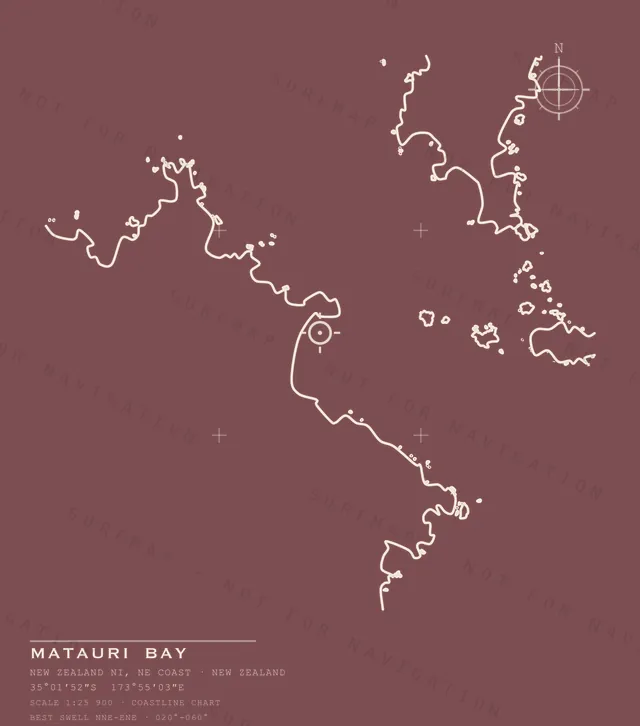
Matauri Bay
New Zealand NI · NE Coast · New Zealand
$39.00
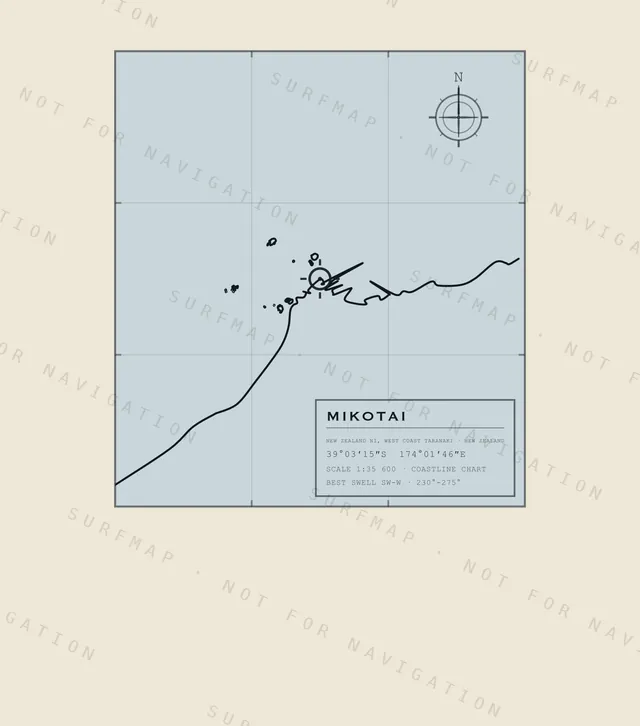
Mikotai
New Zealand NI · West Coast Taranaki · New Zealand
$39.00
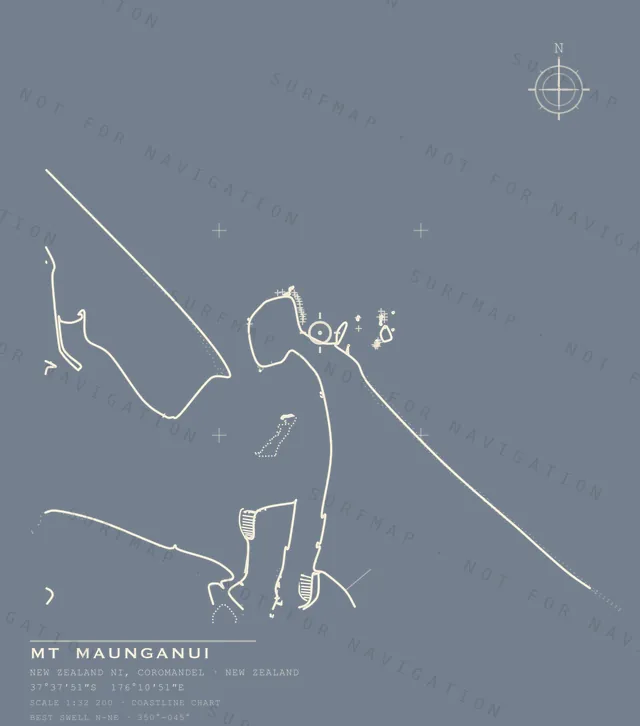
Mt Maunganui
New Zealand NI · Coromandel · New Zealand
$39.00
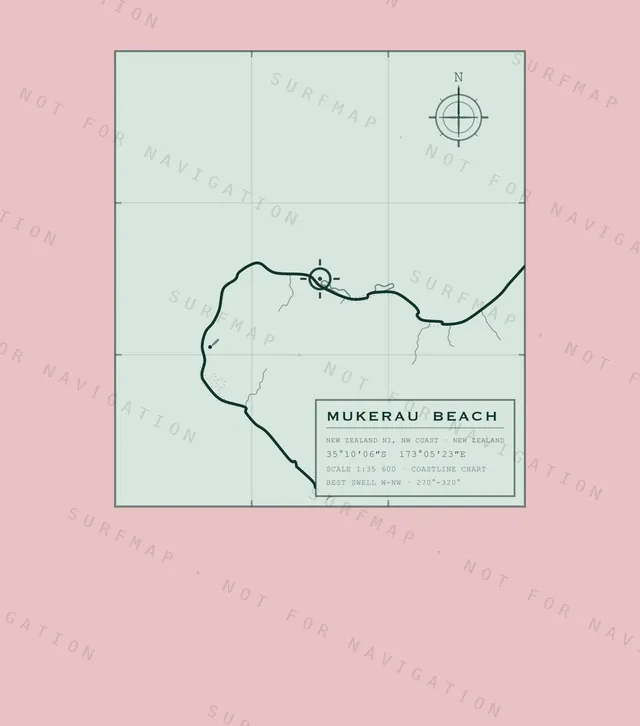
Mukerau Beach
New Zealand NI · NW Coast · New Zealand
$39.00
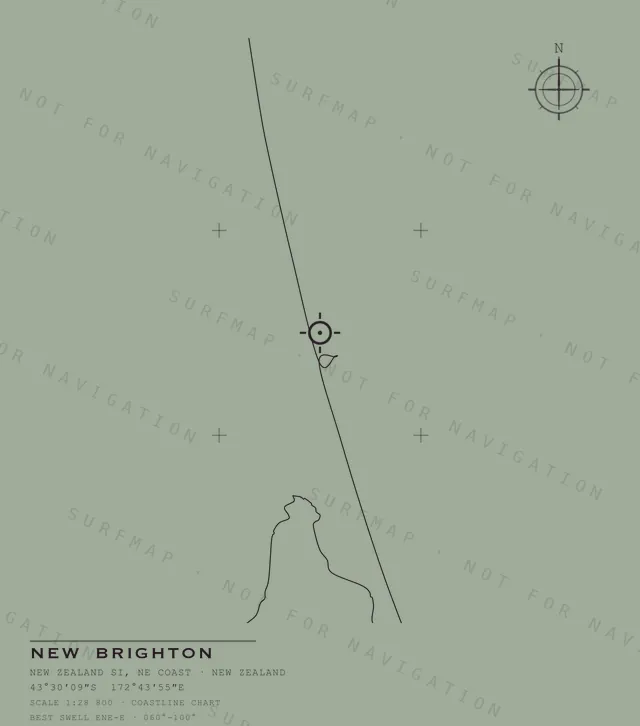
New Brighton
New Zealand SI · NE Coast · New Zealand
$39.00
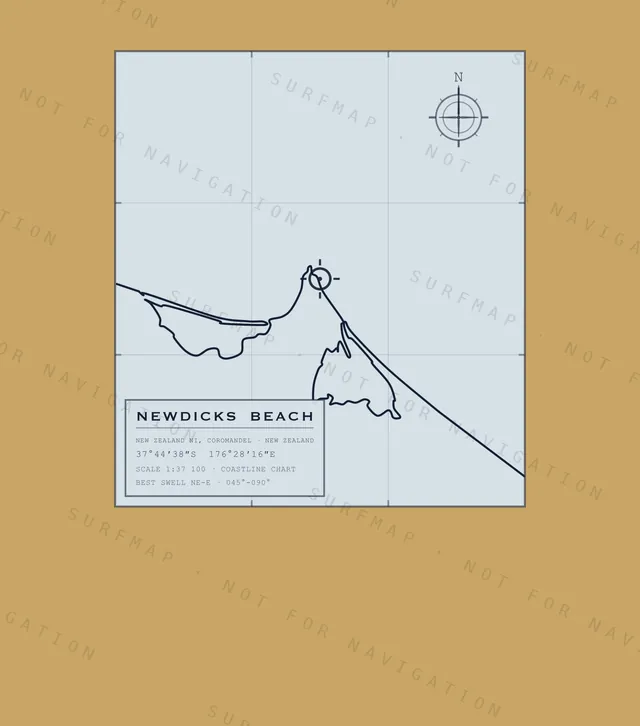
Newdicks Beach
New Zealand NI · Coromandel · New Zealand
$39.00
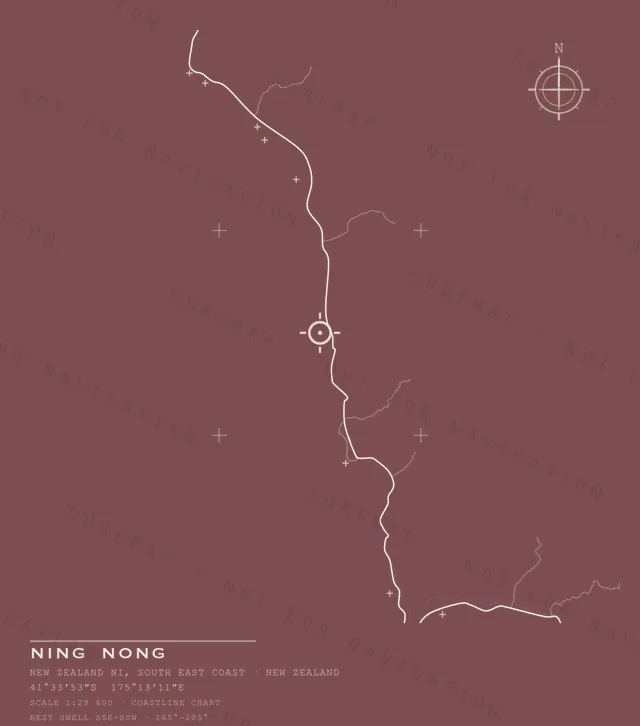
Ning Nong
New Zealand NI · South East Coast · New Zealand
$39.00

Ocean Beach
New Zealand NI · Napier · New Zealand
$39.00
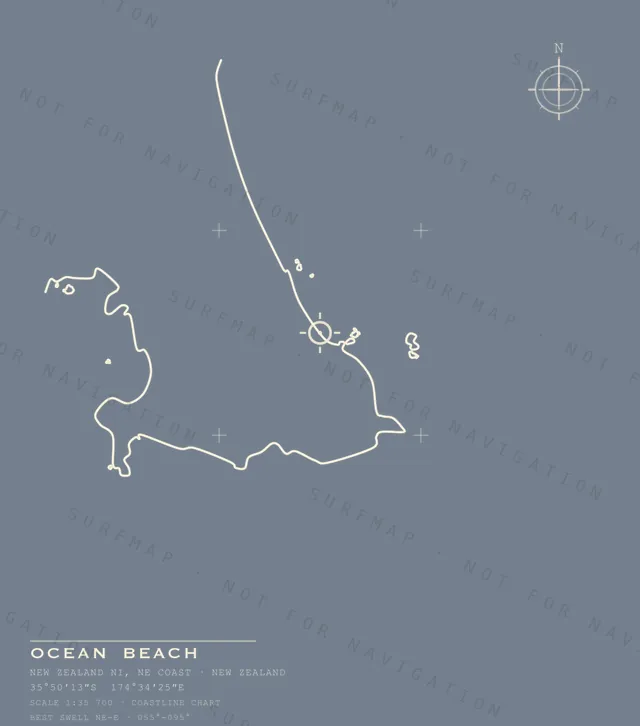
Ocean Beach
New Zealand NI · NE Coast · New Zealand
$39.00
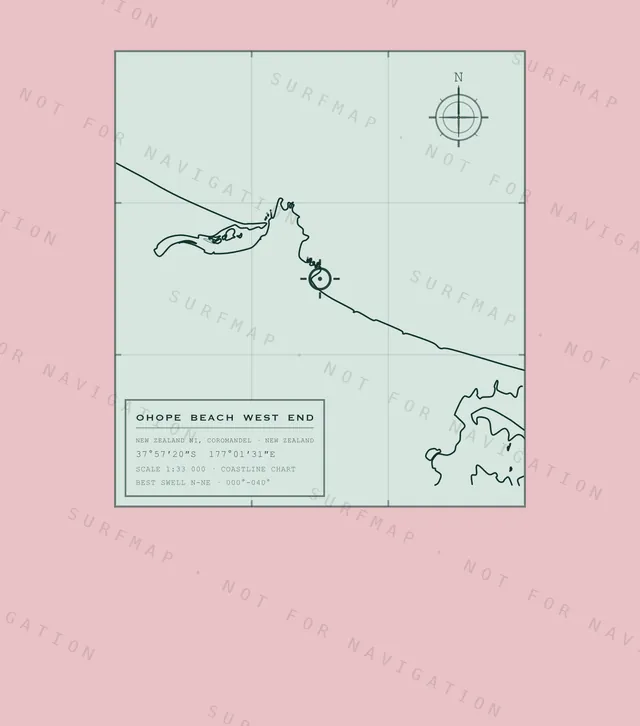
Ohope Beach West End
New Zealand NI · Coromandel · New Zealand
$39.00
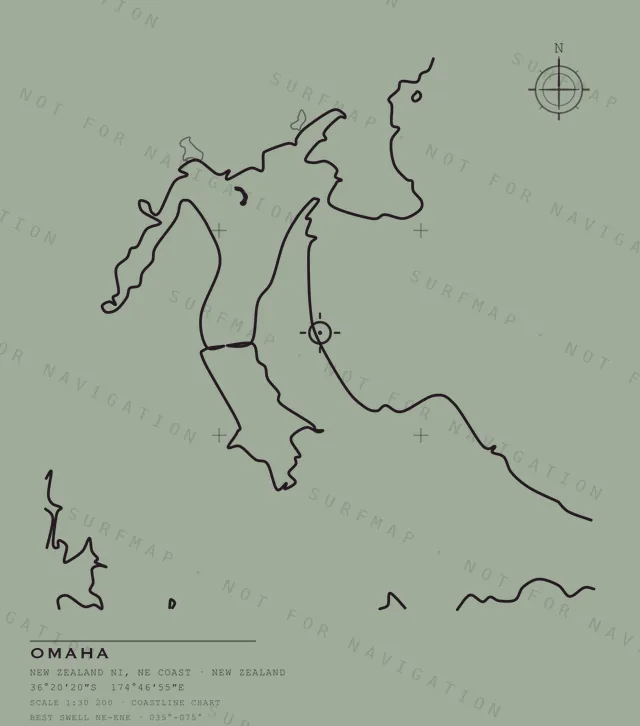
Omaha
New Zealand NI · NE Coast · New Zealand
$39.00
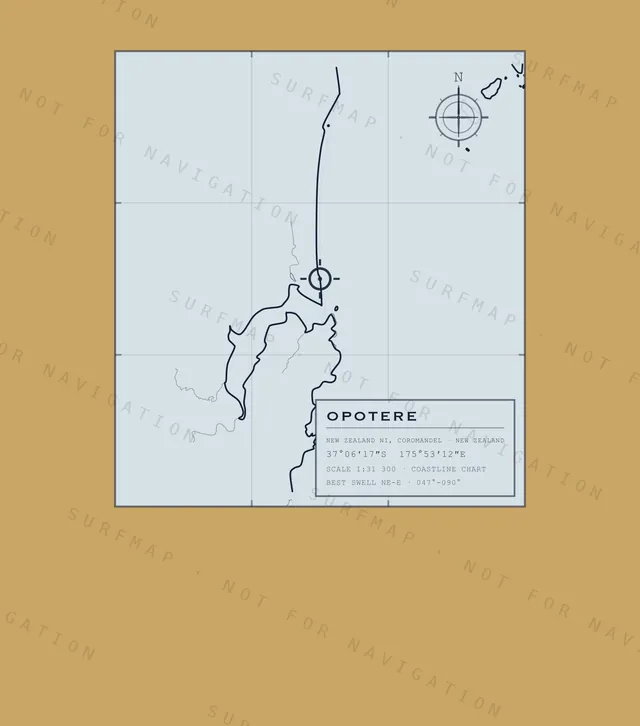
Opotere
New Zealand NI · Coromandel · New Zealand
$39.00
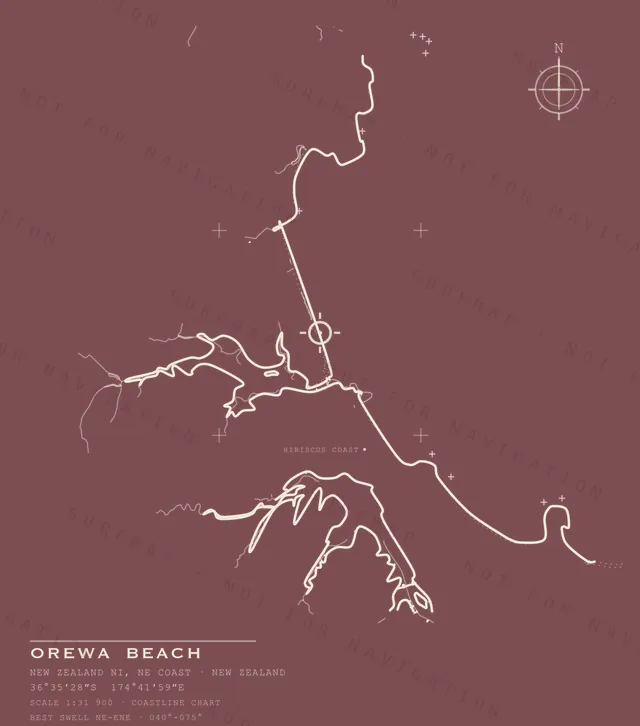
Orewa Beach
New Zealand NI · NE Coast · New Zealand
$39.00
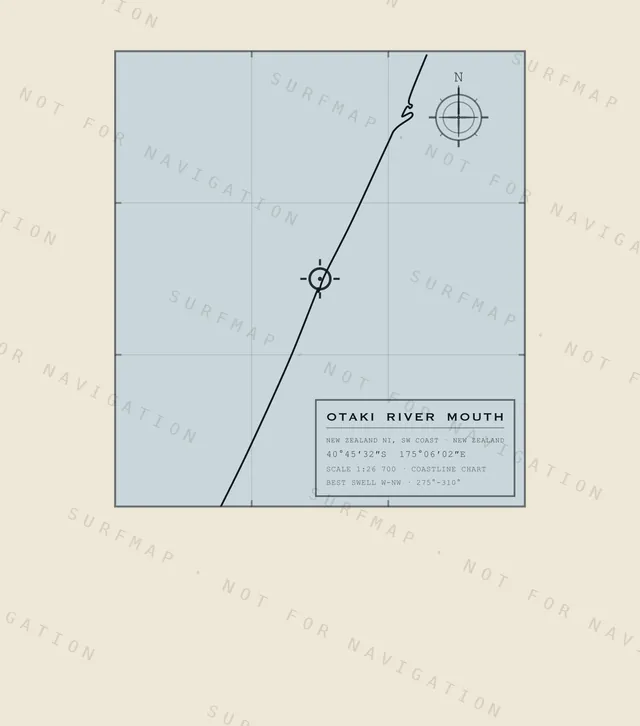
Otaki River Mouth
New Zealand NI · SW Coast · New Zealand
$39.00
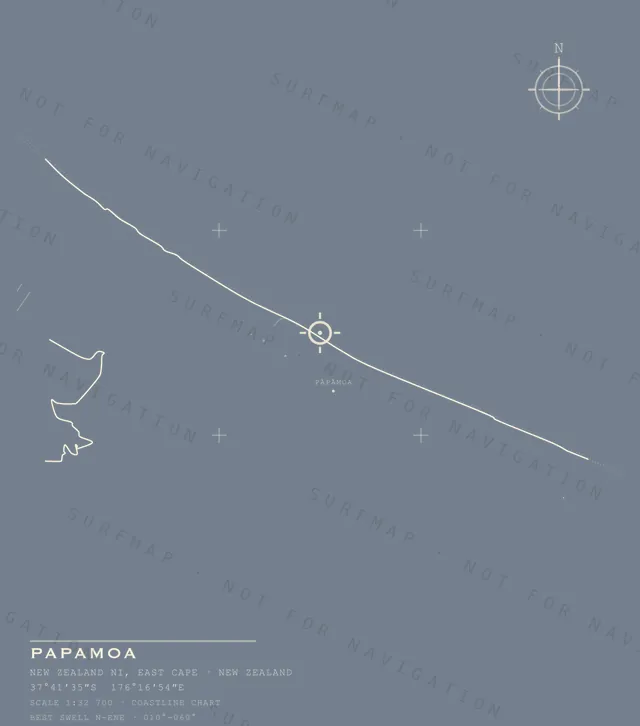
Papamoa
New Zealand NI · East Cape · New Zealand
$39.00
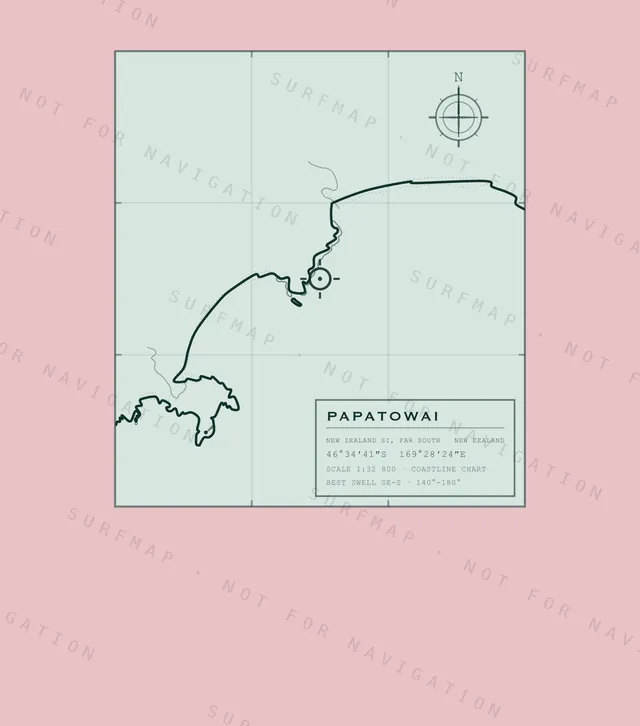
Papatowai
New Zealand SI · Far South · New Zealand
$39.00
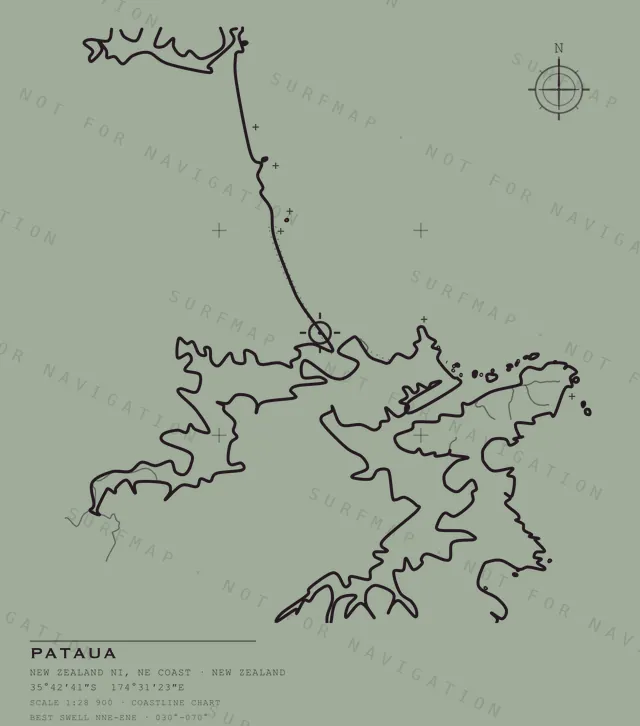
Pataua
New Zealand NI · NE Coast · New Zealand
$39.00
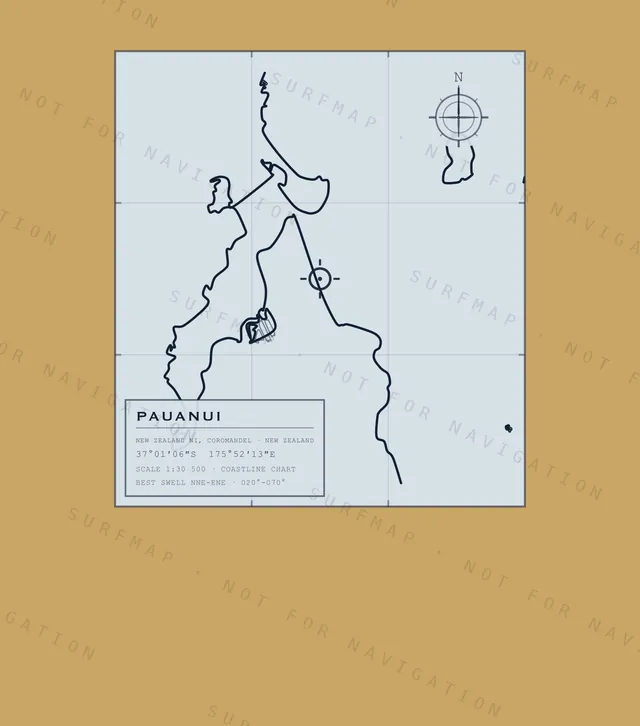
Pauanui
New Zealand NI · Coromandel · New Zealand
$39.00
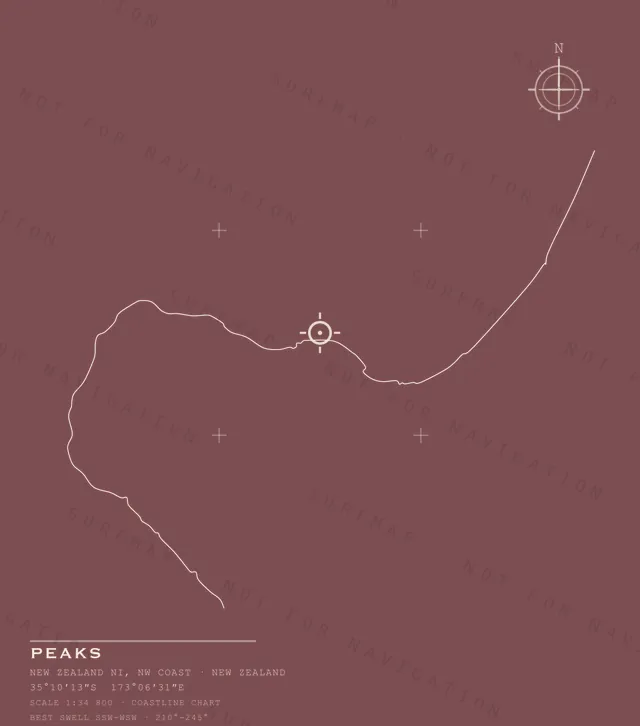
Peaks
New Zealand NI · NW Coast · New Zealand
$39.00
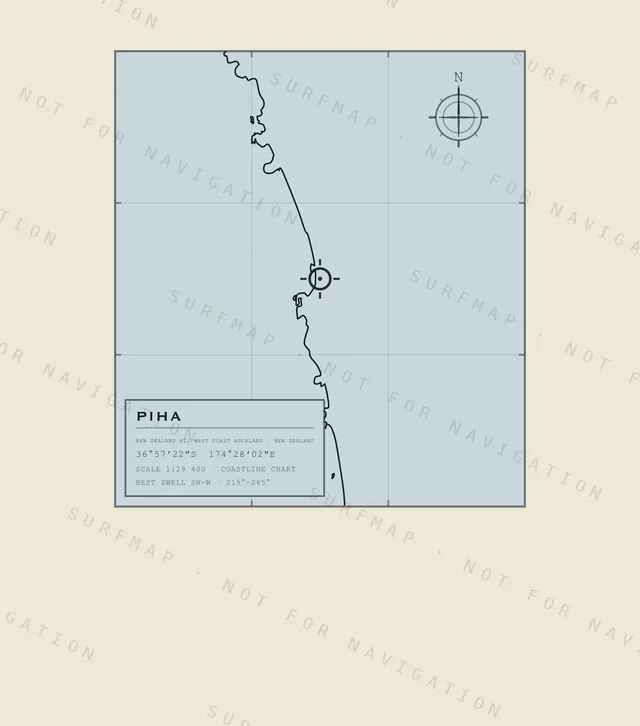
Piha
New Zealand NI · West Coast Auckland · New Zealand
$39.00
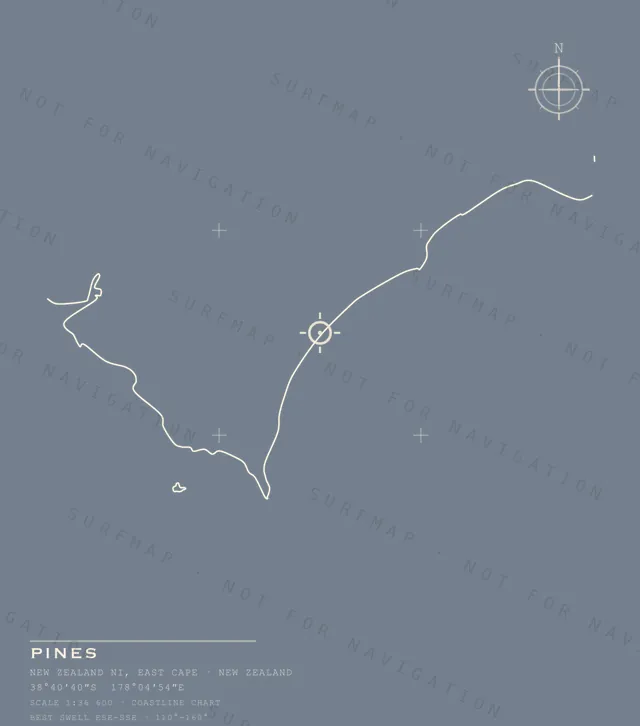
Pines
New Zealand NI · East Cape · New Zealand
$39.00
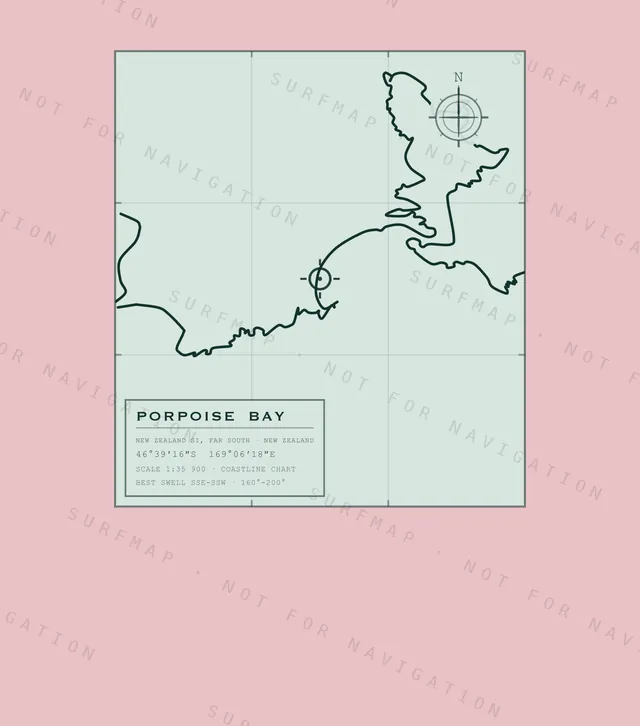
Porpoise Bay
New Zealand SI · Far South · New Zealand
$39.00
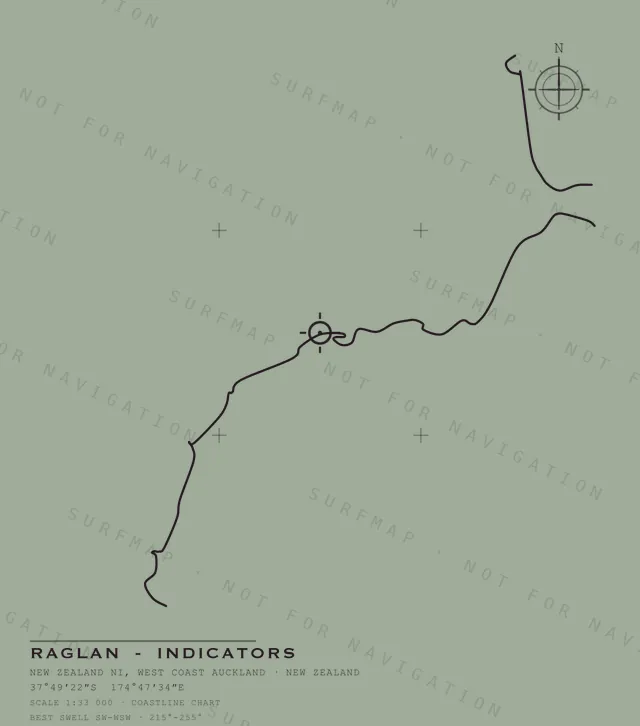
Raglan - Indicators
New Zealand NI · West Coast Auckland · New Zealand
$39.00
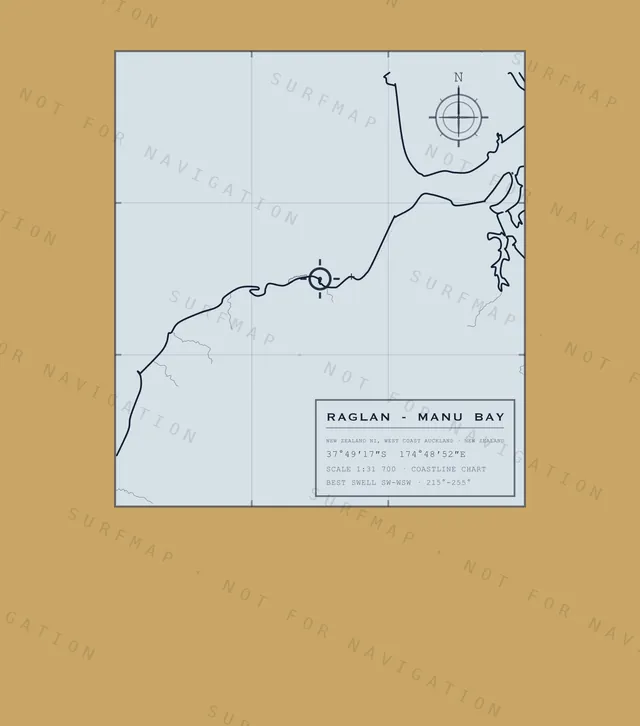
Raglan - Manu Bay
New Zealand NI · West Coast Auckland · New Zealand
$39.00
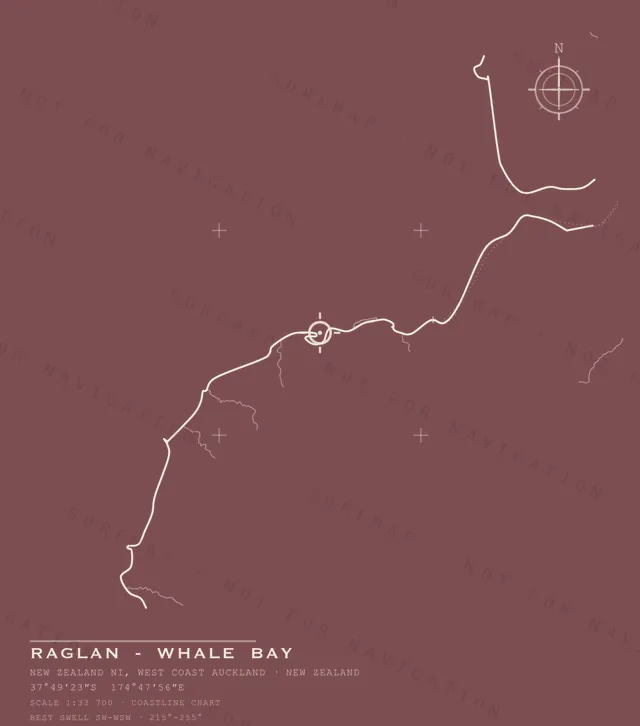
Raglan - Whale Bay
New Zealand NI · West Coast Auckland · New Zealand
$39.00
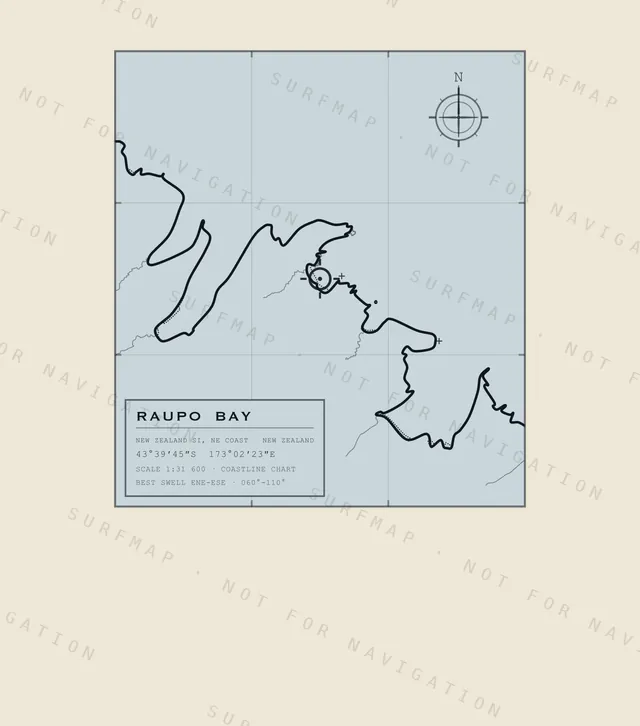
Raupo Bay
New Zealand SI · NE Coast · New Zealand
$39.00
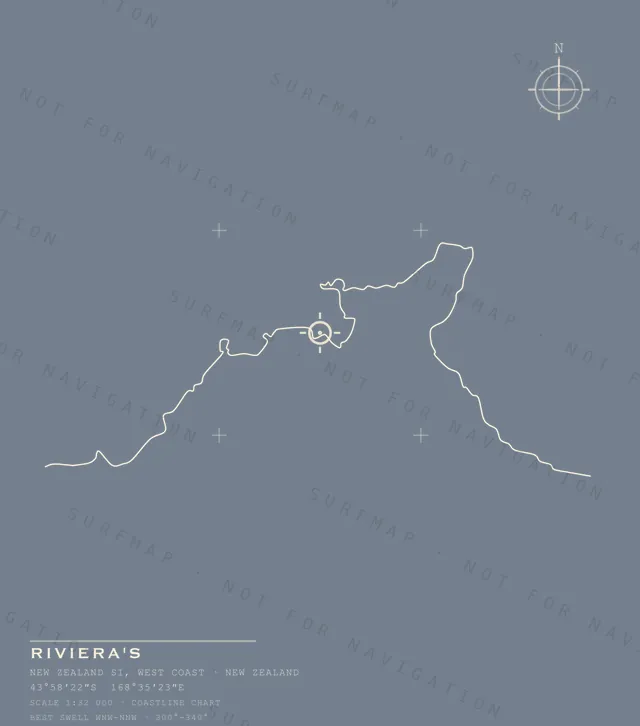
Riviera's
New Zealand SI · West Coast · New Zealand
$39.00
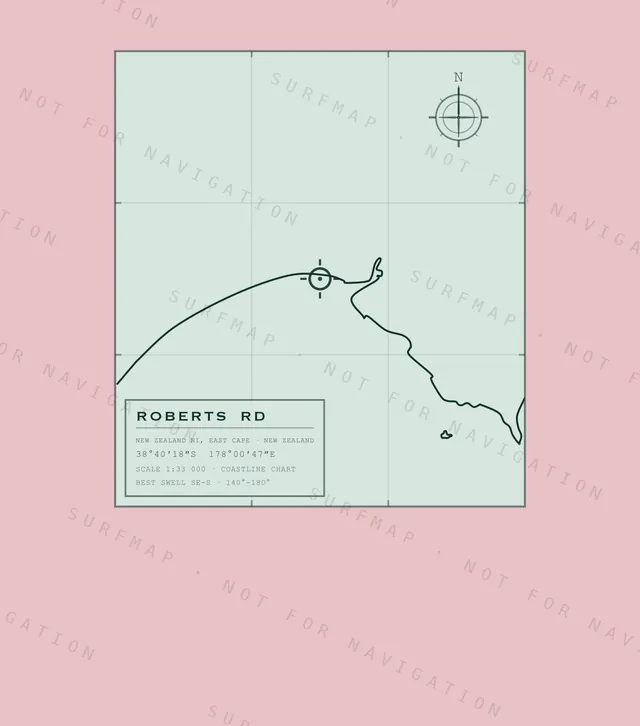
Roberts Rd
New Zealand NI · East Cape · New Zealand
$39.00
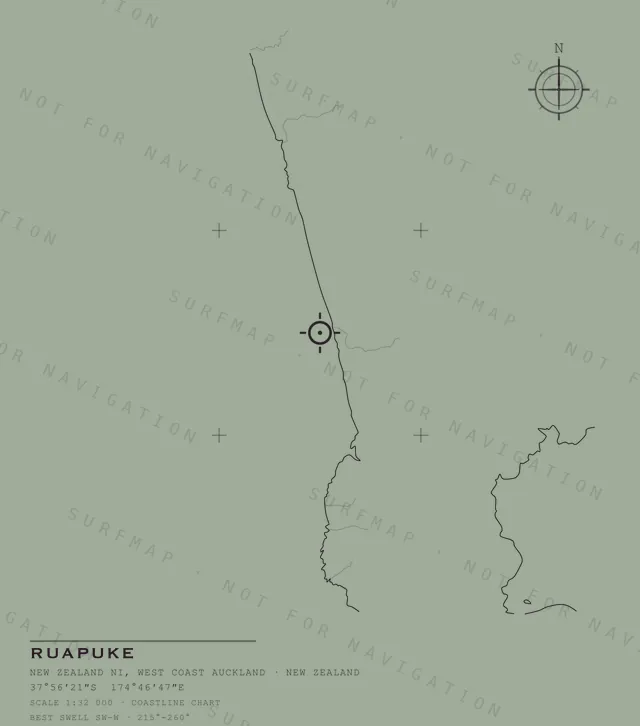
Ruapuke
New Zealand NI · West Coast Auckland · New Zealand
$39.00
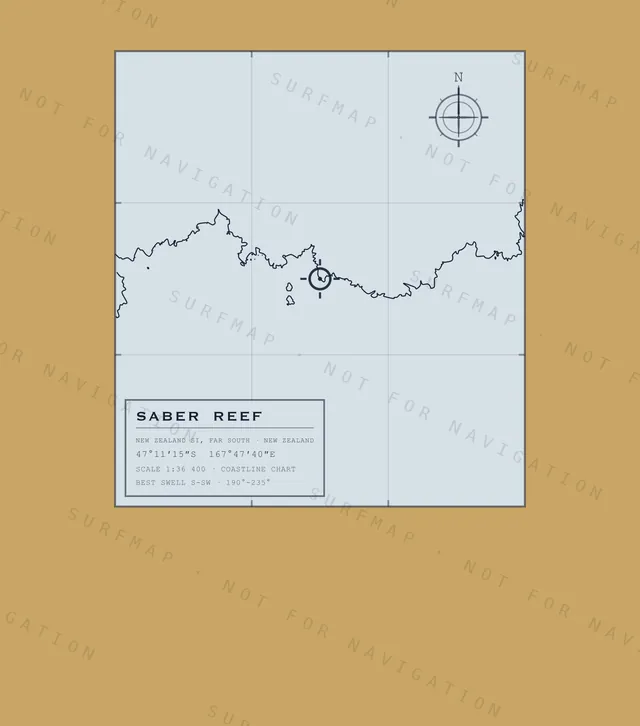
Saber Reef
New Zealand SI · Far South · New Zealand
$39.00
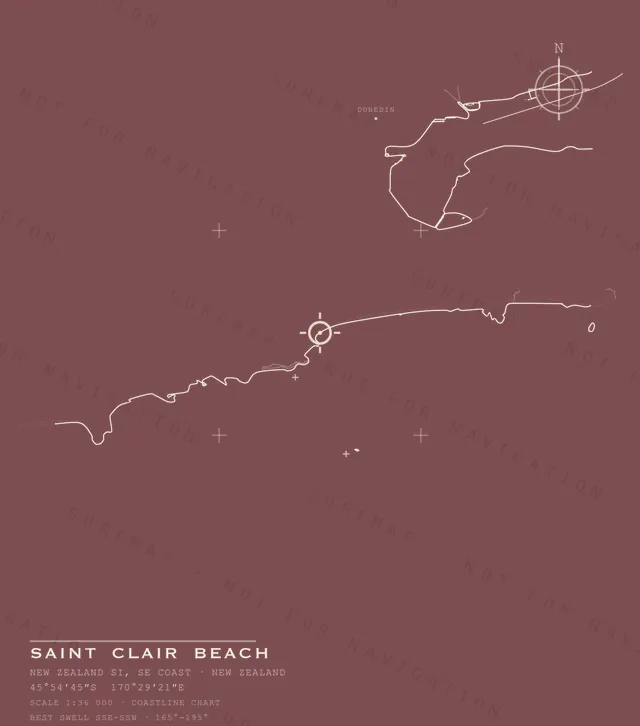
Saint Clair Beach
New Zealand SI · SE Coast · New Zealand
$39.00
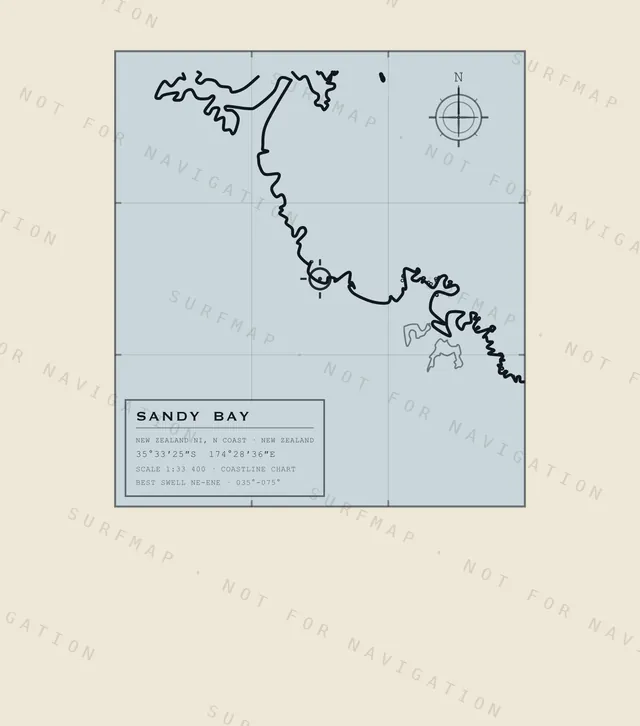
Sandy Bay
New Zealand NI · N Coast · New Zealand
$39.00
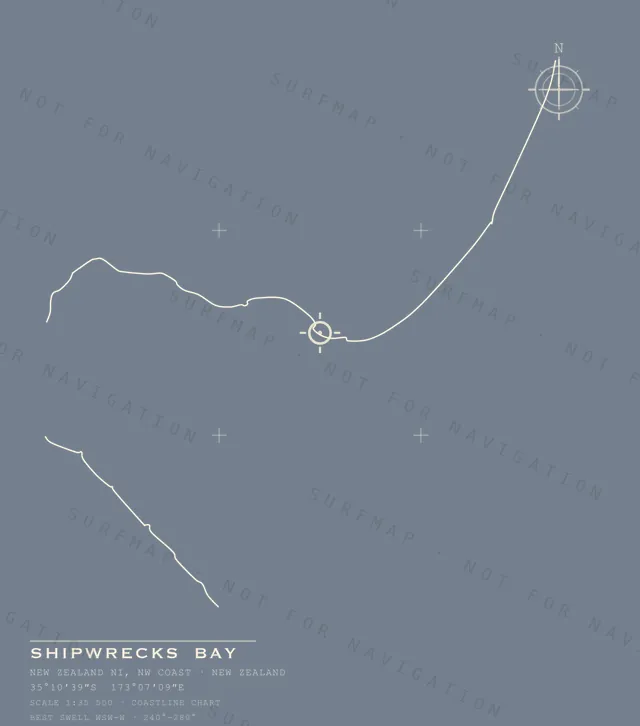
Shipwrecks Bay
New Zealand NI · NW Coast · New Zealand
$39.00
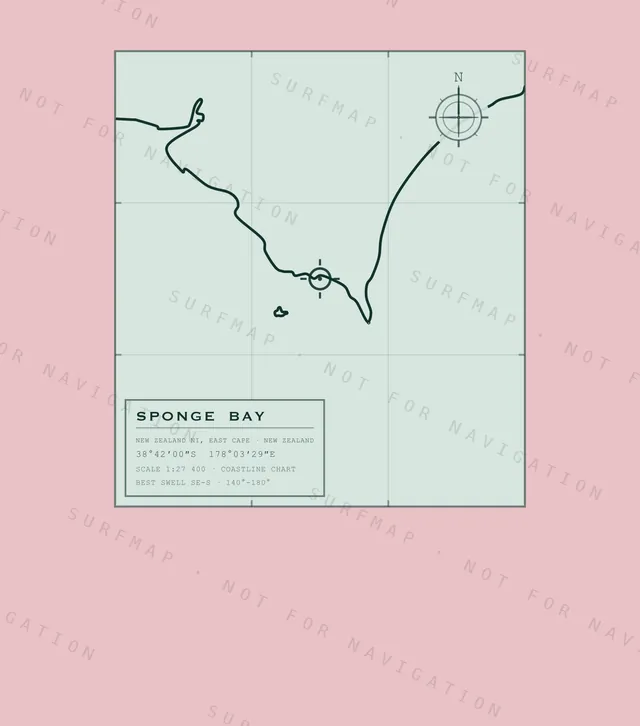
Sponge Bay
New Zealand NI · East Cape · New Zealand
$39.00
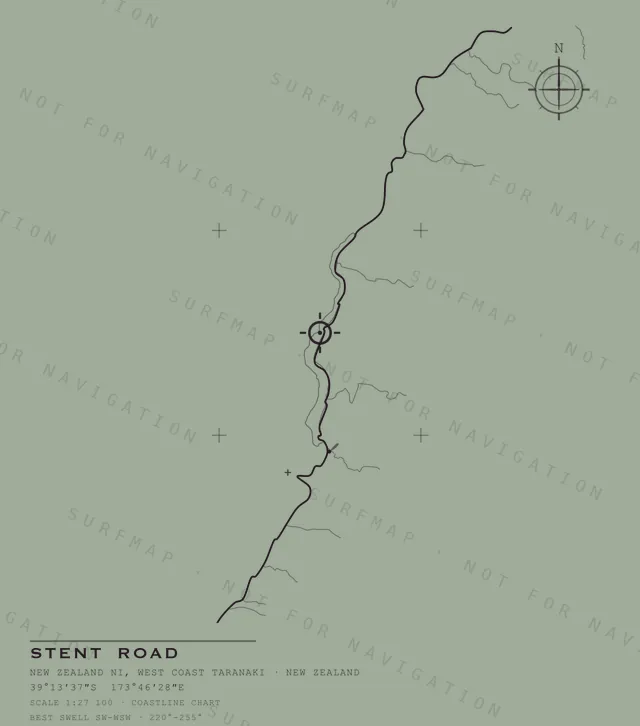
Stent Road
New Zealand NI · West Coast Taranaki · New Zealand
$39.00
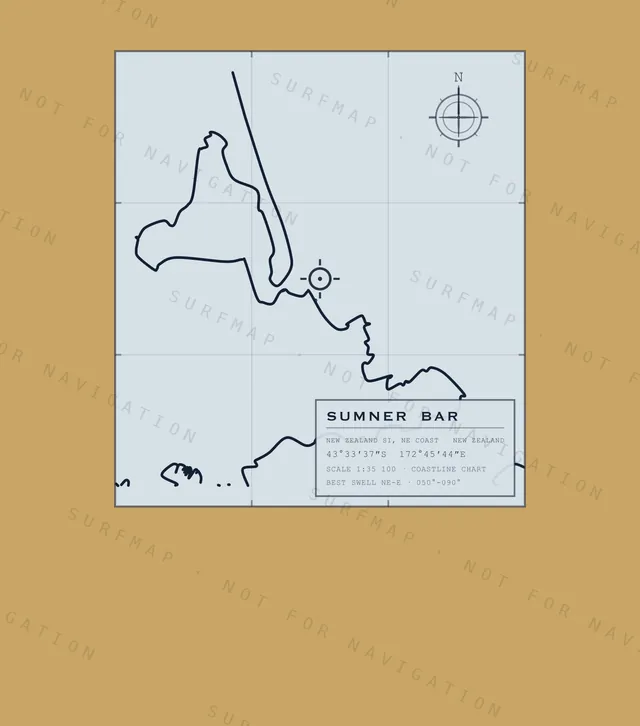
Sumner Bar
New Zealand SI · NE Coast · New Zealand
$39.00
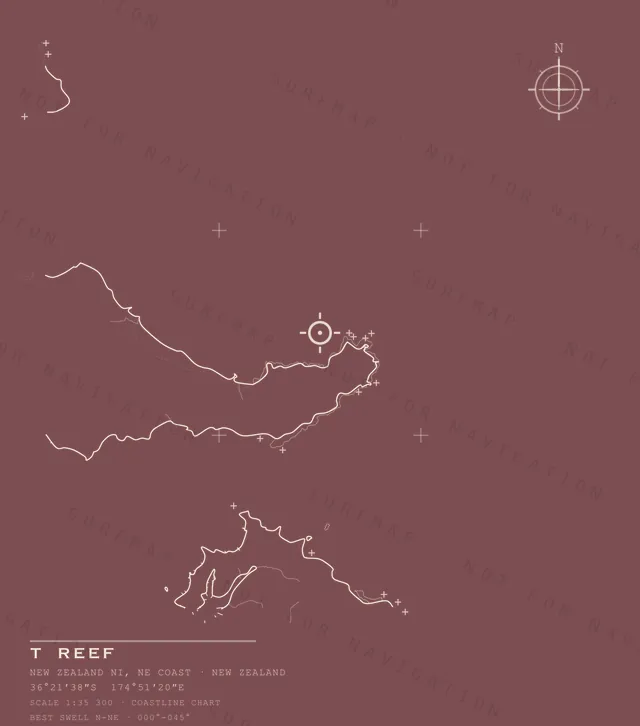
T Reef
New Zealand NI · NE Coast · New Zealand
$39.00
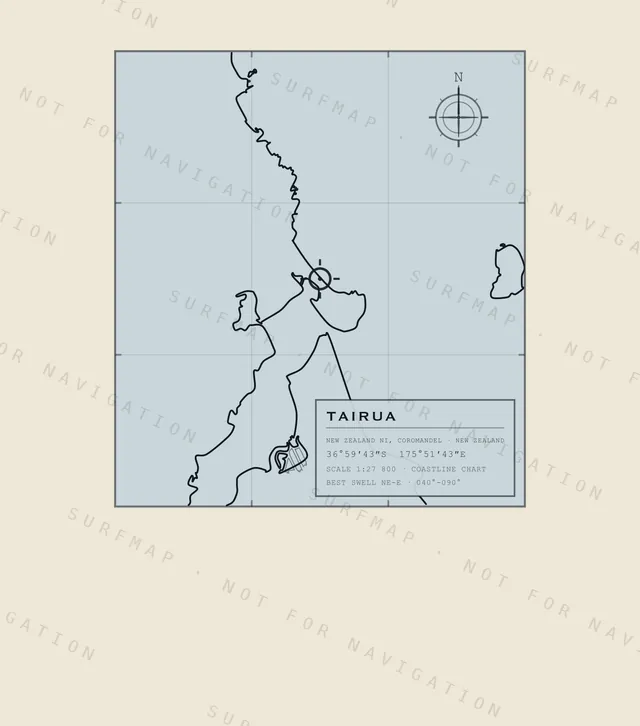
Tairua
New Zealand NI · Coromandel · New Zealand
$39.00
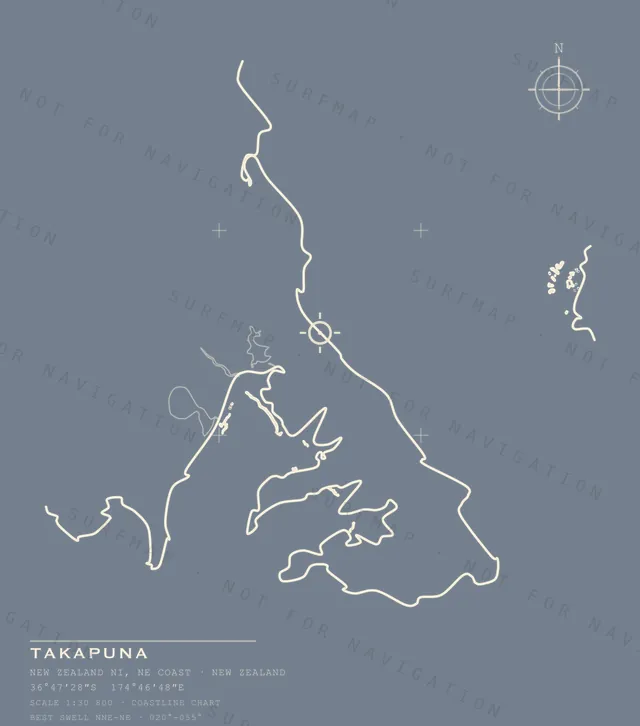
Takapuna
New Zealand NI · NE Coast · New Zealand
$39.00
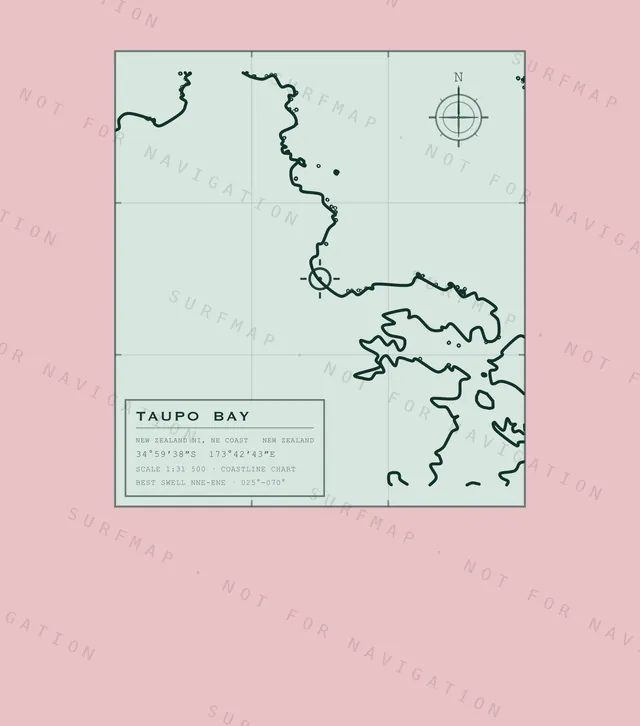
Taupo Bay
New Zealand NI · NE Coast · New Zealand
$39.00
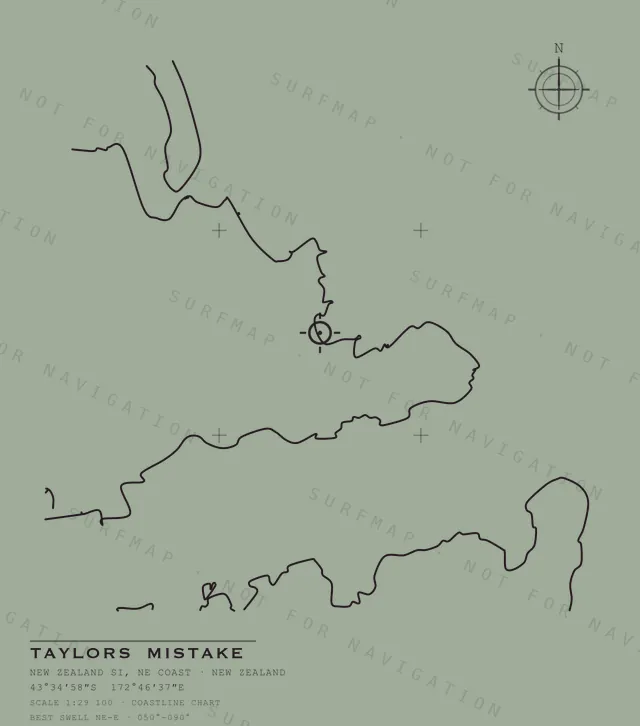
Taylors Mistake
New Zealand SI · NE Coast · New Zealand
$39.00
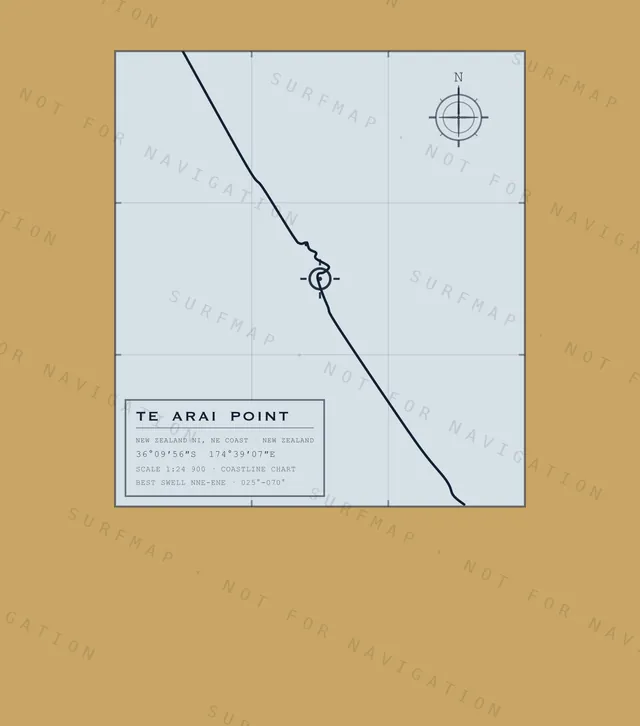
Te Arai Point
New Zealand NI · NE Coast · New Zealand
$39.00
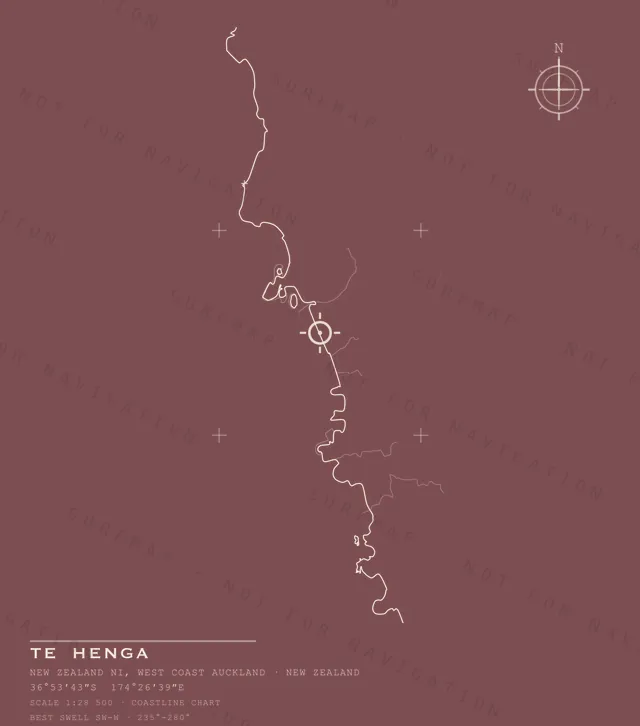
Te Henga
New Zealand NI · West Coast Auckland · New Zealand
$39.00
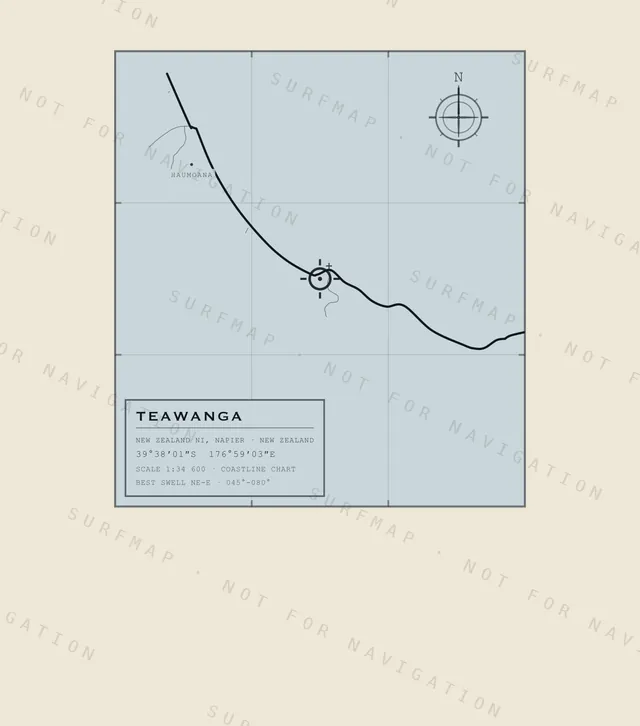
Teawanga
New Zealand NI · Napier · New Zealand
$39.00
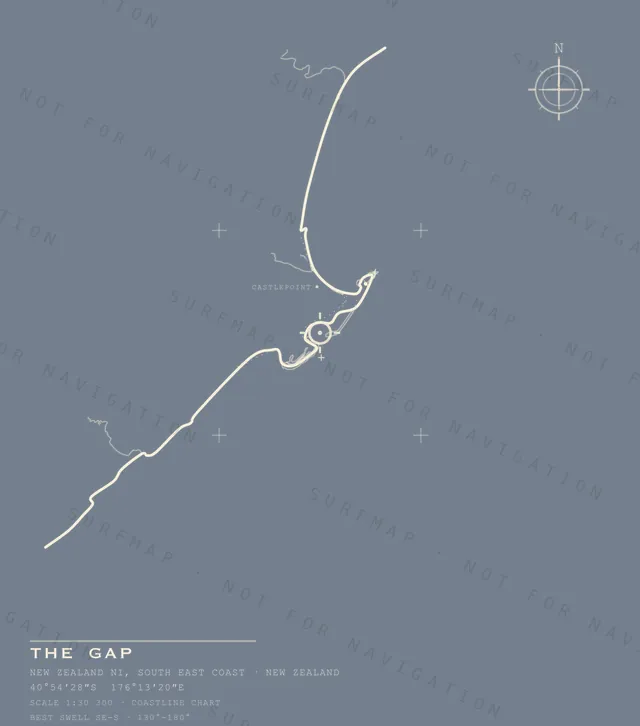
The Gap
New Zealand NI · South East Coast · New Zealand
$39.00
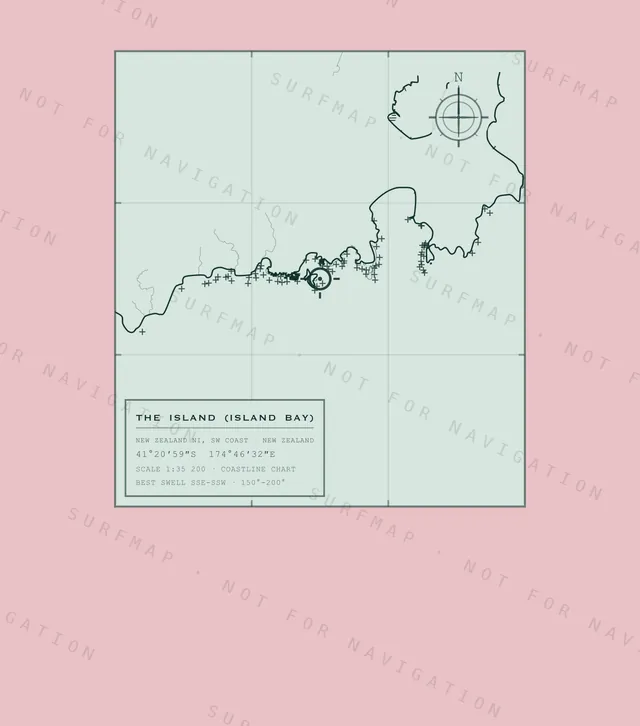
The Island (Island Bay)
New Zealand NI · SW Coast · New Zealand
$39.00
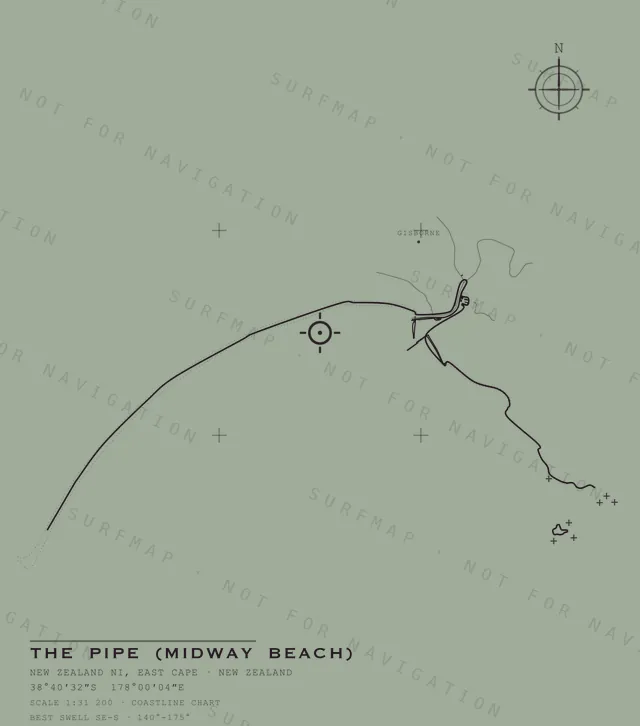
The Pipe (Midway Beach)
New Zealand NI · East Cape · New Zealand
$39.00

The Rock
New Zealand NI · East Cape · New Zealand
$39.00
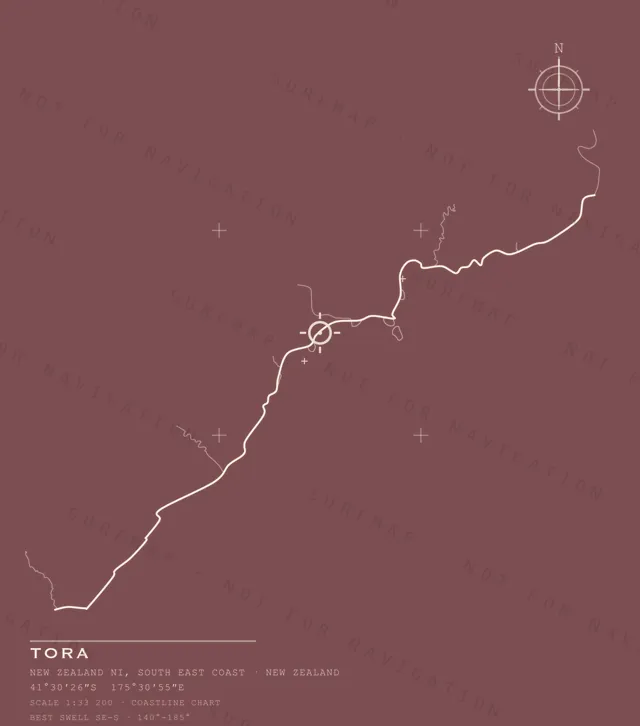
Tora
New Zealand NI · South East Coast · New Zealand
$39.00
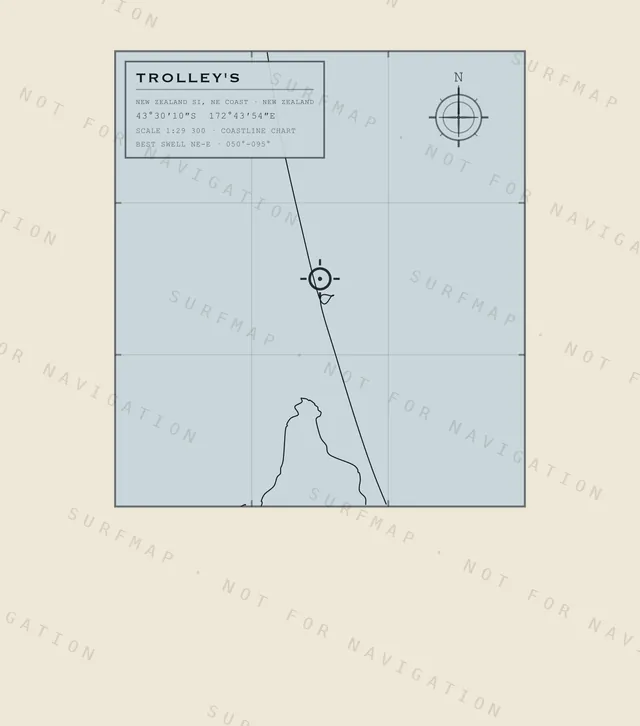
Trolley's
New Zealand SI · NE Coast · New Zealand
$39.00
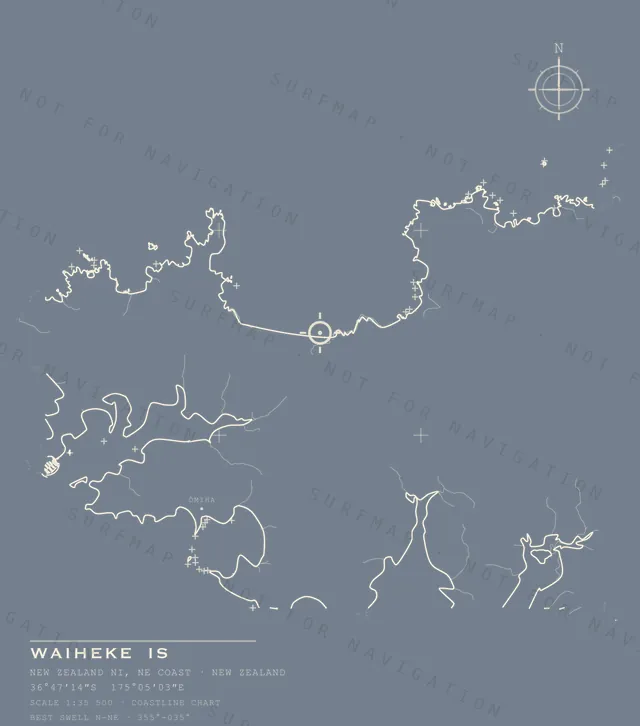
Waiheke Is
New Zealand NI · NE Coast · New Zealand
$39.00
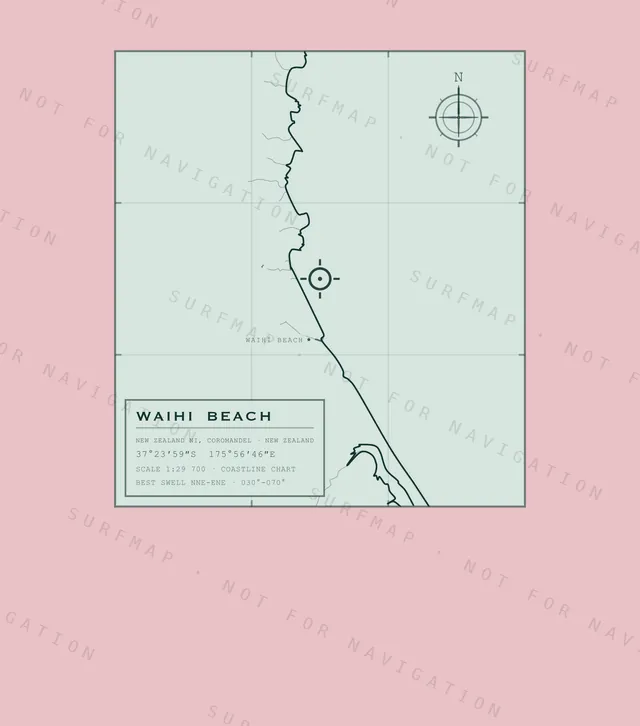
Waihi Beach
New Zealand NI · Coromandel · New Zealand
$39.00
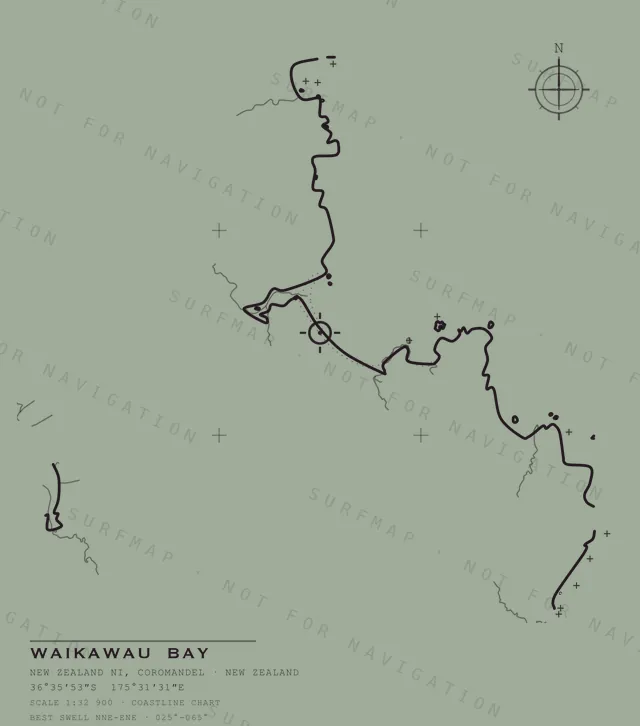
Waikawau Bay
New Zealand NI · Coromandel · New Zealand
$39.00
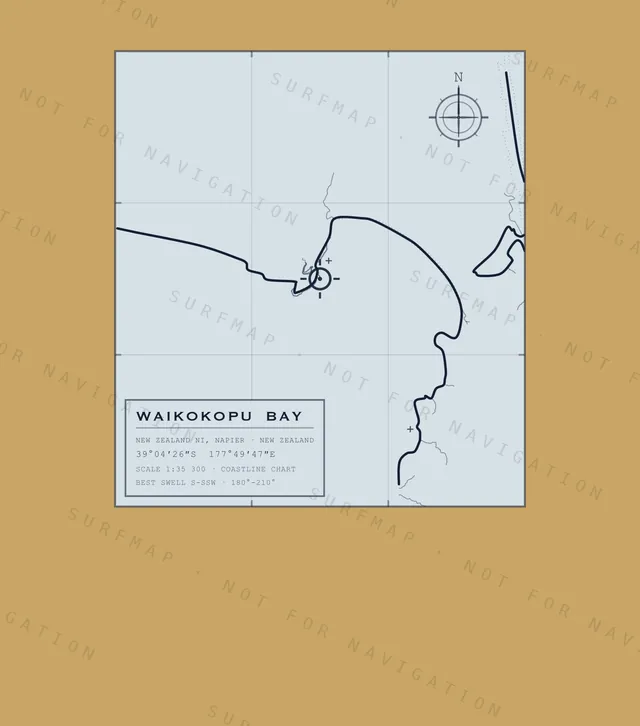
Waikokopu Bay
New Zealand NI · Napier · New Zealand
$39.00
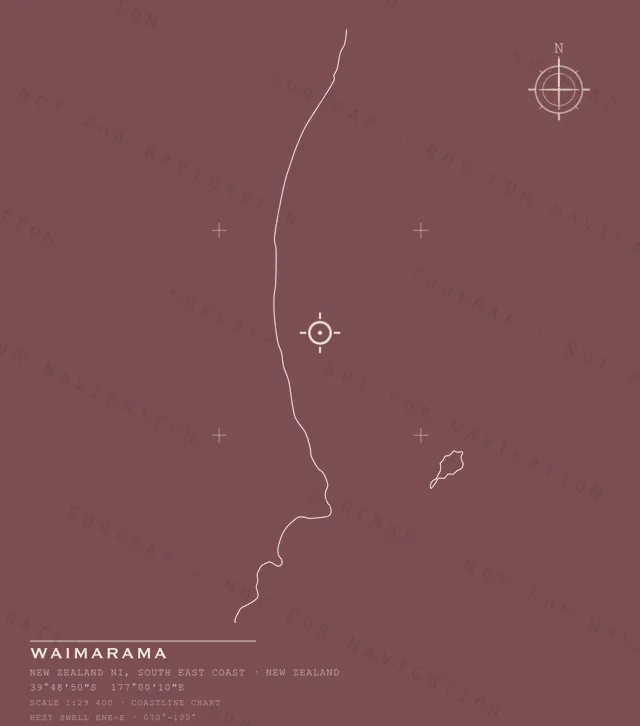
Waimarama
New Zealand NI · South East Coast · New Zealand
$39.00
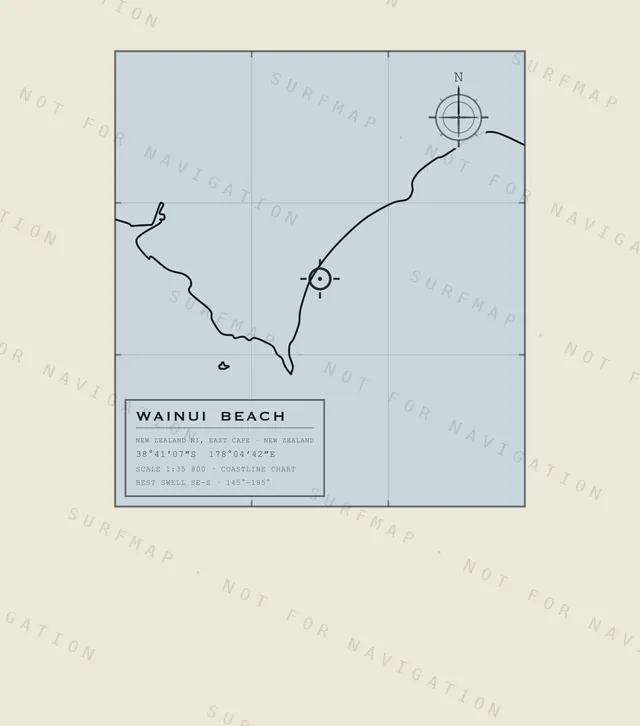
Wainui Beach
New Zealand NI · East Cape · New Zealand
$39.00
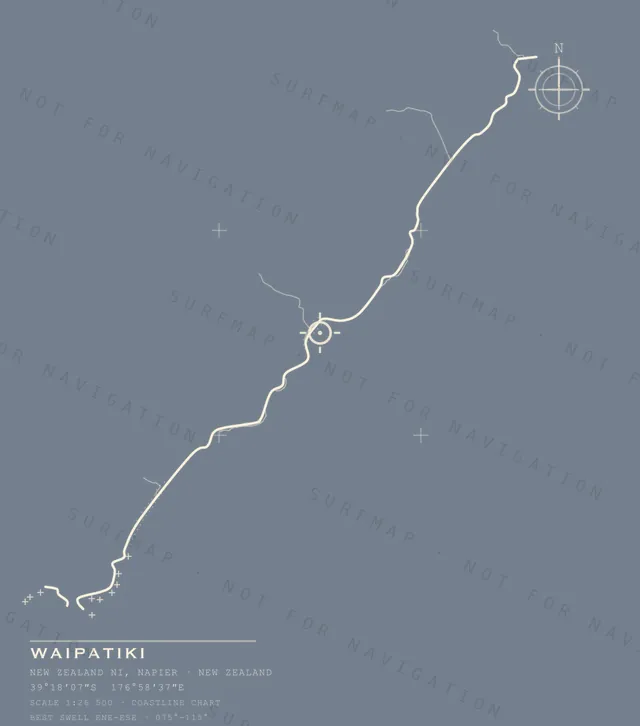
Waipatiki
New Zealand NI · Napier · New Zealand
$39.00
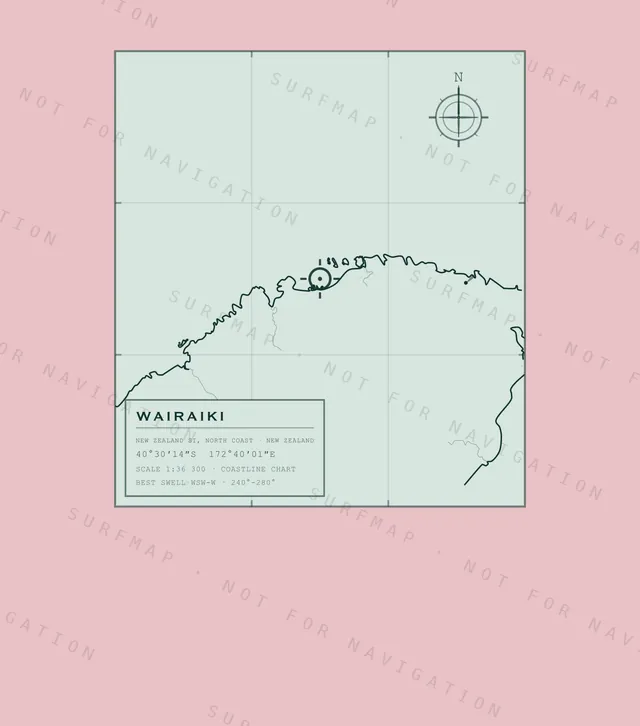
Wairaiki
New Zealand SI · North Coast · New Zealand
$39.00
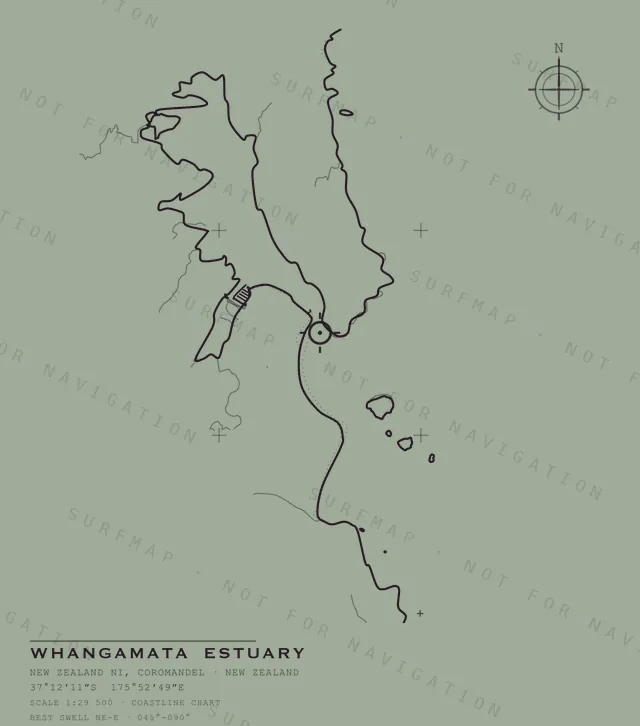
Whangamata Estuary
New Zealand NI · Coromandel · New Zealand
$39.00
Find your spot
Every dot is a spot someone paddles out at, straight from the SurfMap database. Pick yours and its chart goes on your tee.