3 months of SurfMap with every orderHow it works
enUS
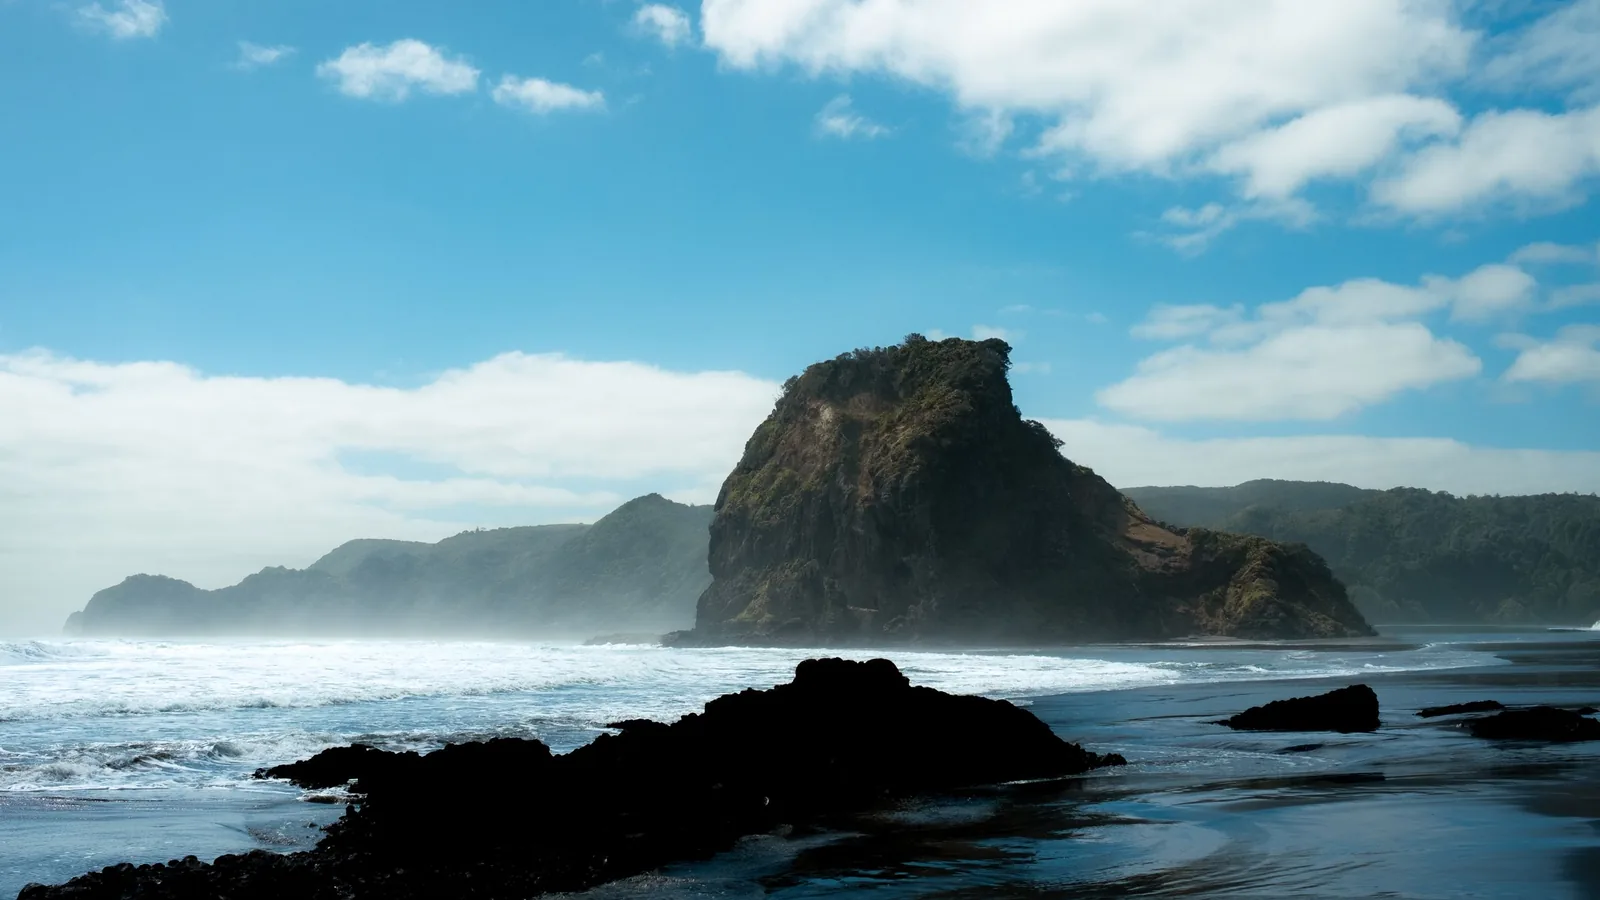
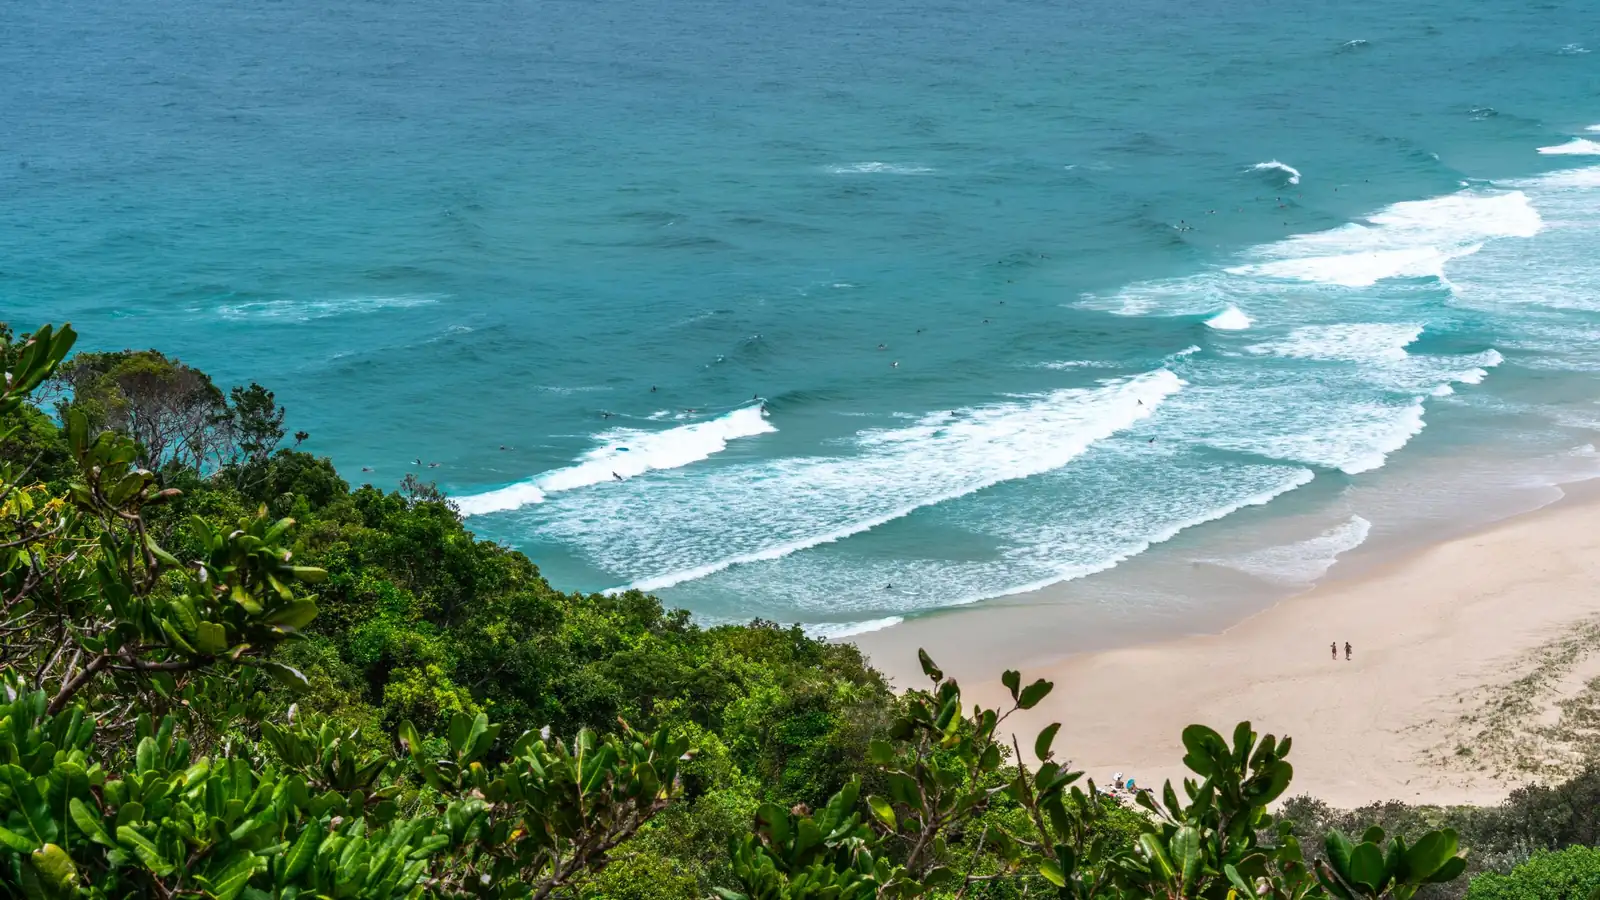
Waves wash up a white sand beach at Byron Bay, New South Wales, Australia, seen from a hill covered in green bush.

Collections

Northern NSW

The Pass at Byron Bay, Lennox Head, Angourie and Crescent Head: the right-hand points of northern New South Wales, with long beaches in between.

108 tees · Photo: Martynas Linge
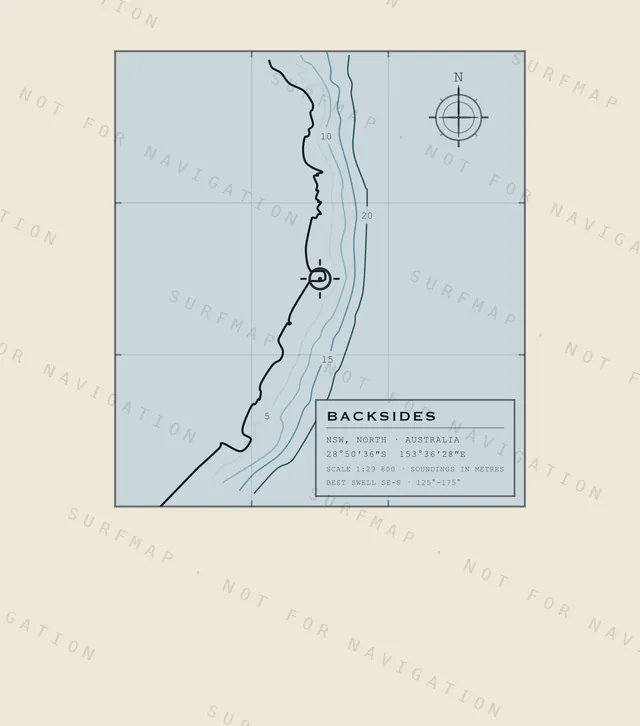
Backsides chart, the full artwork printed on the back
Backsides
NSW · North · Australia
$39.00
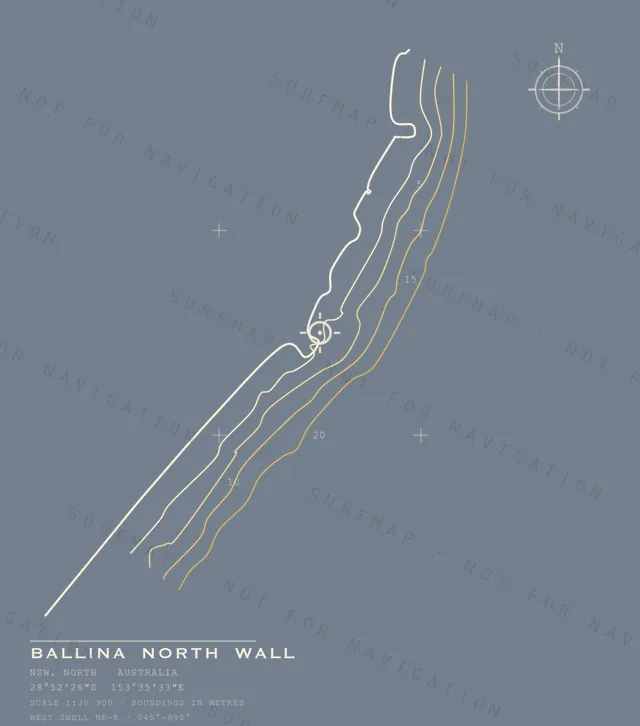
Ballina North Wall chart, the full artwork printed on the back
Ballina North Wall
NSW · North · Australia
$39.00
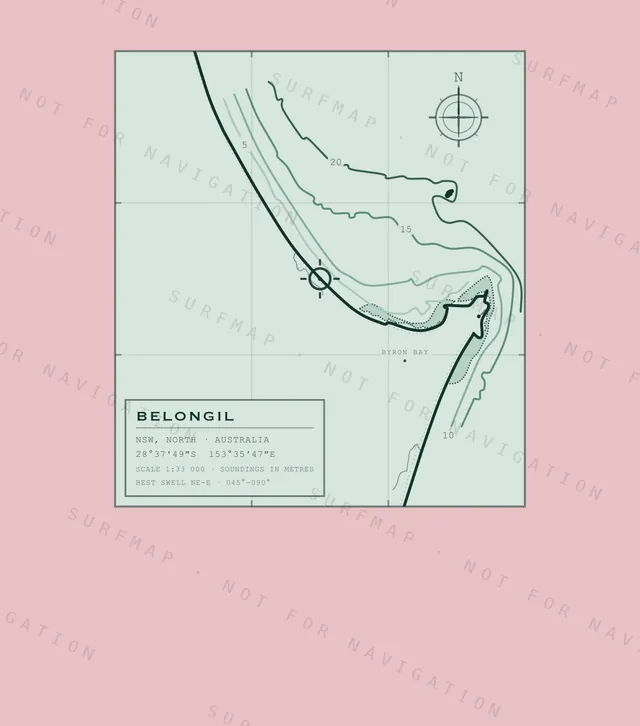
Belongil chart, the full artwork printed on the back
Belongil
NSW · North · Australia
$39.00
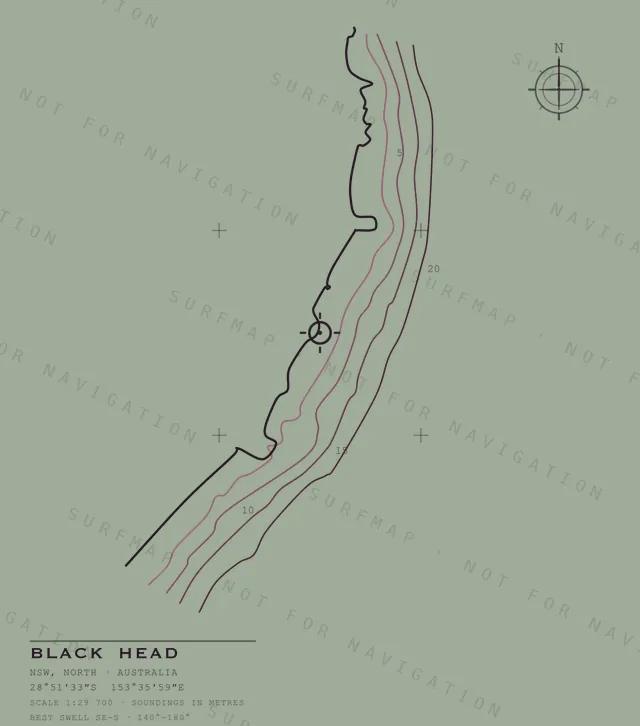
Black Head chart, the full artwork printed on the back
Black Head
NSW · North · Australia
$39.00
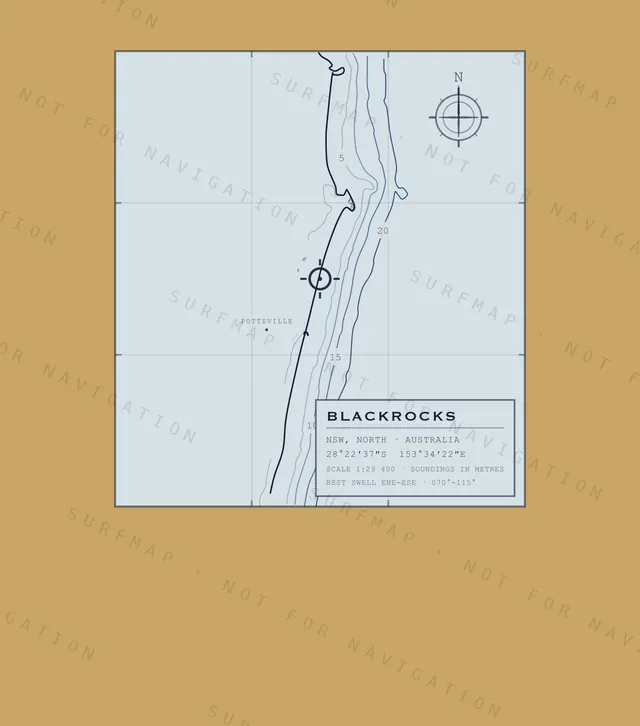
Blackrocks chart, the full artwork printed on the back
Blackrocks
NSW · North · Australia
$39.00
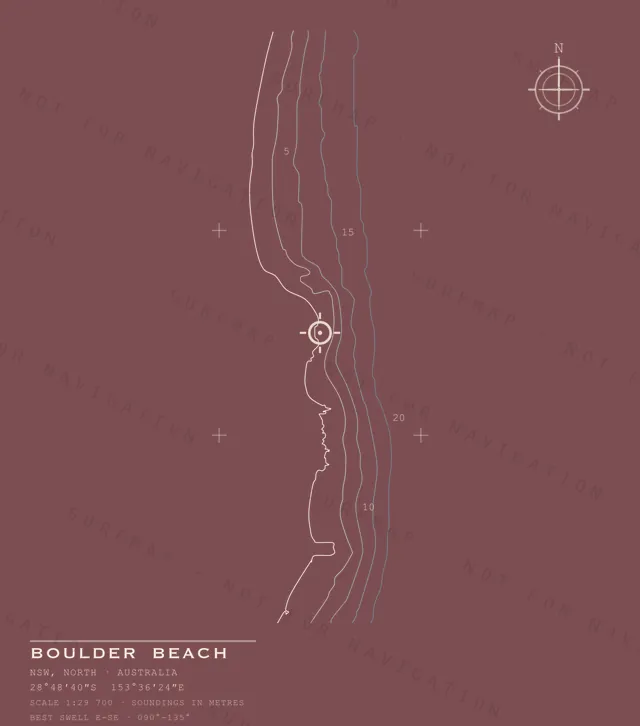
Boulder Beach chart, the full artwork printed on the back
Boulder Beach
NSW · North · Australia
$39.00
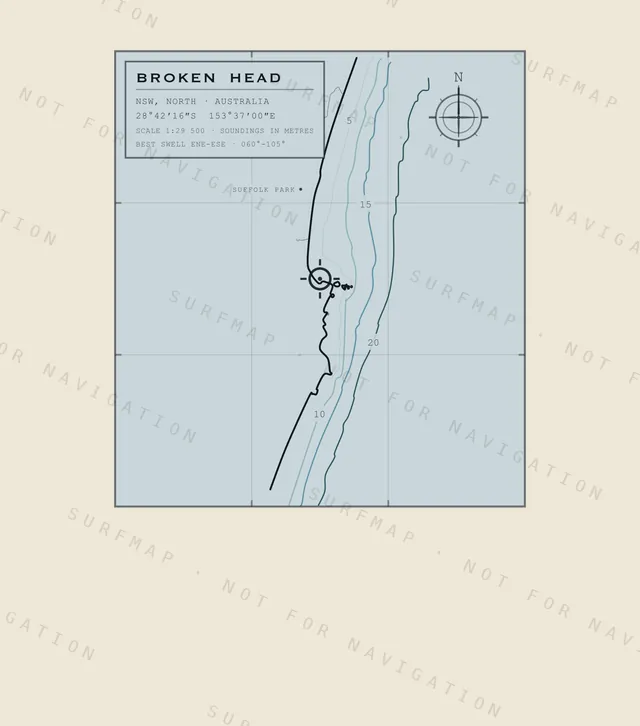
Broken Head chart, the full artwork printed on the back
Broken Head
NSW · North · Australia
$39.00
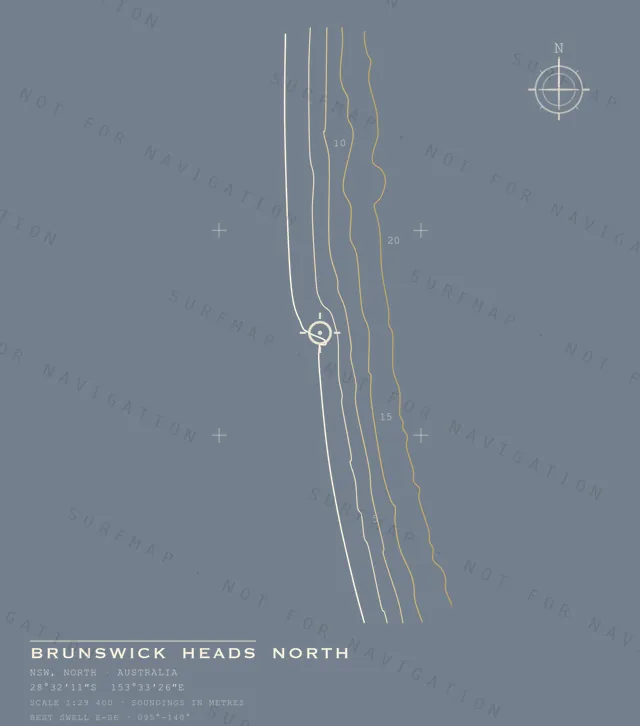
Brunswick Heads North chart, the full artwork printed on the back
Brunswick Heads North
NSW · North · Australia
$39.00
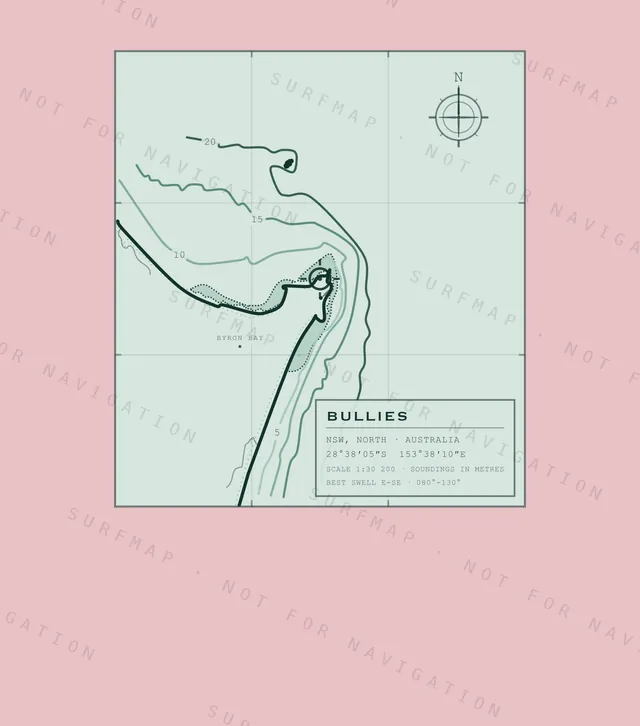
Bullies chart, the full artwork printed on the back
Bullies
NSW · North · Australia
$39.00
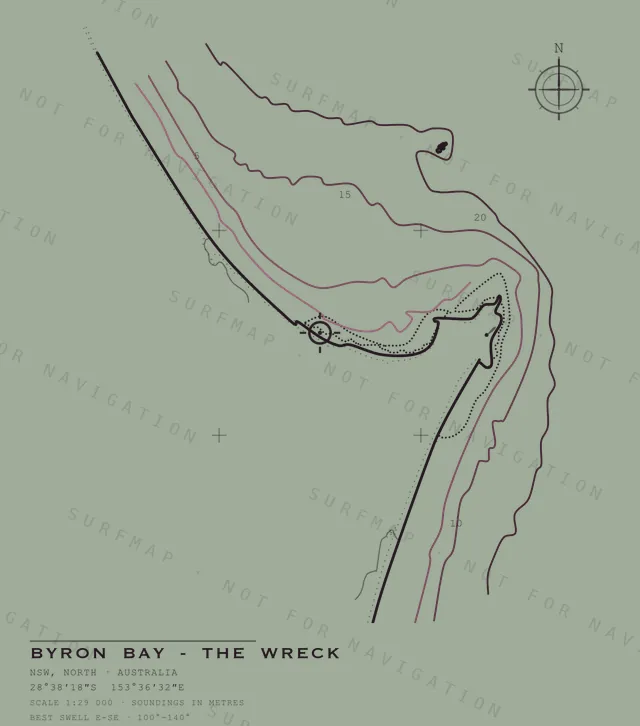
Byron Bay - The Wreck chart, the full artwork printed on the back
Byron Bay - The Wreck
NSW · North · Australia
$39.00
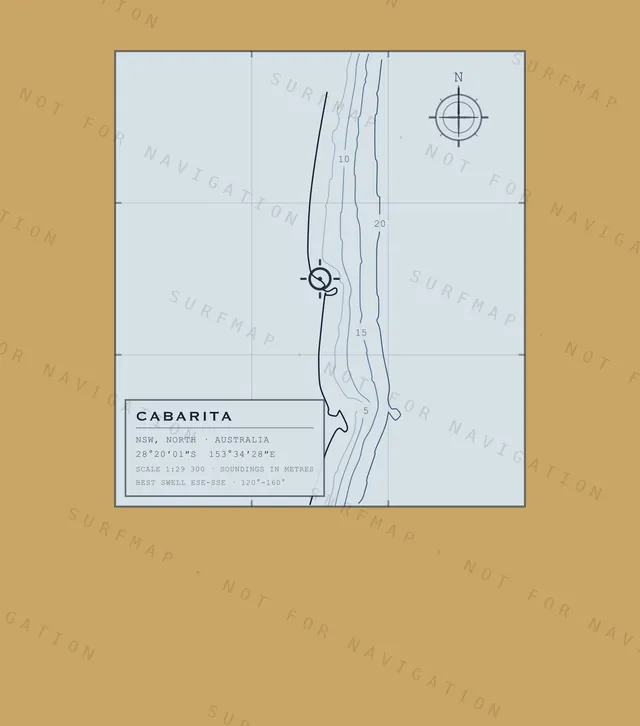
Cabarita chart, the full artwork printed on the back
Cabarita
NSW · North · Australia
$39.00
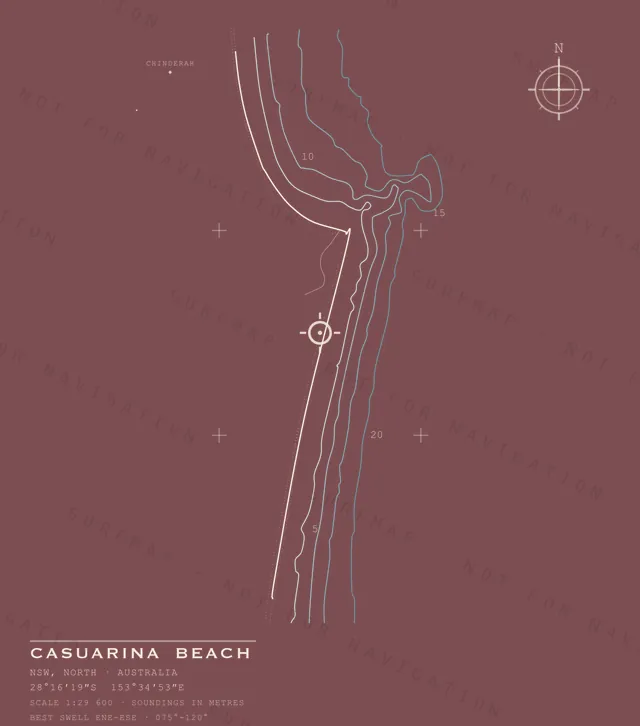
Casuarina Beach chart, the full artwork printed on the back
Casuarina Beach
NSW · North · Australia
$39.00
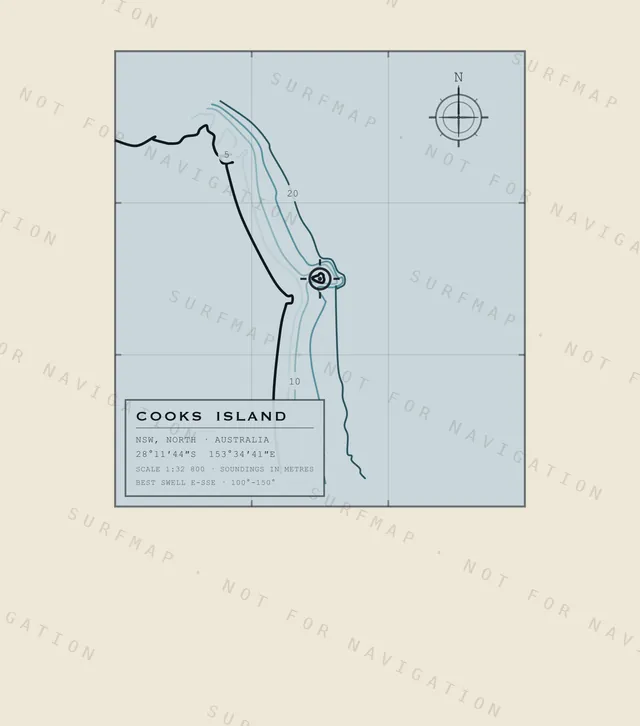
Cooks Island chart, the full artwork printed on the back
Cooks Island
NSW · North · Australia
$39.00
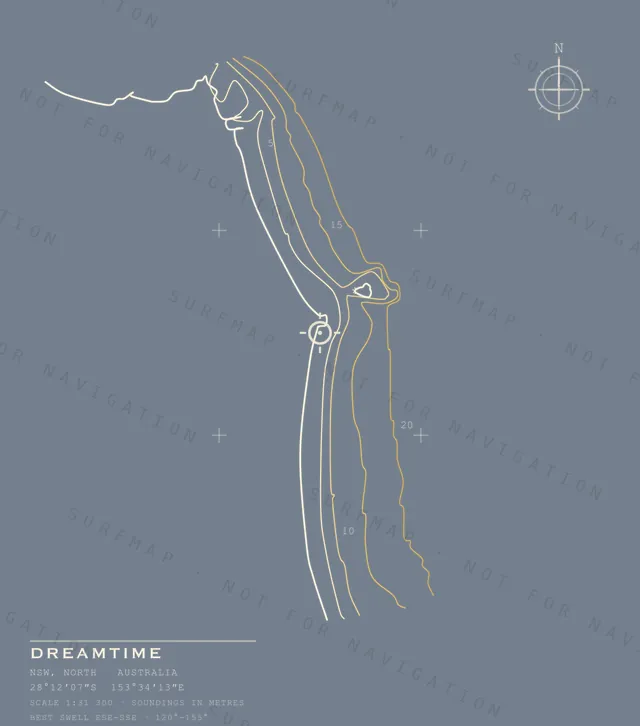
Dreamtime chart, the full artwork printed on the back
Dreamtime
NSW · North · Australia
$39.00
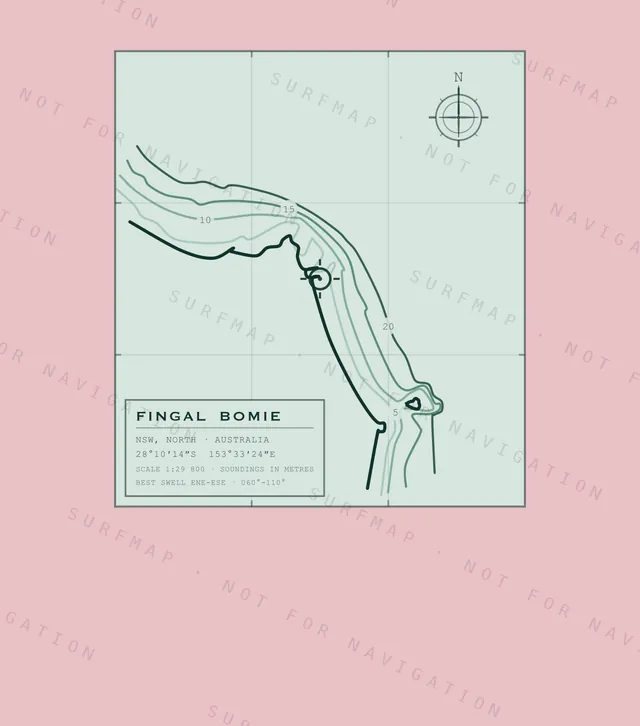
Fingal Bomie chart, the full artwork printed on the back
Fingal Bomie
NSW · North · Australia
$39.00
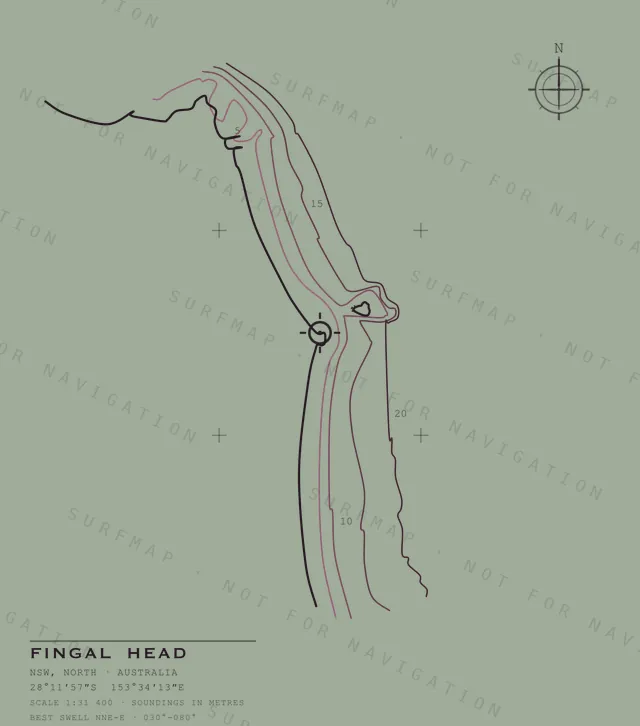
Fingal Head chart, the full artwork printed on the back
Fingal Head
NSW · North · Australia
$39.00
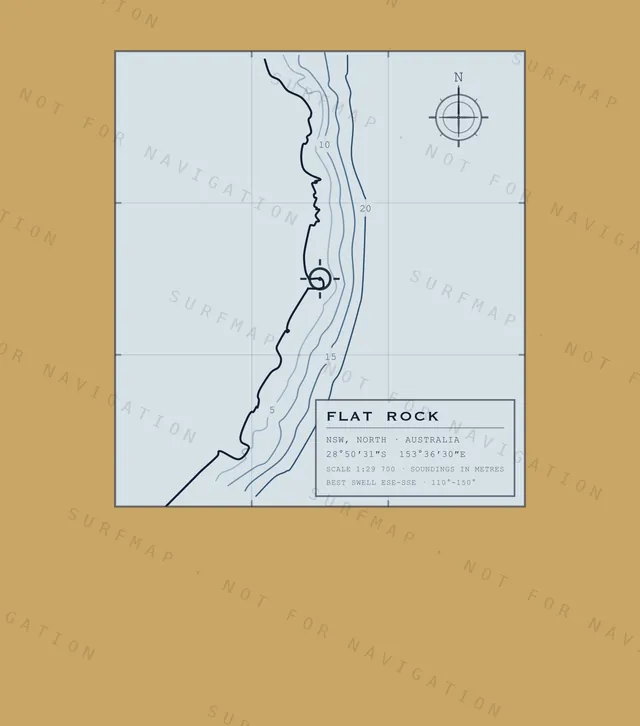
Flat Rock chart, the full artwork printed on the back
Flat Rock
NSW · North · Australia
$39.00
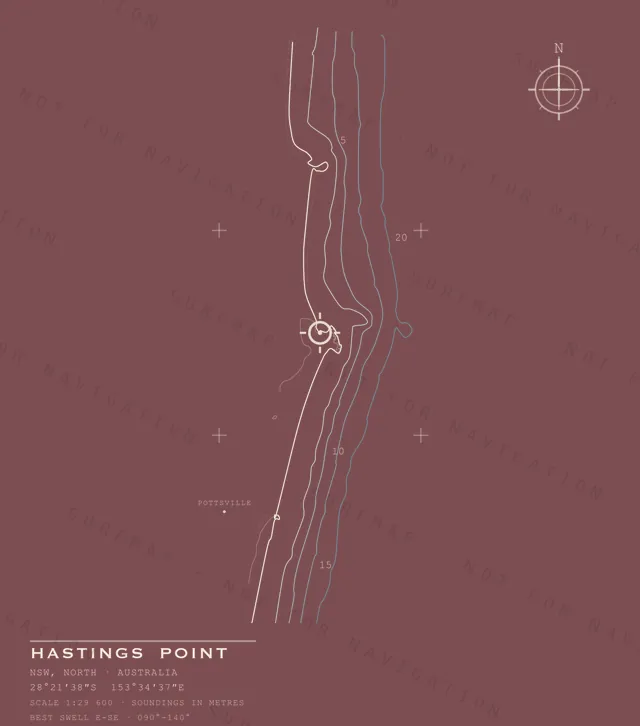
Hastings Point chart, the full artwork printed on the back
Hastings Point
NSW · North · Australia
$39.00
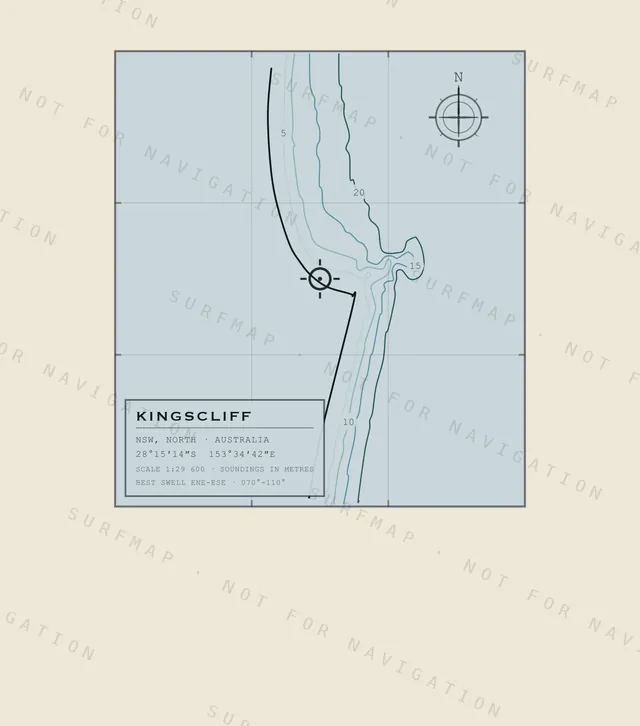
Kingscliff chart, the full artwork printed on the back
Kingscliff
NSW · North · Australia
$39.00
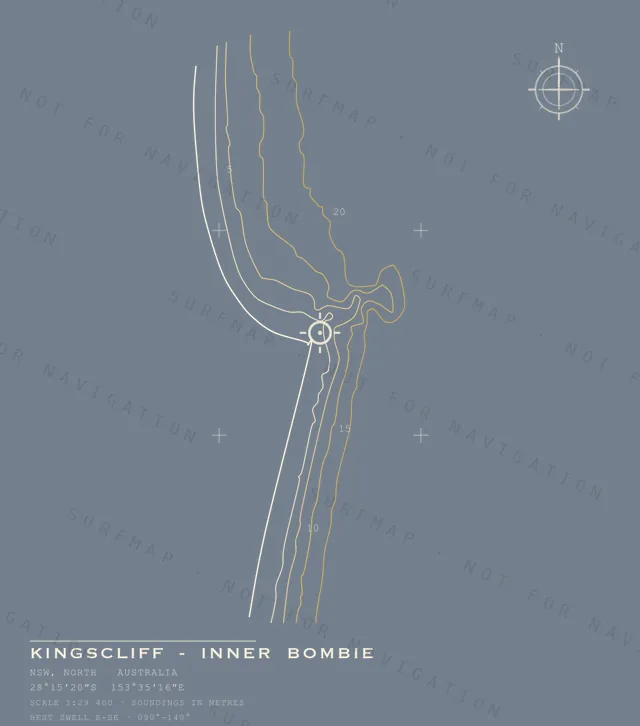
Kingscliff - Inner Bombie chart, the full artwork printed on the back
Kingscliff - Inner Bombie
NSW · North · Australia
$39.00
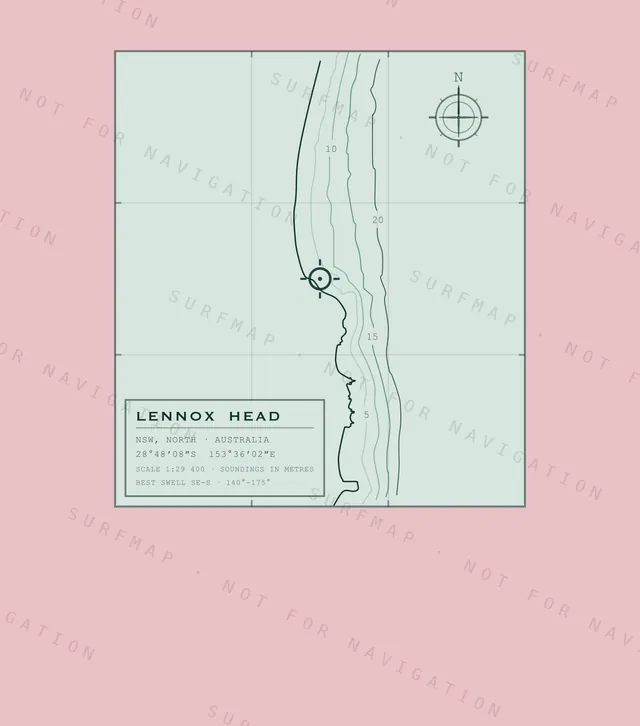
Lennox Head chart, the full artwork printed on the back
Lennox Head
NSW · North · Australia
$39.00
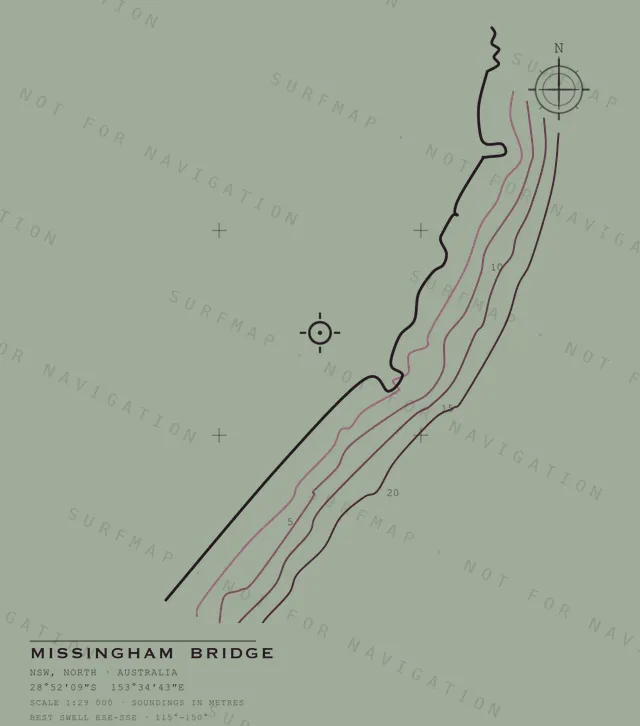
Missingham Bridge chart, the full artwork printed on the back
Missingham Bridge
NSW · North · Australia
$39.00
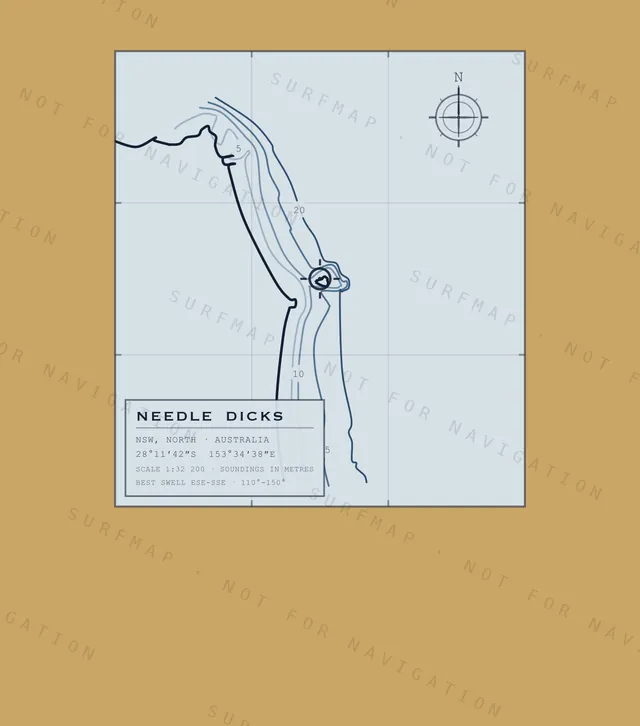
Needle Dicks chart, the full artwork printed on the back
Needle Dicks
NSW · North · Australia
$39.00
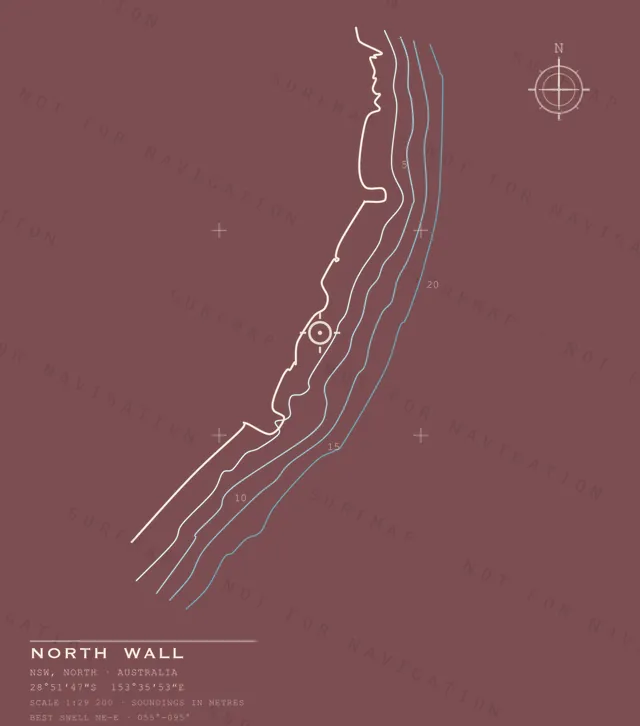
North Wall chart, the full artwork printed on the back
North Wall
NSW · North · Australia
$39.00
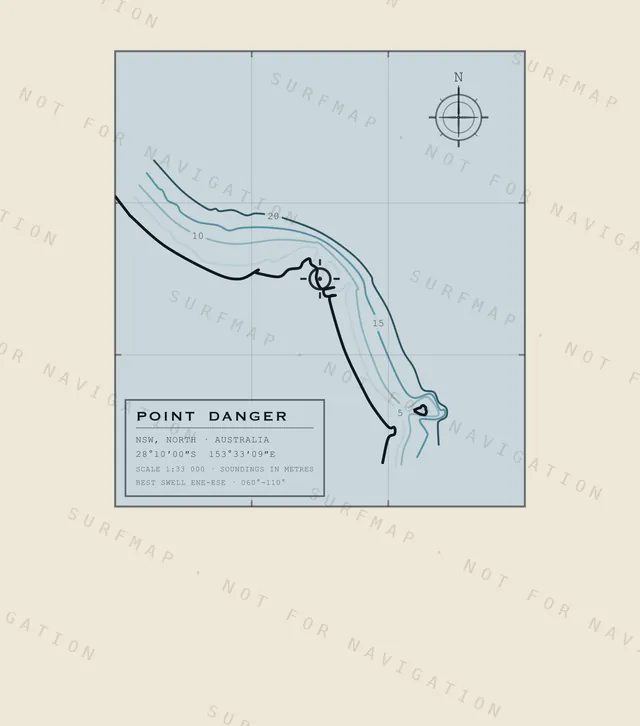
Point Danger chart, the full artwork printed on the back
Point Danger
NSW · North · Australia
$39.00
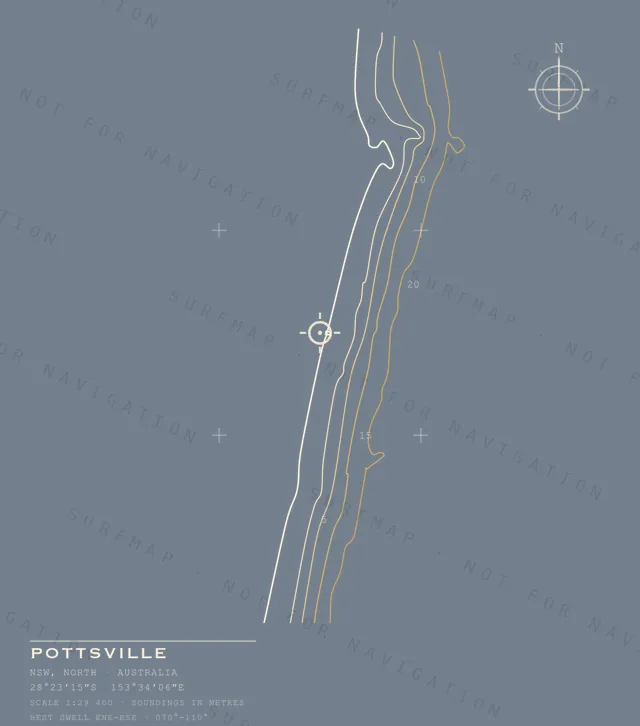
Pottsville chart, the full artwork printed on the back
Pottsville
NSW · North · Australia
$39.00
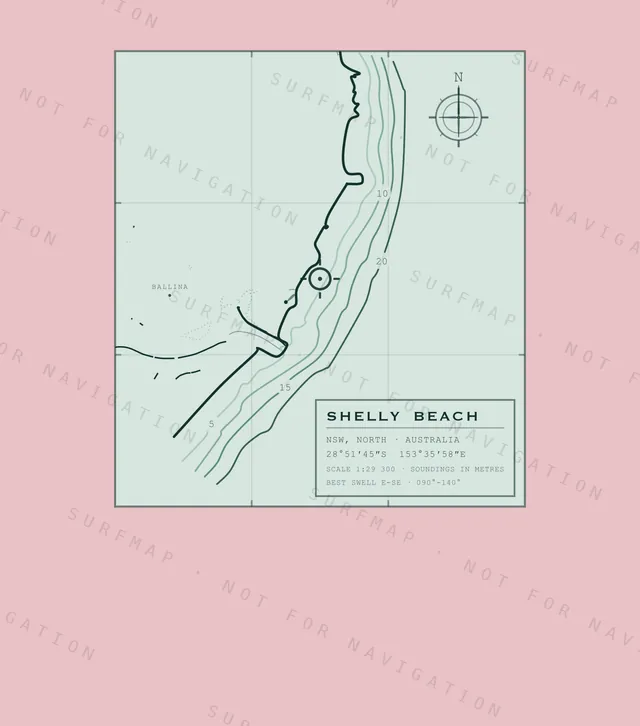
Shelly Beach chart, the full artwork printed on the back
Shelly Beach
NSW · North · Australia
$39.00
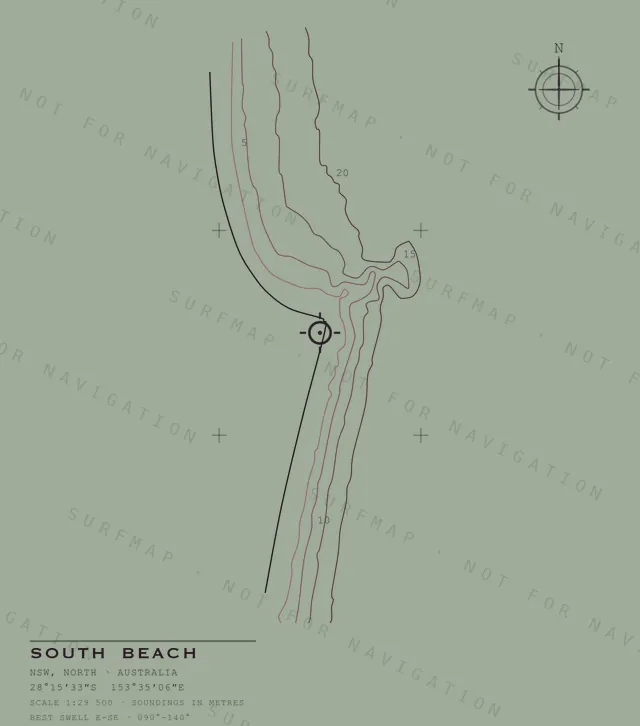
South Beach chart, the full artwork printed on the back
South Beach
NSW · North · Australia
$39.00
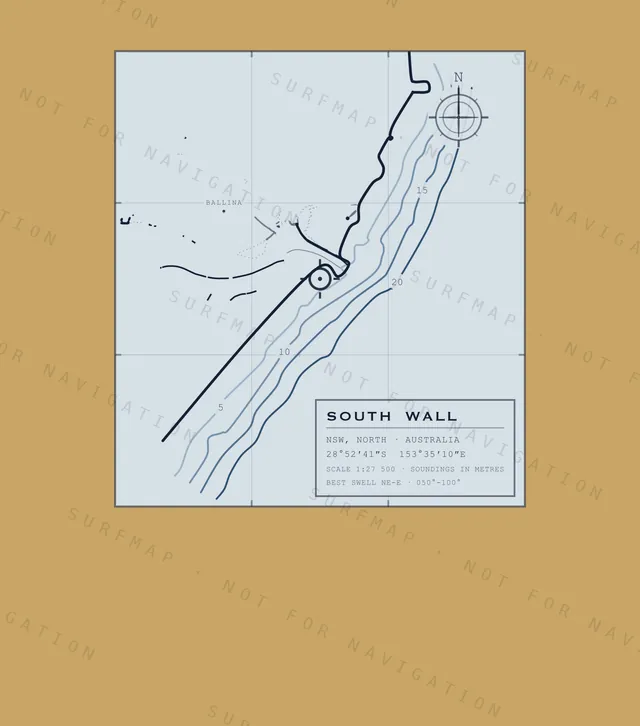
South Wall chart, the full artwork printed on the back
South Wall
NSW · North · Australia
$39.00
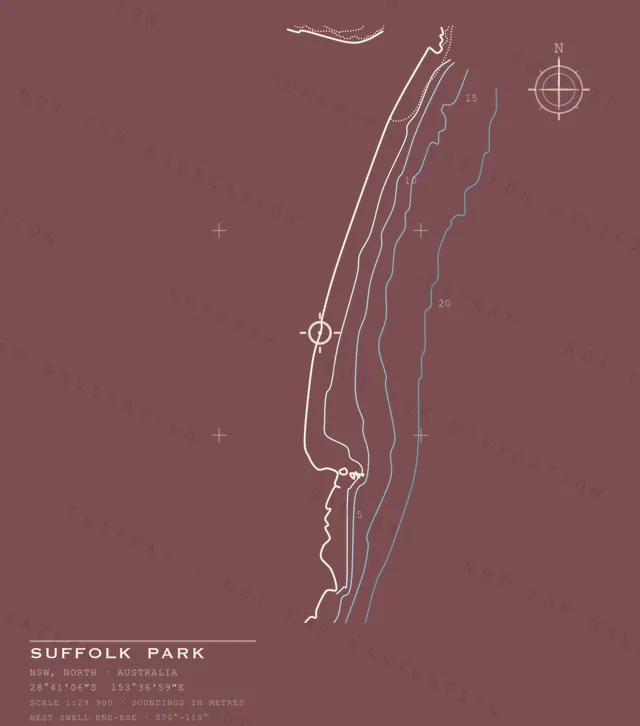
Suffolk Park chart, the full artwork printed on the back
Suffolk Park
NSW · North · Australia
$39.00
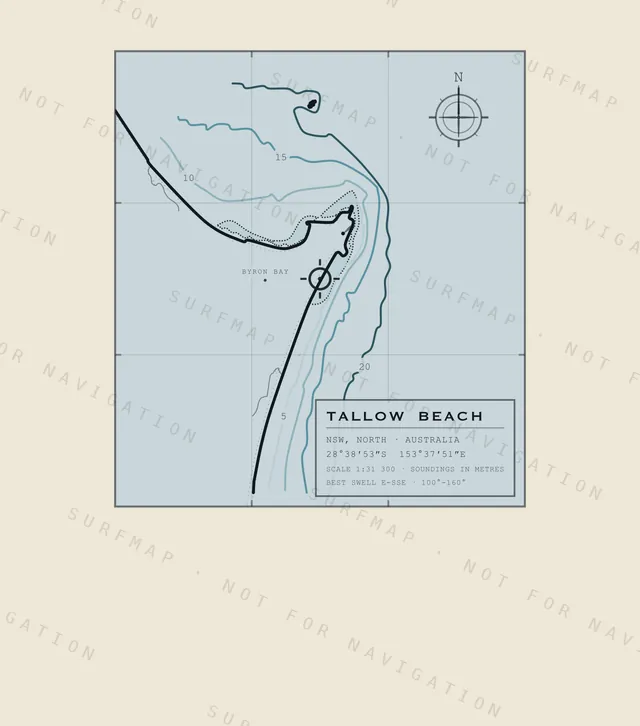
Tallow Beach chart, the full artwork printed on the back
Tallow Beach
NSW · North · Australia
$39.00
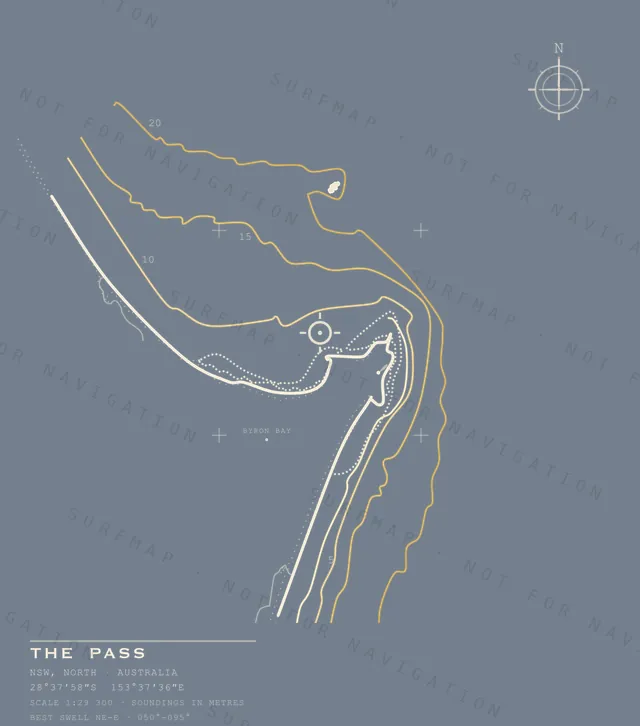
The Pass chart, the full artwork printed on the back
The Pass
NSW · North · Australia
$39.00
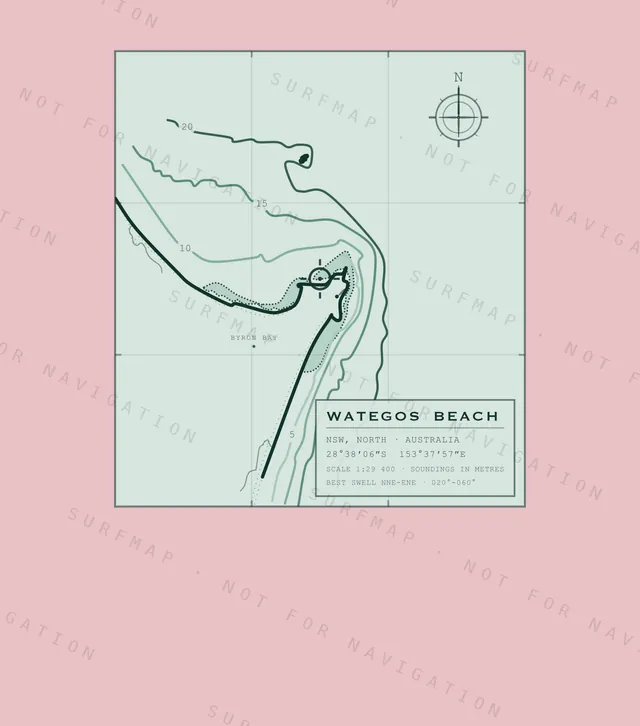
Wategos Beach chart, the full artwork printed on the back
Wategos Beach
NSW · North · Australia
$39.00
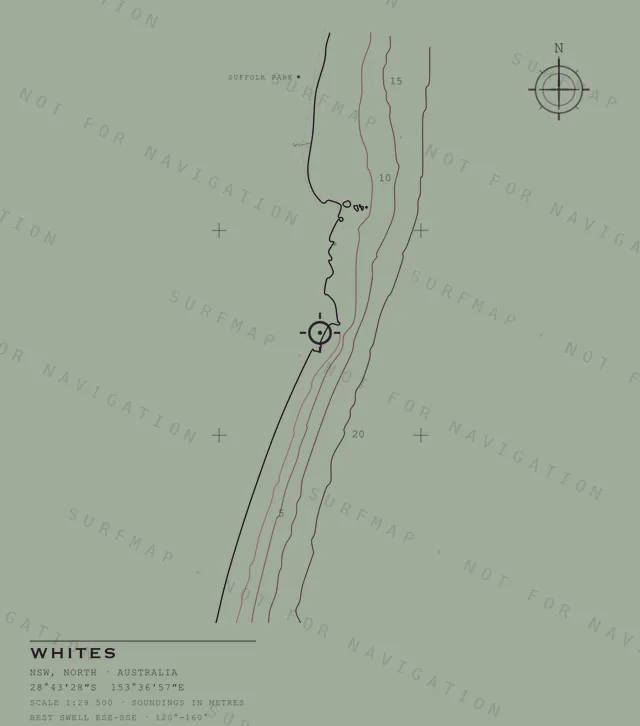
Whites chart, the full artwork printed on the back
Whites
NSW · North · Australia
$39.00
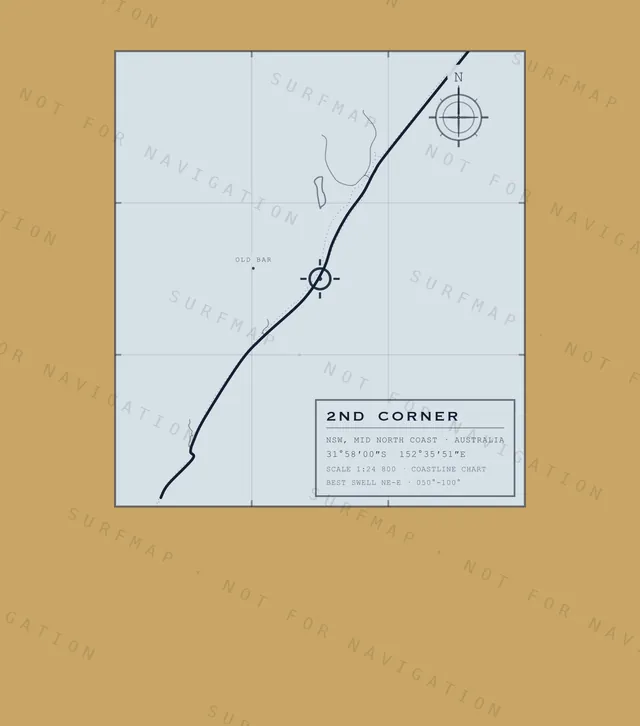
2nd Corner chart, the full artwork printed on the back
2nd Corner
NSW · Mid North Coast · Australia
$39.00
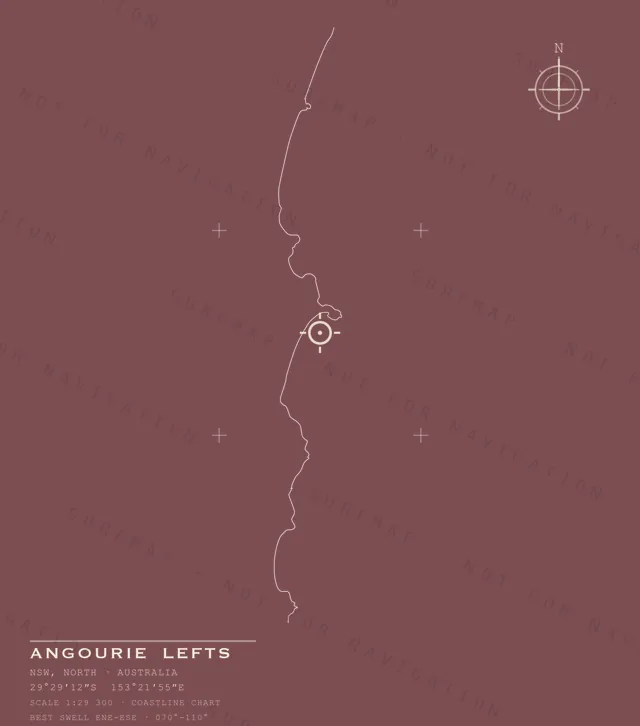
Angourie Lefts chart, the full artwork printed on the back
Angourie Lefts
NSW · North · Australia
$39.00
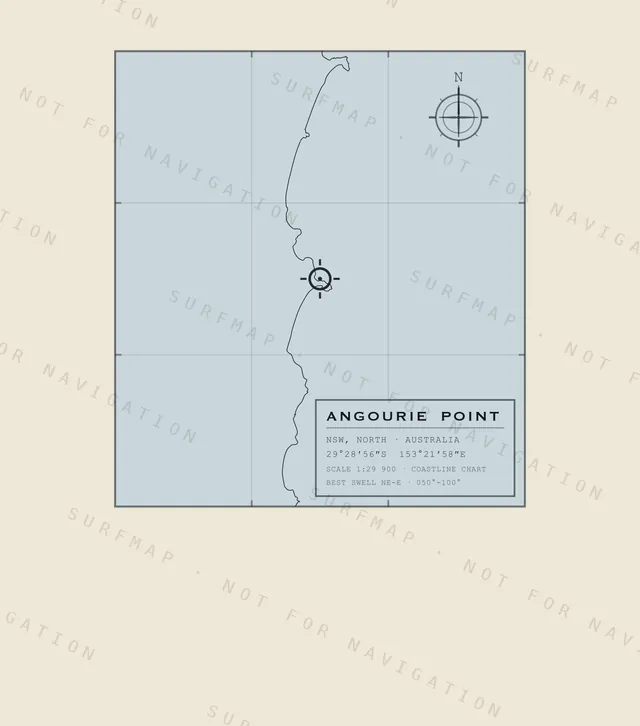
Angourie Point chart, the full artwork printed on the back
Angourie Point
NSW · North · Australia
$39.00
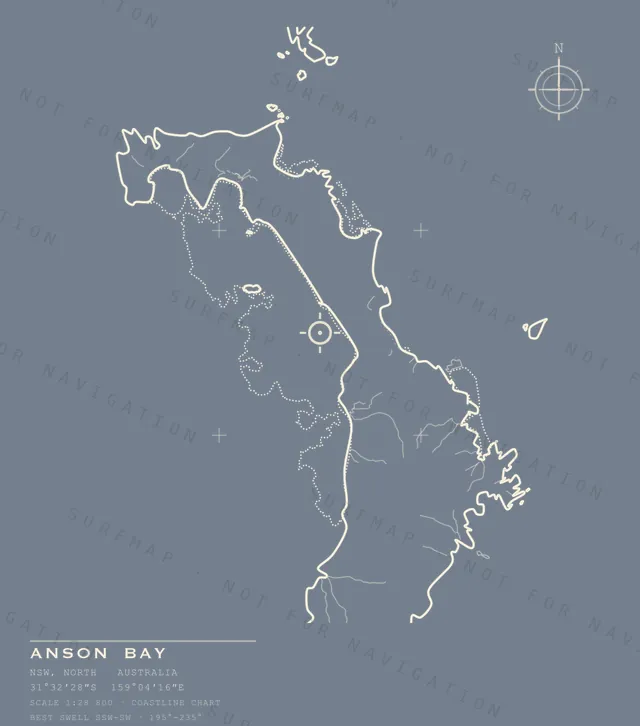
Anson Bay chart, the full artwork printed on the back
Anson Bay
NSW · North · Australia
$39.00
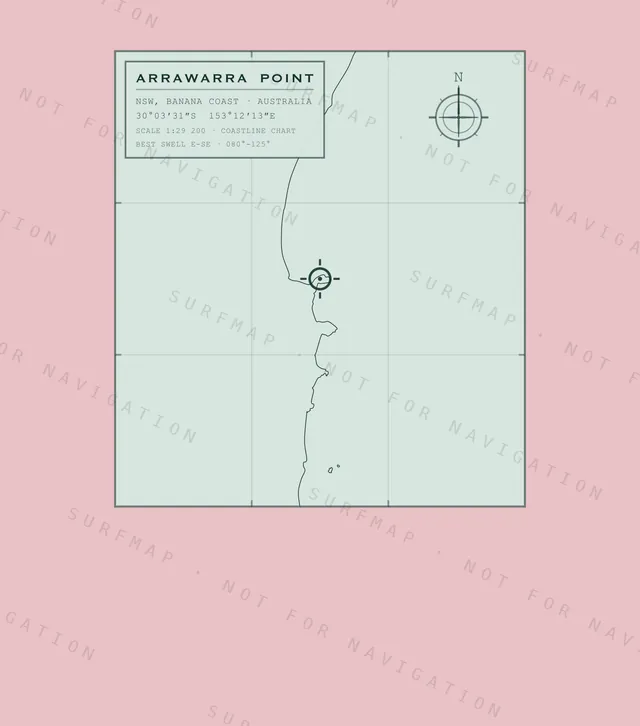
Arrawarra Point chart, the full artwork printed on the back
Arrawarra Point
NSW · Banana Coast · Australia
$39.00
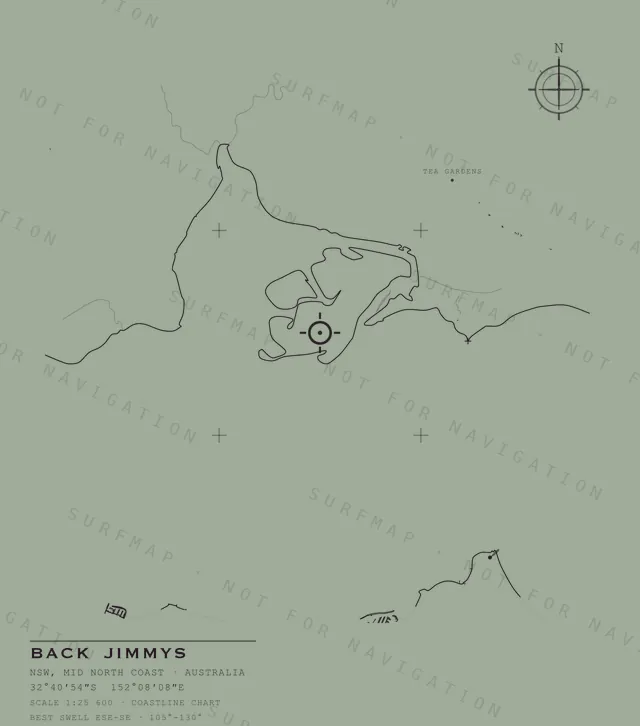
Back Jimmys chart, the full artwork printed on the back
Back Jimmys
NSW · Mid North Coast · Australia
$39.00
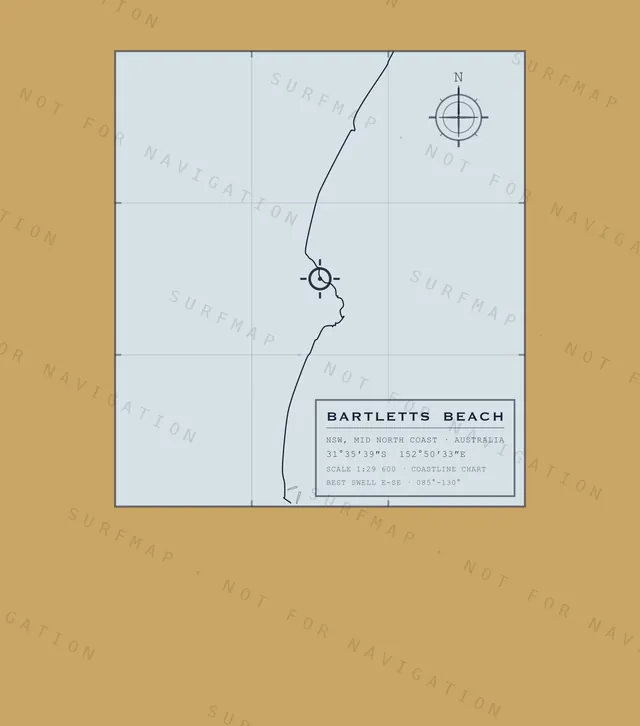
Bartletts Beach chart, the full artwork printed on the back
Bartletts Beach
NSW · Mid North Coast · Australia
$39.00
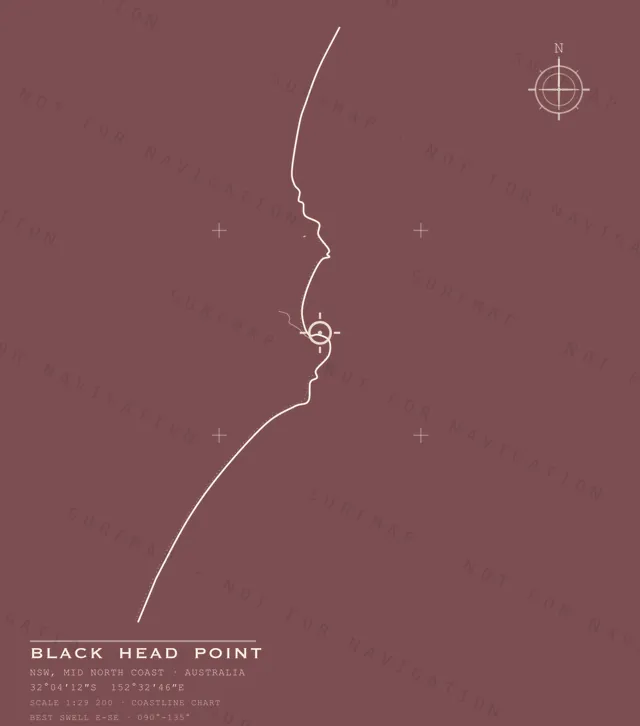
Black Head Point chart, the full artwork printed on the back
Black Head Point
NSW · Mid North Coast · Australia
$39.00
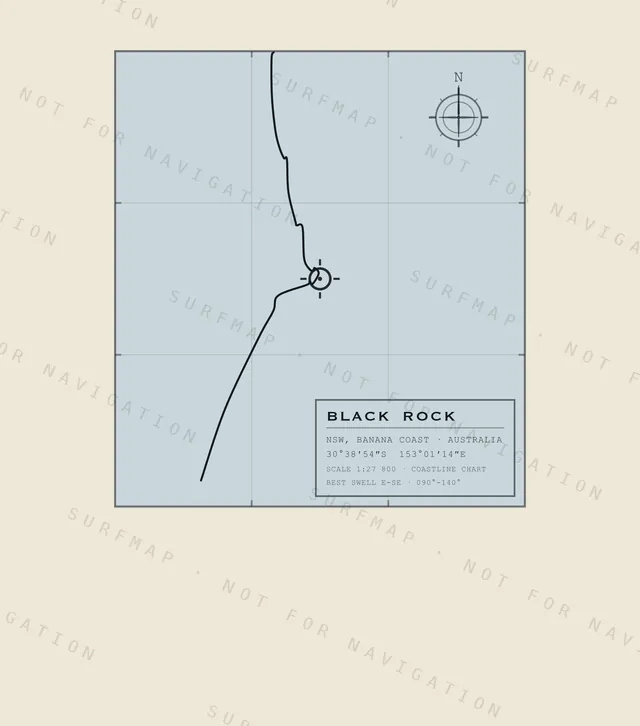
Black Rock chart, the full artwork printed on the back
Black Rock
NSW · Banana Coast · Australia
$39.00
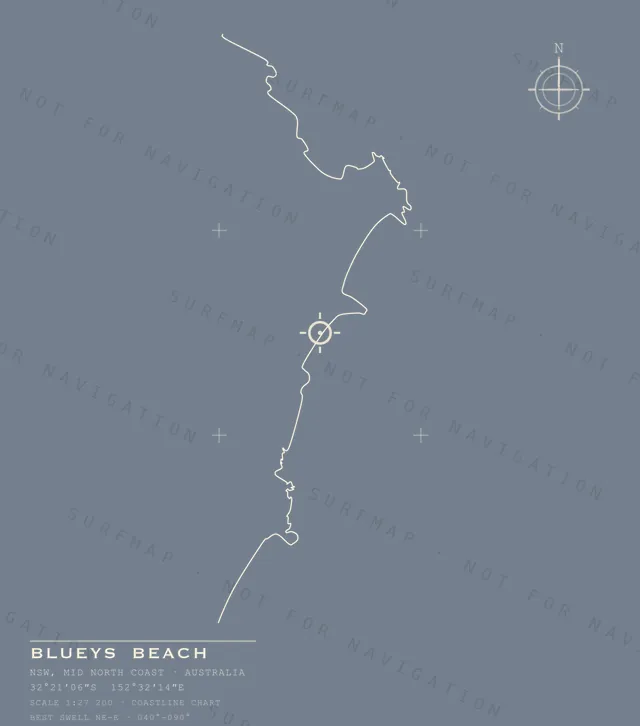
Blueys Beach chart, the full artwork printed on the back
Blueys Beach
NSW · Mid North Coast · Australia
$39.00
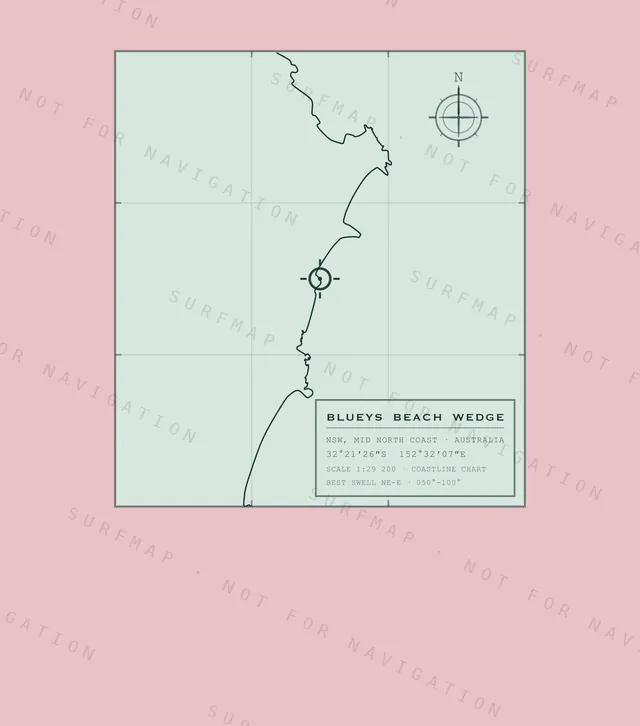
Blueys Beach Wedge chart, the full artwork printed on the back
Blueys Beach Wedge
NSW · Mid North Coast · Australia
$39.00
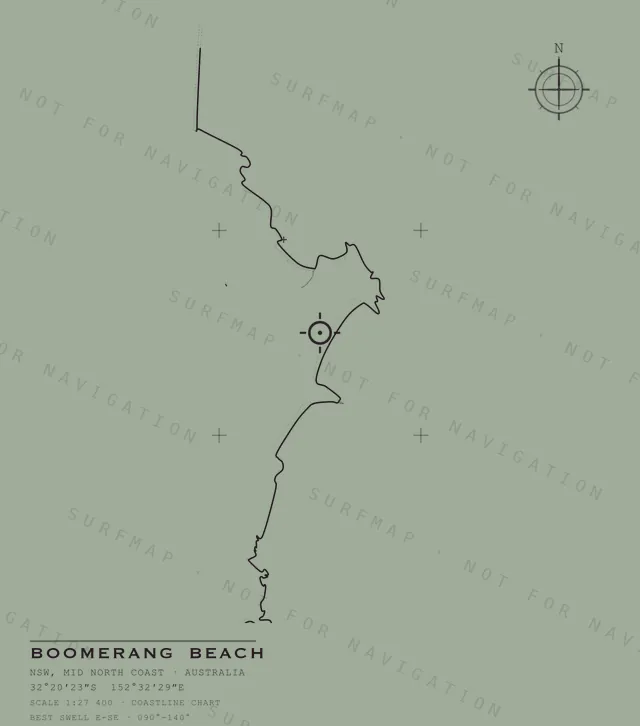
Boomerang Beach chart, the full artwork printed on the back
Boomerang Beach
NSW · Mid North Coast · Australia
$39.00
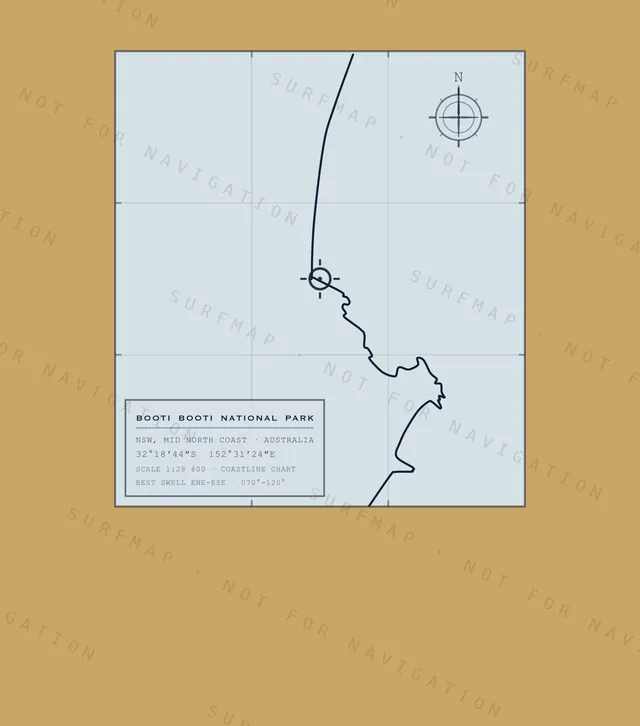
Booti Booti National Park chart, the full artwork printed on the back
Booti Booti National Park
NSW · Mid North Coast · Australia
$39.00
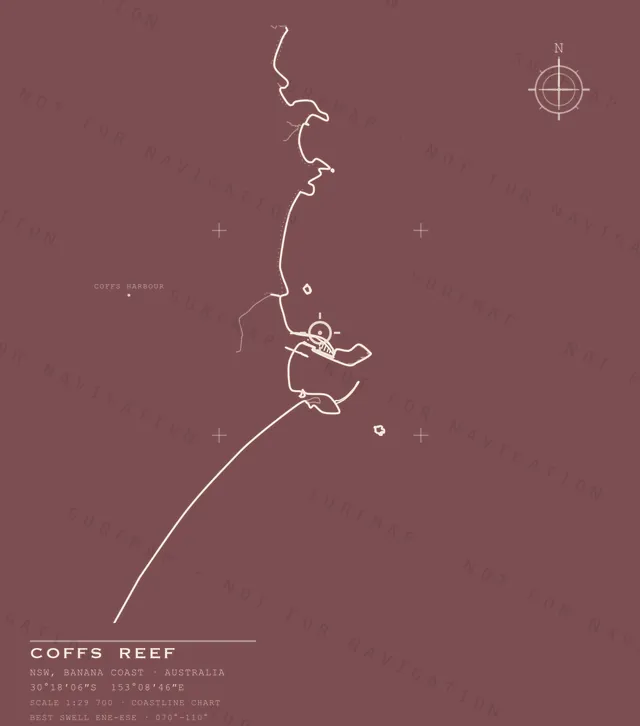
Coffs Reef chart, the full artwork printed on the back
Coffs Reef
NSW · Banana Coast · Australia
$39.00
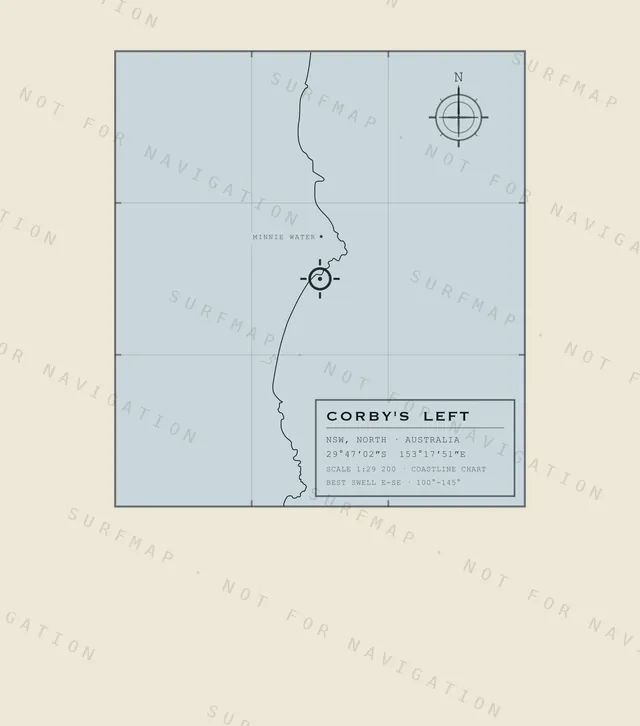
Corby's Left chart, the full artwork printed on the back
Corby's Left
NSW · North · Australia
$39.00
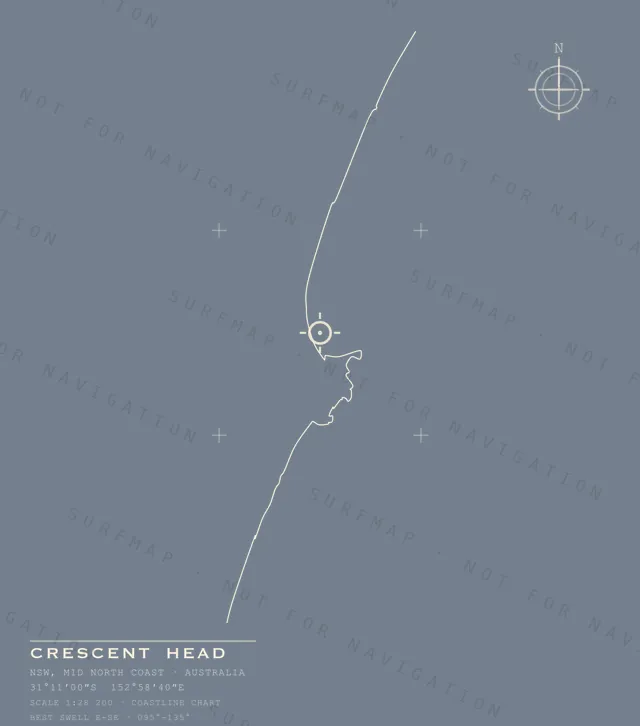
Crescent Head chart, the full artwork printed on the back
Crescent Head
NSW · Mid North Coast · Australia
$39.00
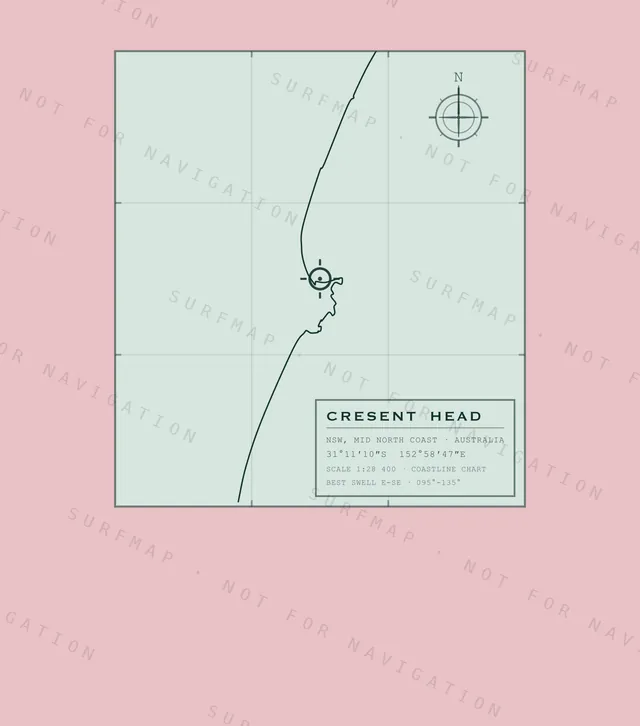
Cresent Head chart, the full artwork printed on the back
Cresent Head
NSW · Mid North Coast · Australia
$39.00
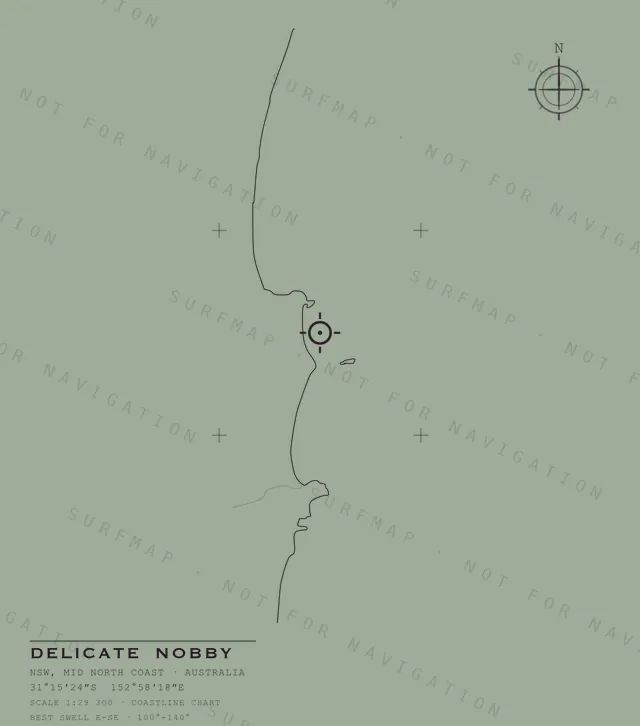
Delicate Nobby chart, the full artwork printed on the back
Delicate Nobby
NSW · Mid North Coast · Australia
$39.00
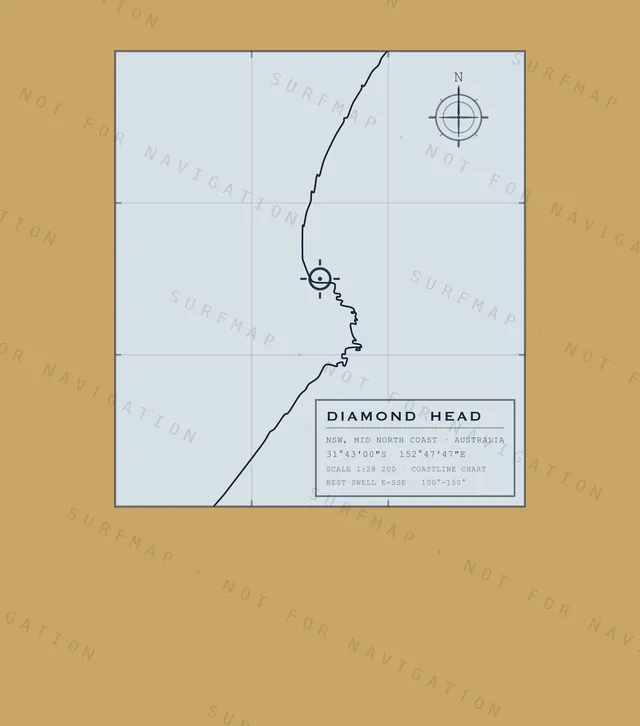
Diamond Head chart, the full artwork printed on the back
Diamond Head
NSW · Mid North Coast · Australia
$39.00
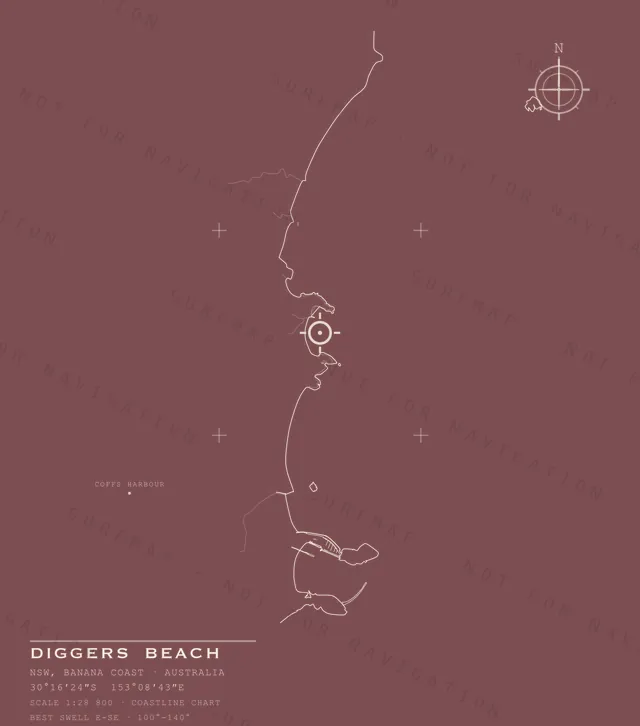
Diggers Beach chart, the full artwork printed on the back
Diggers Beach
NSW · Banana Coast · Australia
$39.00
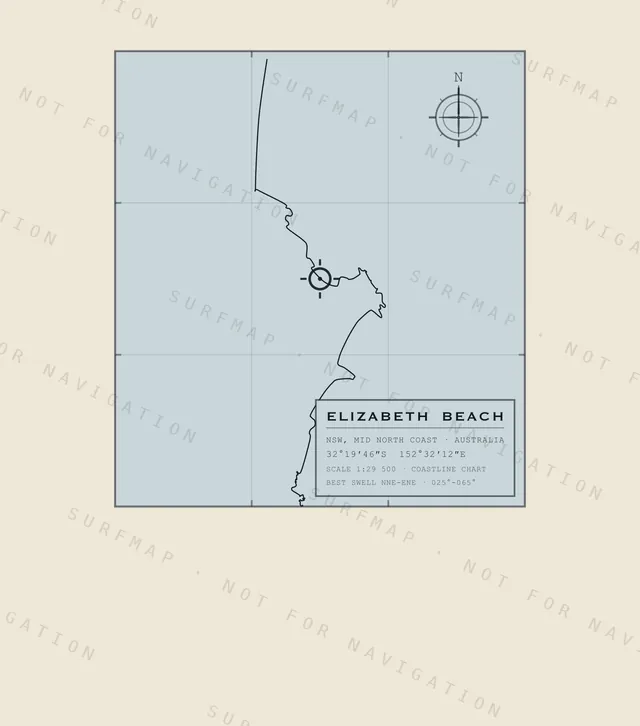
Elizabeth Beach chart, the full artwork printed on the back
Elizabeth Beach
NSW · Mid North Coast · Australia
$39.00
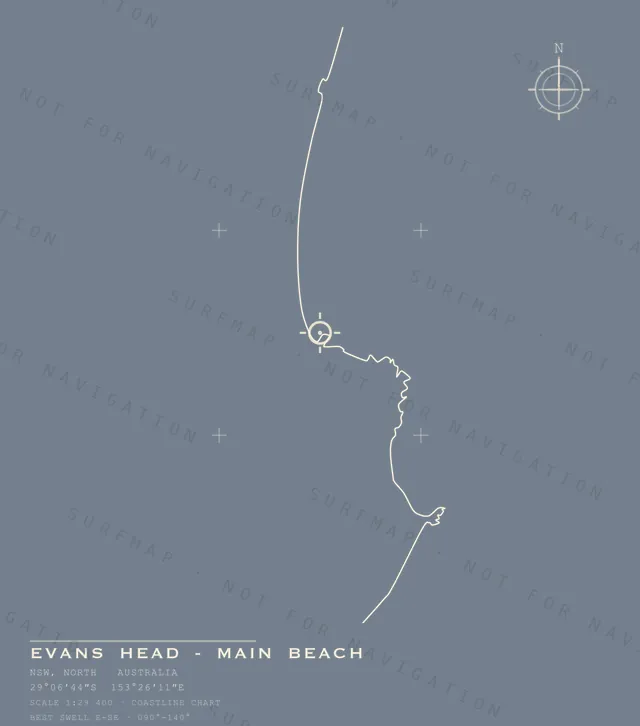
Evans Head - Main Beach chart, the full artwork printed on the back
Evans Head - Main Beach
NSW · North · Australia
$39.00
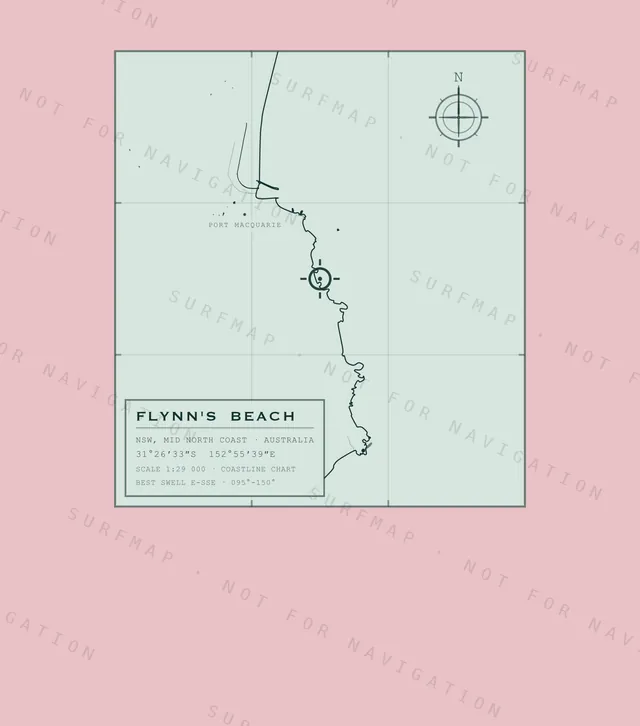
Flynn's Beach chart, the full artwork printed on the back
Flynn's Beach
NSW · Mid North Coast · Australia
$39.00
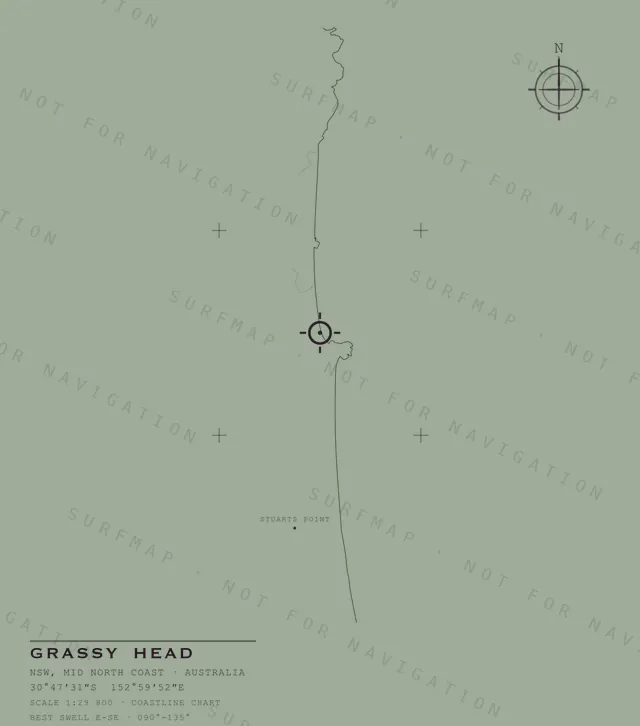
Grassy Head chart, the full artwork printed on the back
Grassy Head
NSW · Mid North Coast · Australia
$39.00
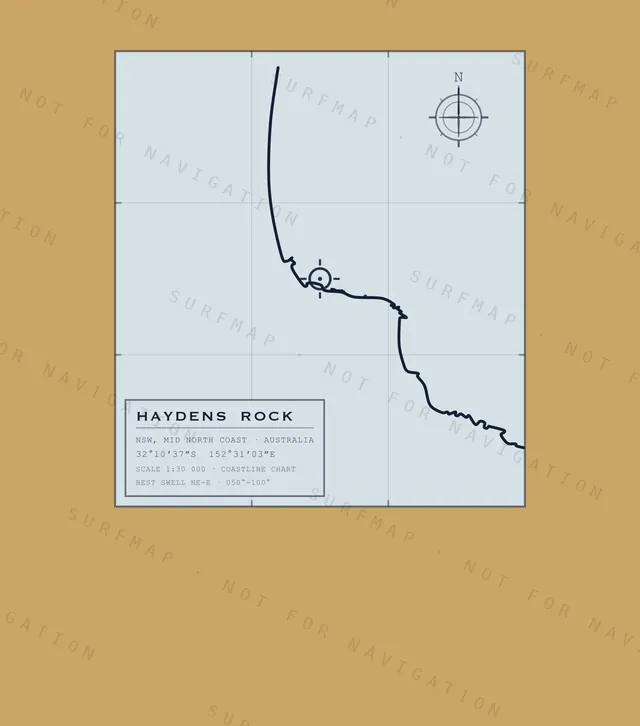
Haydens Rock chart, the full artwork printed on the back
Haydens Rock
NSW · Mid North Coast · Australia
$39.00
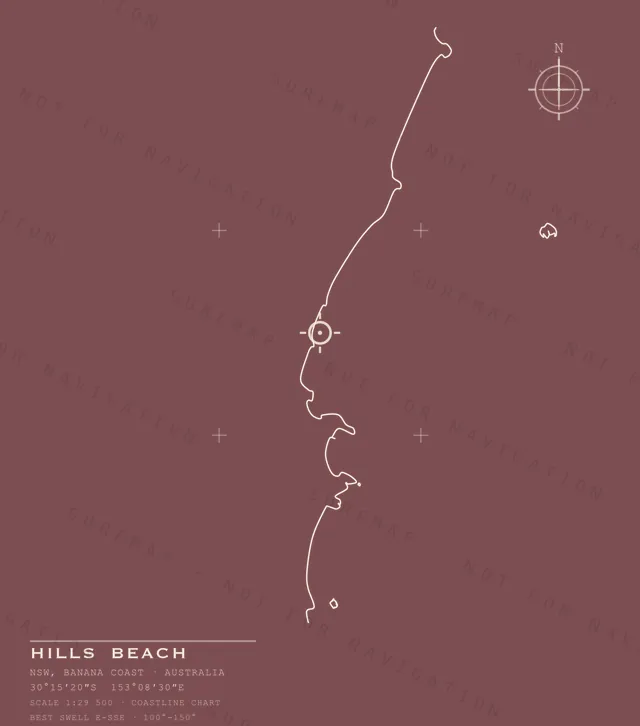
Hills Beach chart, the full artwork printed on the back
Hills Beach
NSW · Banana Coast · Australia
$39.00
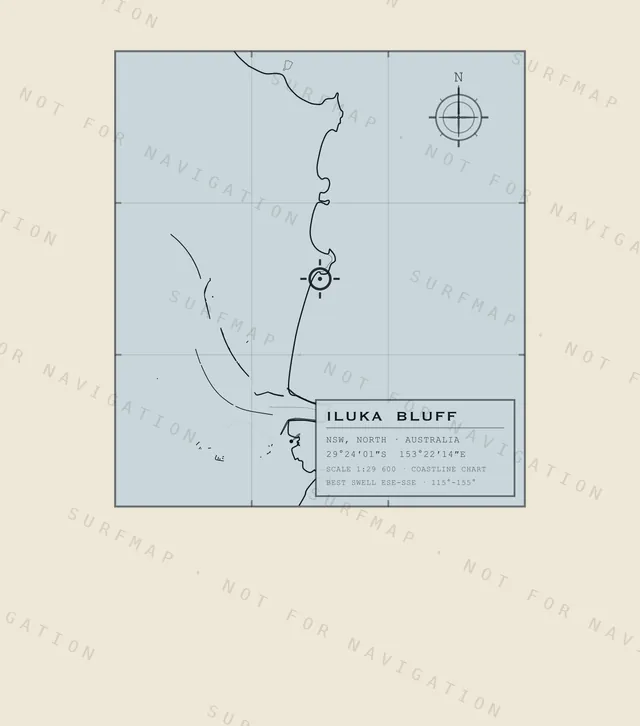
Iluka Bluff chart, the full artwork printed on the back
Iluka Bluff
NSW · North · Australia
$39.00
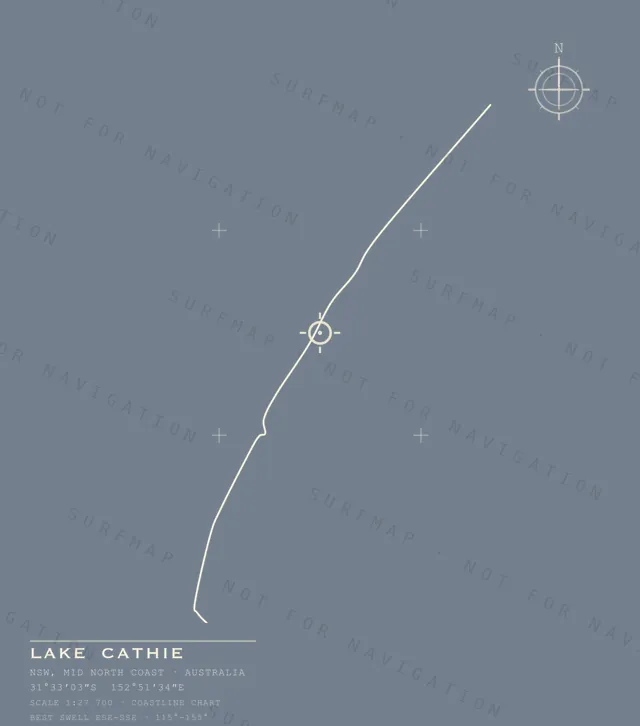
Lake Cathie chart, the full artwork printed on the back
Lake Cathie
NSW · Mid North Coast · Australia
$39.00
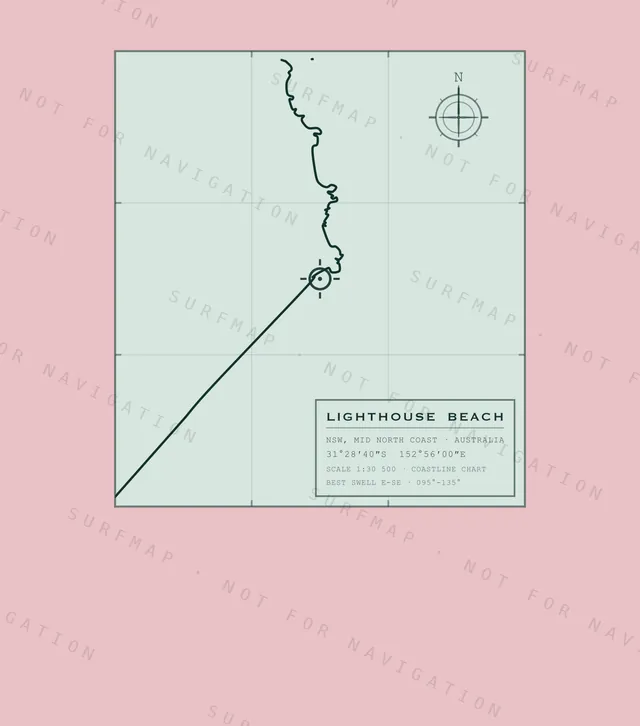
Lighthouse Beach chart, the full artwork printed on the back
Lighthouse Beach
NSW · Mid North Coast · Australia
$39.00
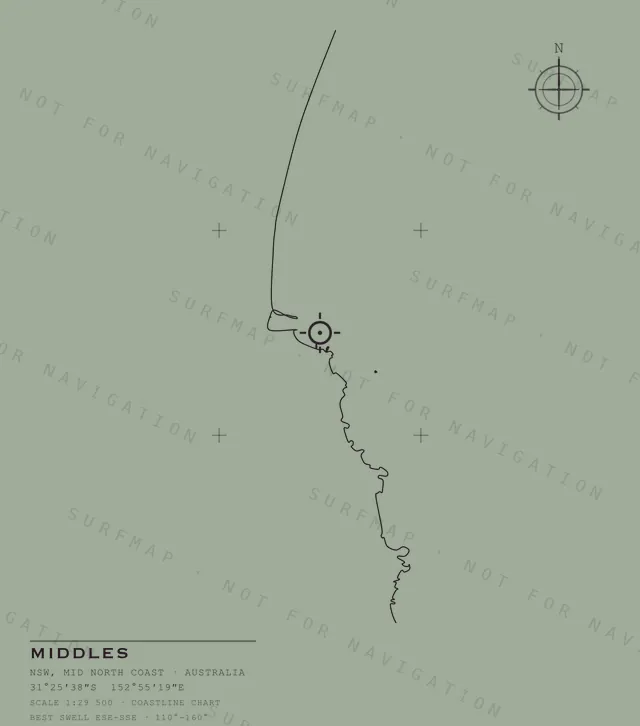
Middles chart, the full artwork printed on the back
Middles
NSW · Mid North Coast · Australia
$39.00
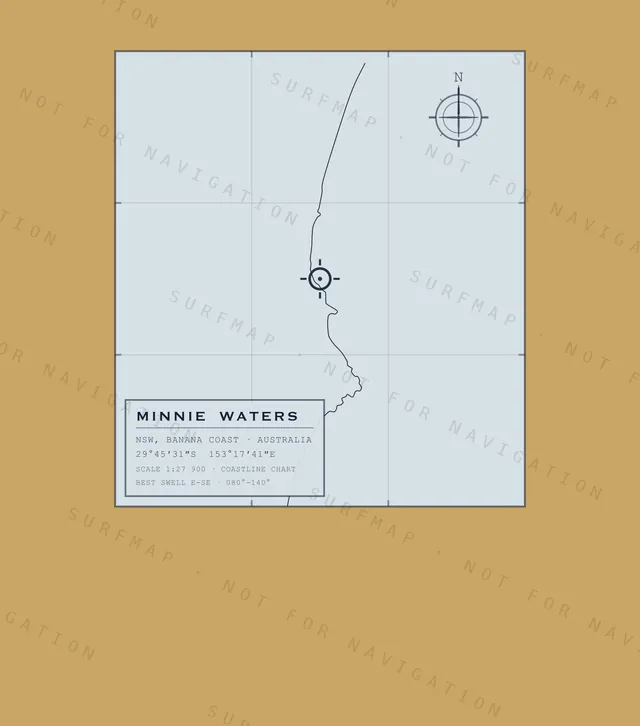
Minnie Waters chart, the full artwork printed on the back
Minnie Waters
NSW · Banana Coast · Australia
$39.00
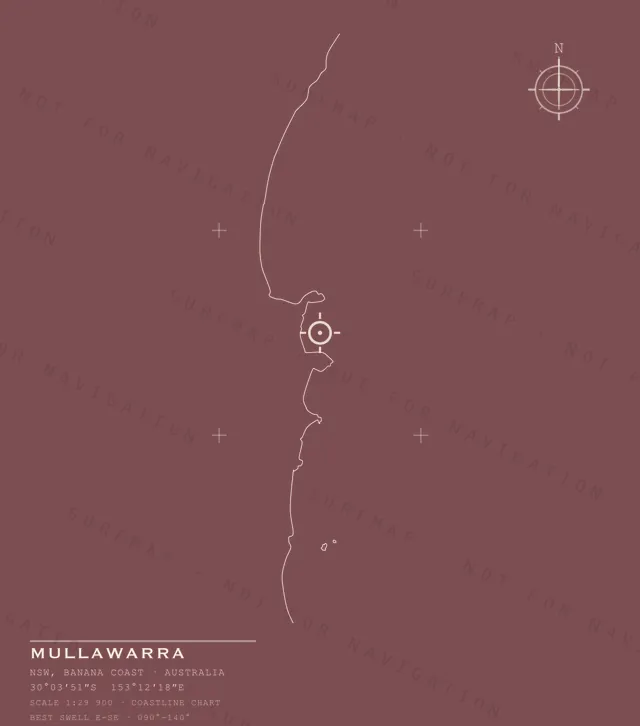
Mullawarra chart, the full artwork printed on the back
Mullawarra
NSW · Banana Coast · Australia
$39.00
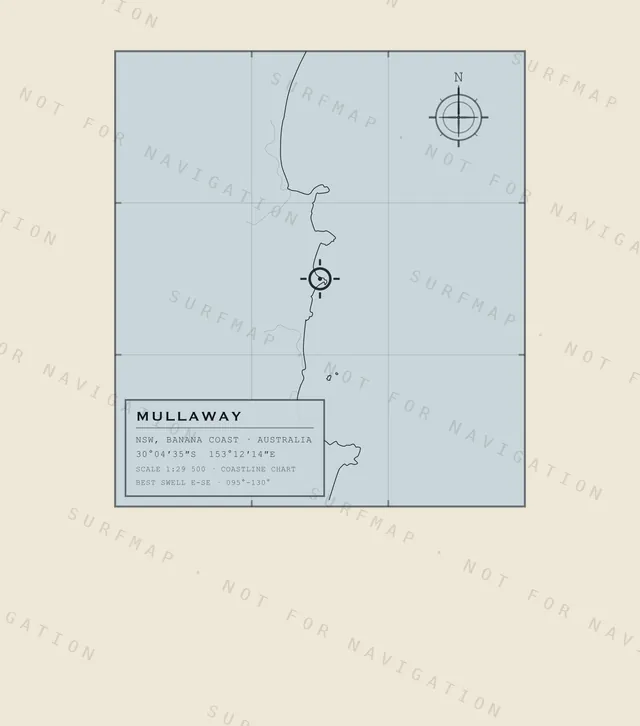
Mullaway chart, the full artwork printed on the back
Mullaway
NSW · Banana Coast · Australia
$39.00
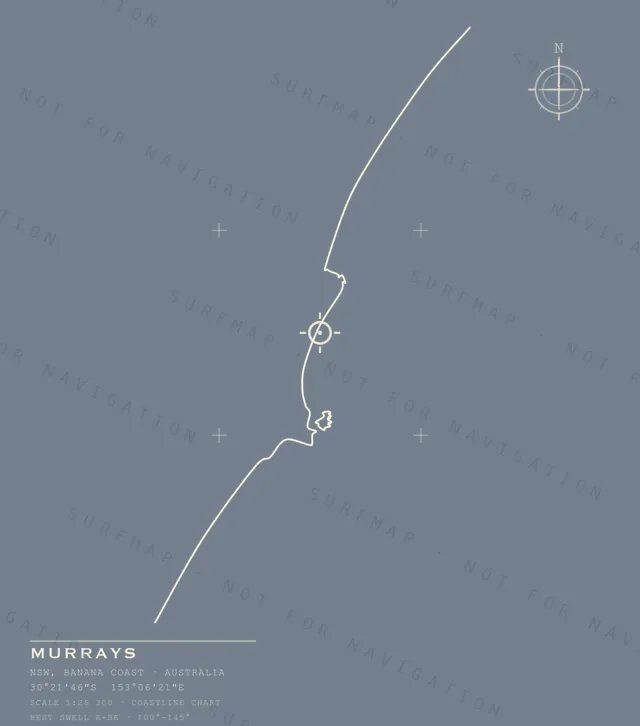
Murrays chart, the full artwork printed on the back
Murrays
NSW · Banana Coast · Australia
$39.00
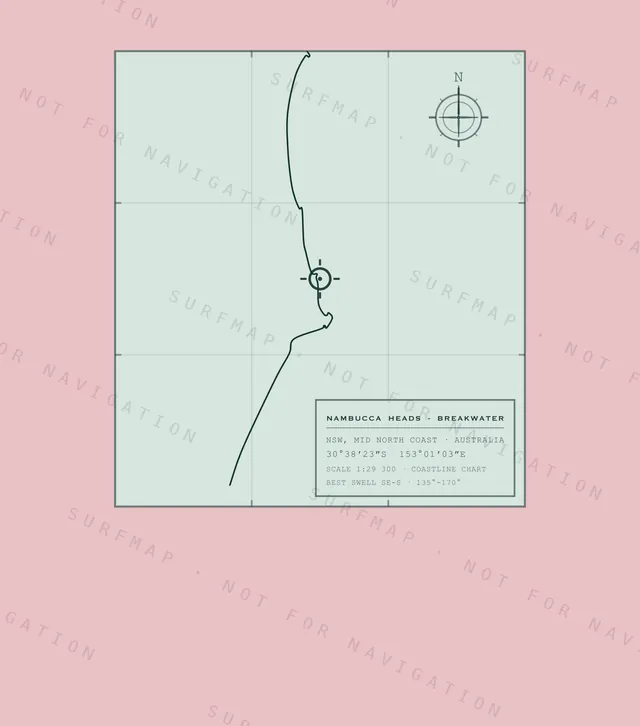
Nambucca Heads - Breakwater chart, the full artwork printed on the back
Nambucca Heads - Breakwater
NSW · Mid North Coast · Australia
$39.00
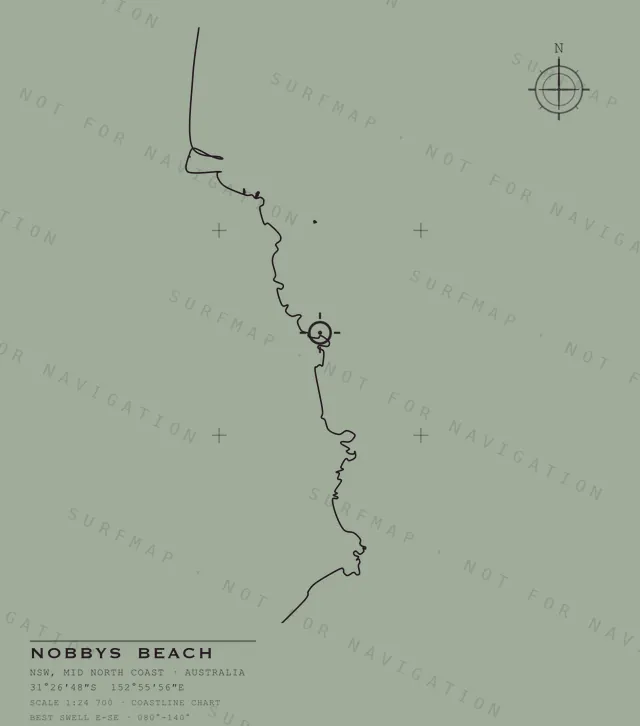
Nobbys Beach chart, the full artwork printed on the back
Nobbys Beach
NSW · Mid North Coast · Australia
$39.00
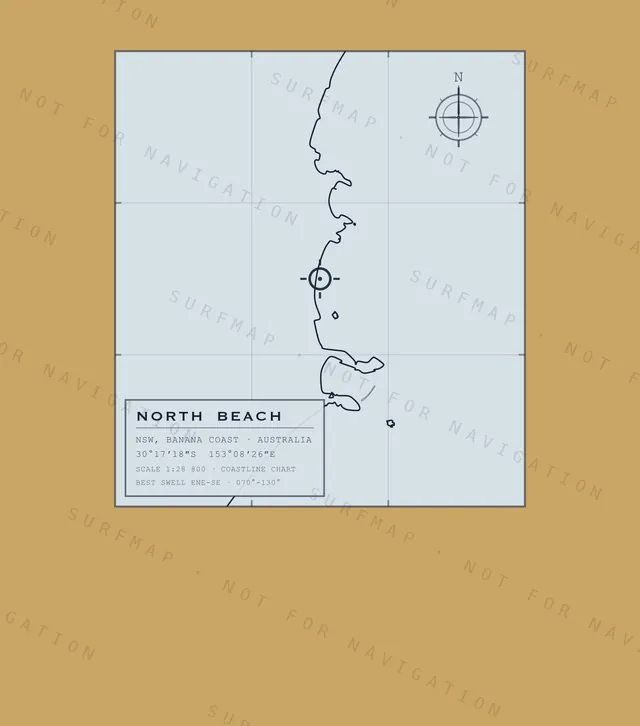
North Beach chart, the full artwork printed on the back
North Beach
NSW · Banana Coast · Australia
$39.00
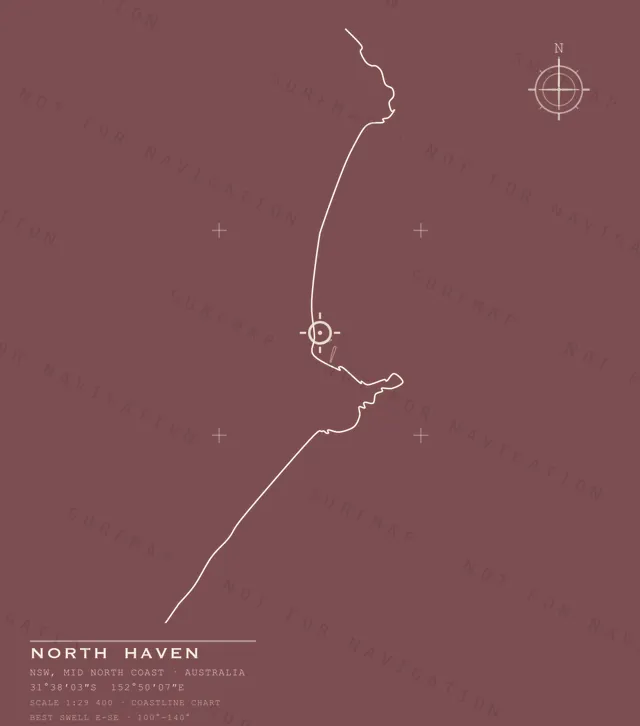
North Haven chart, the full artwork printed on the back
North Haven
NSW · Mid North Coast · Australia
$39.00
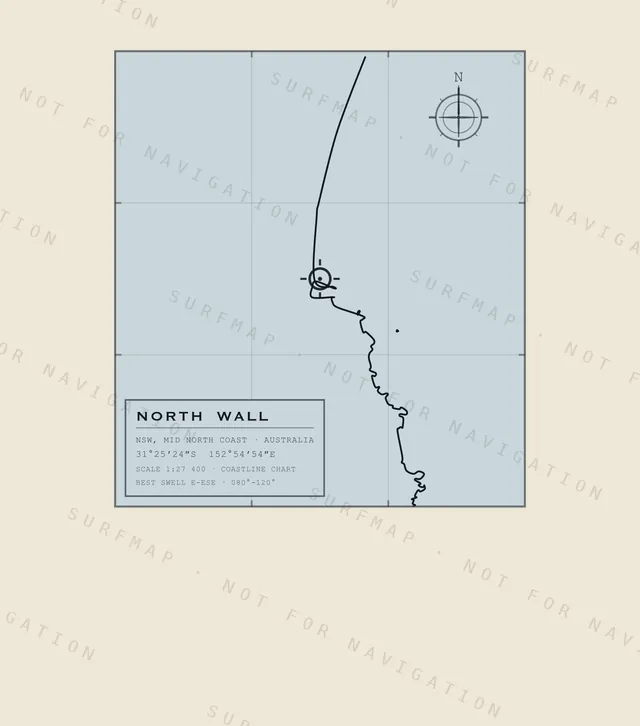
North Wall chart, the full artwork printed on the back
North Wall
NSW · Mid North Coast · Australia
$39.00
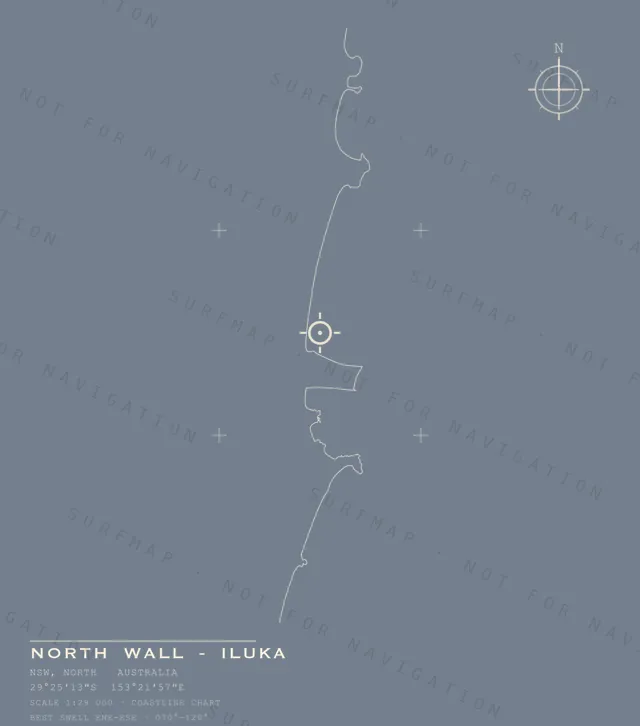
North Wall - Iluka chart, the full artwork printed on the back
North Wall - Iluka
NSW · North · Australia
$39.00
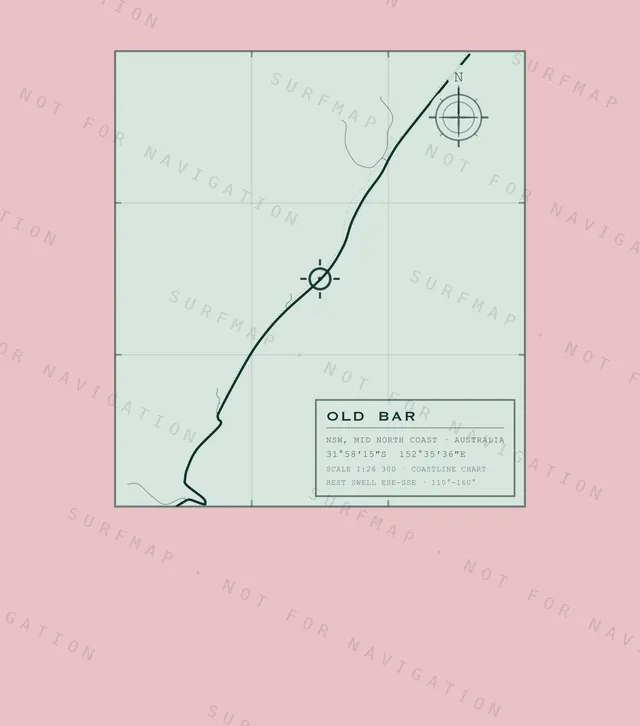
Old Bar chart, the full artwork printed on the back
Old Bar
NSW · Mid North Coast · Australia
$39.00
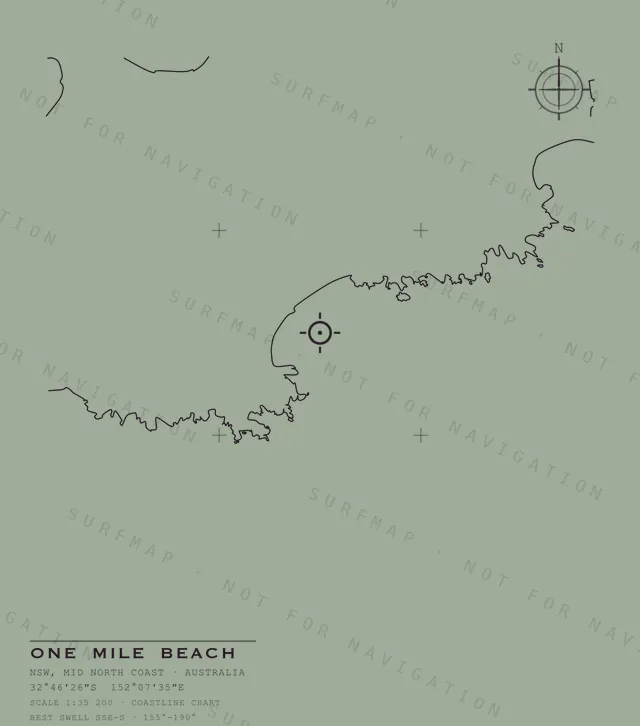
One Mile Beach chart, the full artwork printed on the back
One Mile Beach
NSW · Mid North Coast · Australia
$39.00
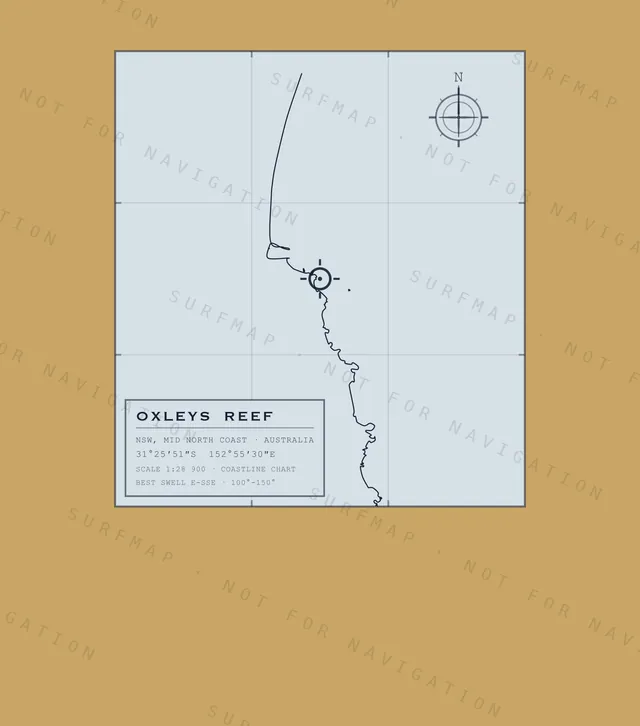
Oxleys Reef chart, the full artwork printed on the back
Oxleys Reef
NSW · Mid North Coast · Australia
$39.00
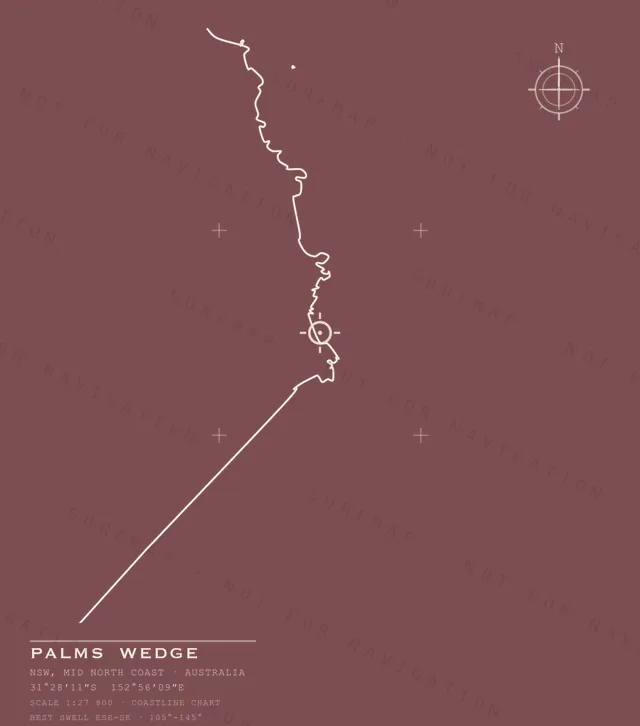
Palms Wedge chart, the full artwork printed on the back
Palms Wedge
NSW · Mid North Coast · Australia
$39.00
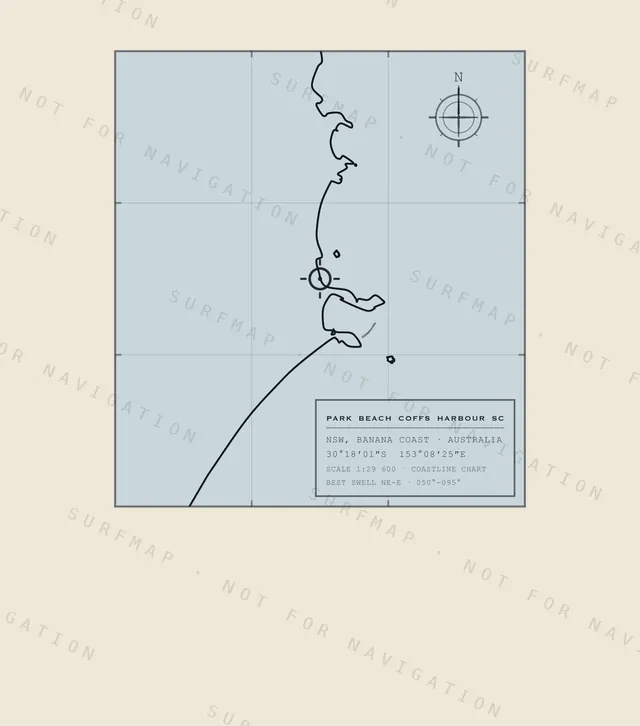
Park Beach Coffs Harbour SC chart, the full artwork printed on the back
Park Beach Coffs Harbour SC
NSW · Banana Coast · Australia
$39.00
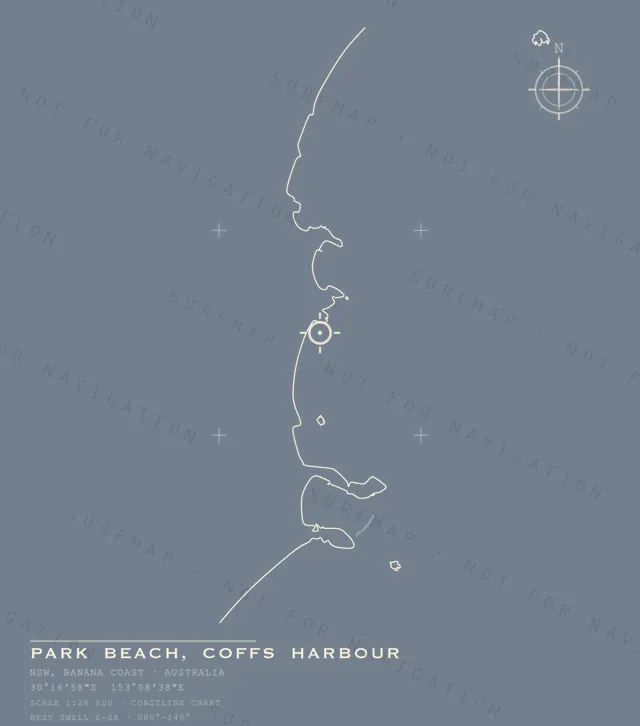
Park Beach, Coffs Harbour chart, the full artwork printed on the back
Park Beach, Coffs Harbour
NSW · Banana Coast · Australia
$39.00
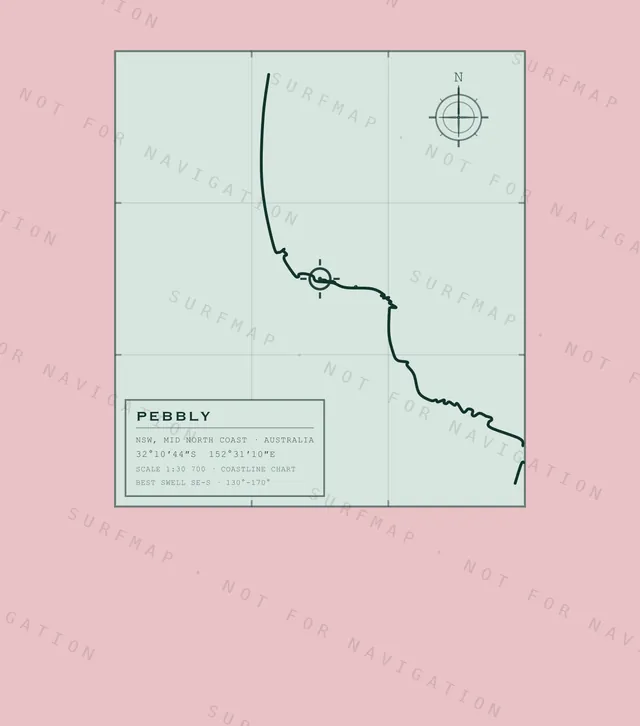
Pebbly chart, the full artwork printed on the back
Pebbly
NSW · Mid North Coast · Australia
$39.00
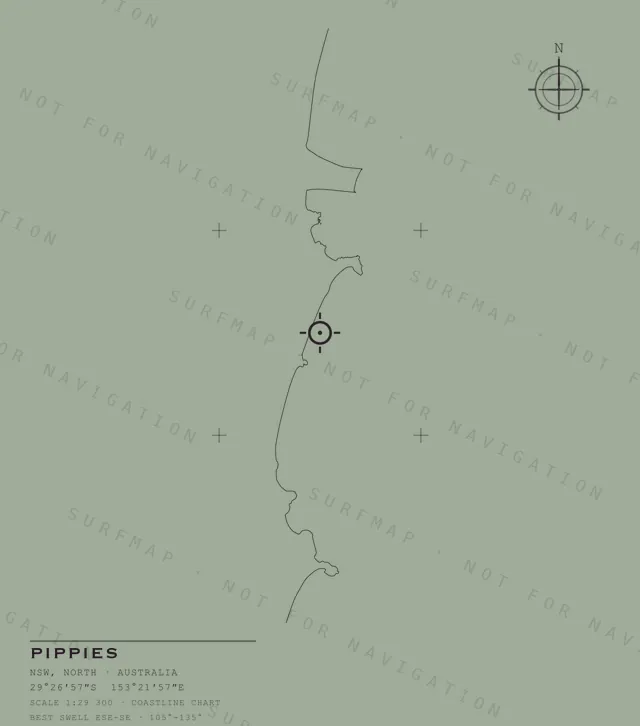
Pippies chart, the full artwork printed on the back
Pippies
NSW · North · Australia
$39.00
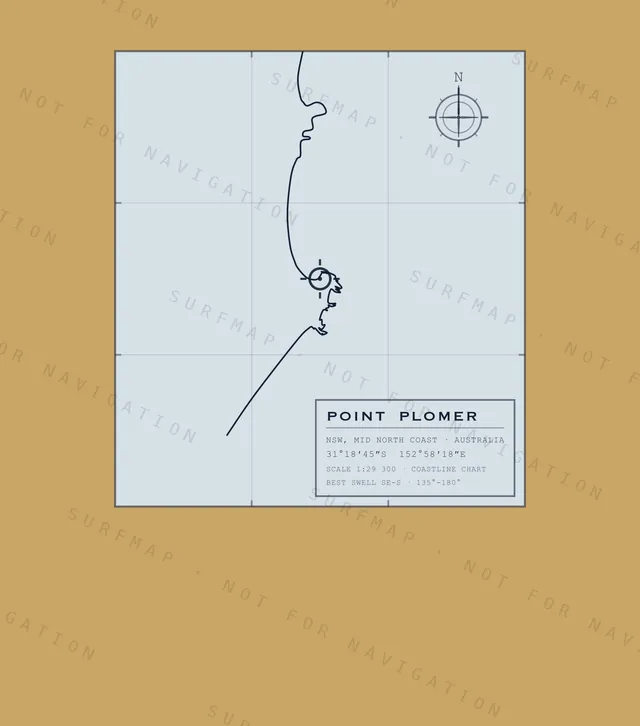
Point Plomer chart, the full artwork printed on the back
Point Plomer
NSW · Mid North Coast · Australia
$39.00
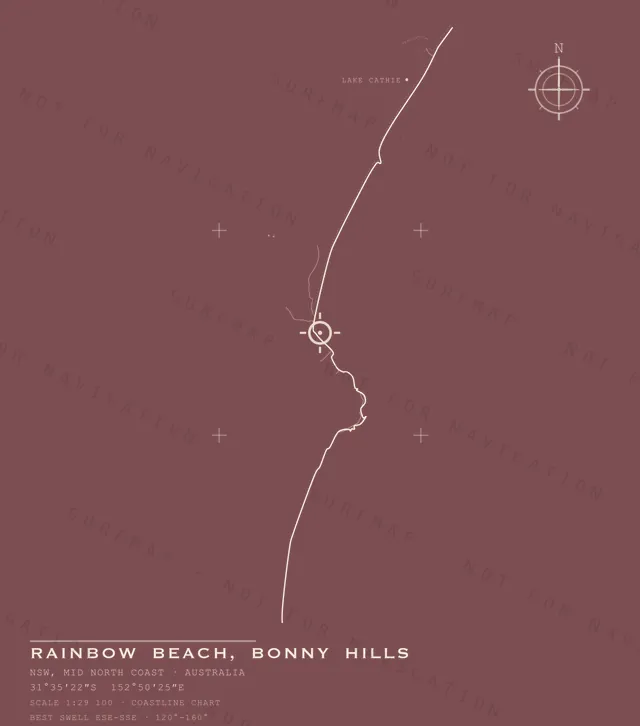
Rainbow Beach, Bonny Hills chart, the full artwork printed on the back
Rainbow Beach, Bonny Hills
NSW · Mid North Coast · Australia
$39.00
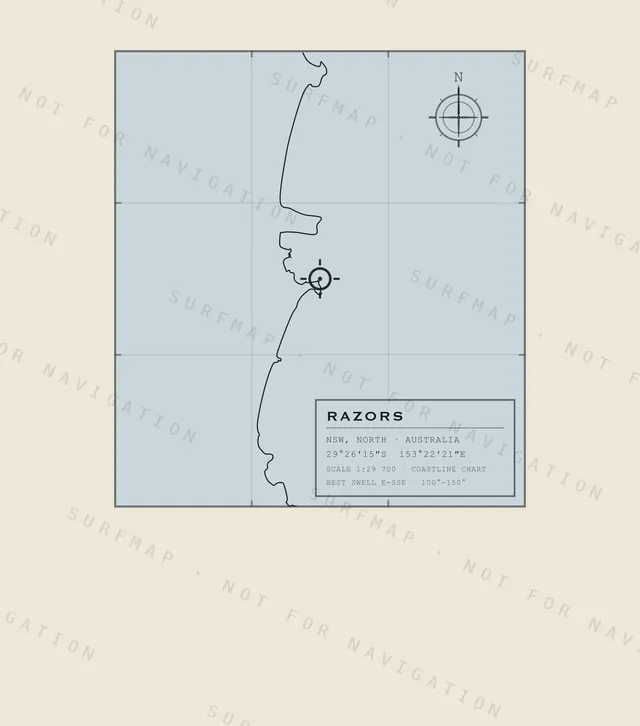
Razors chart, the full artwork printed on the back
Razors
NSW · North · Australia
$39.00
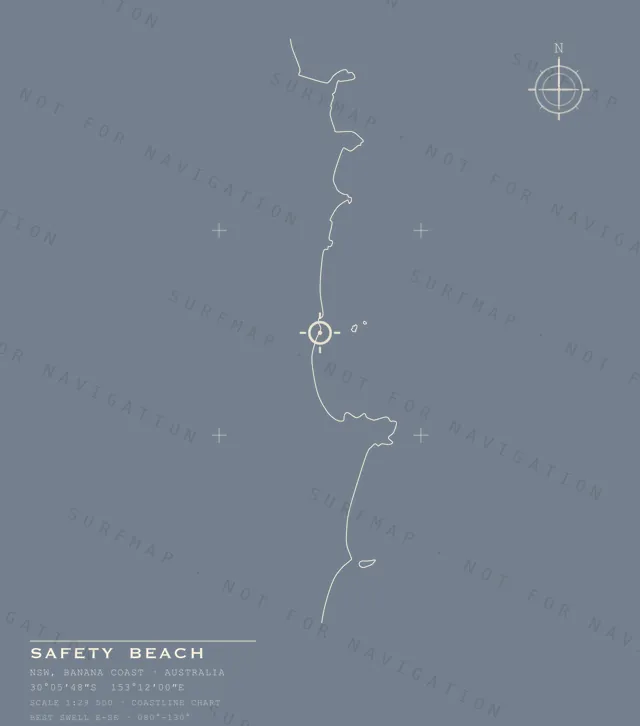
Safety Beach chart, the full artwork printed on the back
Safety Beach
NSW · Banana Coast · Australia
$39.00
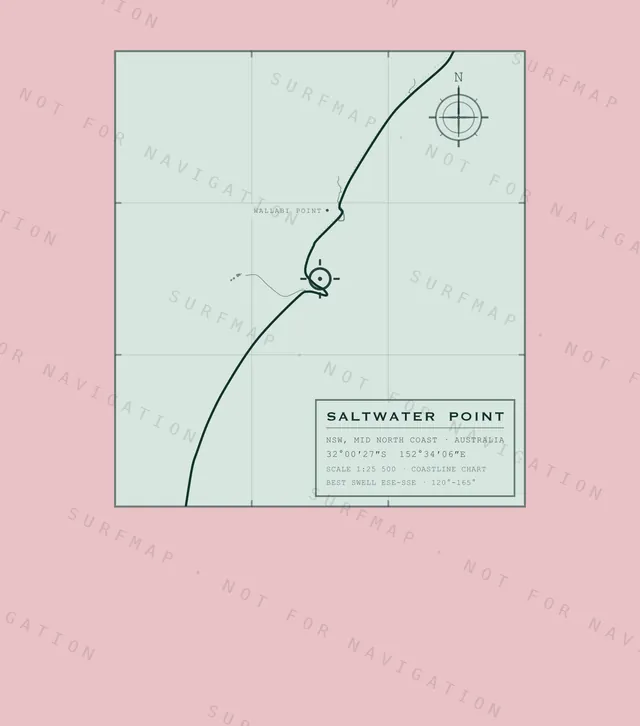
Saltwater Point chart, the full artwork printed on the back
Saltwater Point
NSW · Mid North Coast · Australia
$39.00
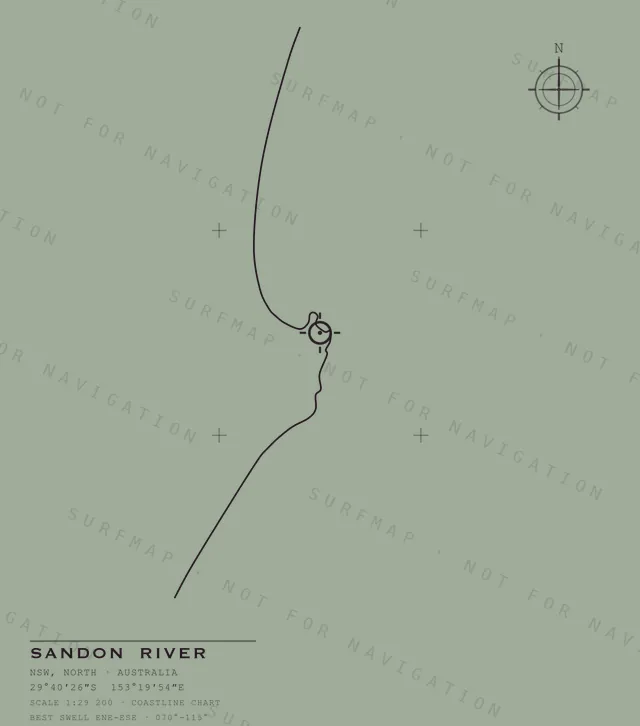
Sandon River chart, the full artwork printed on the back
Sandon River
NSW · North · Australia
$39.00
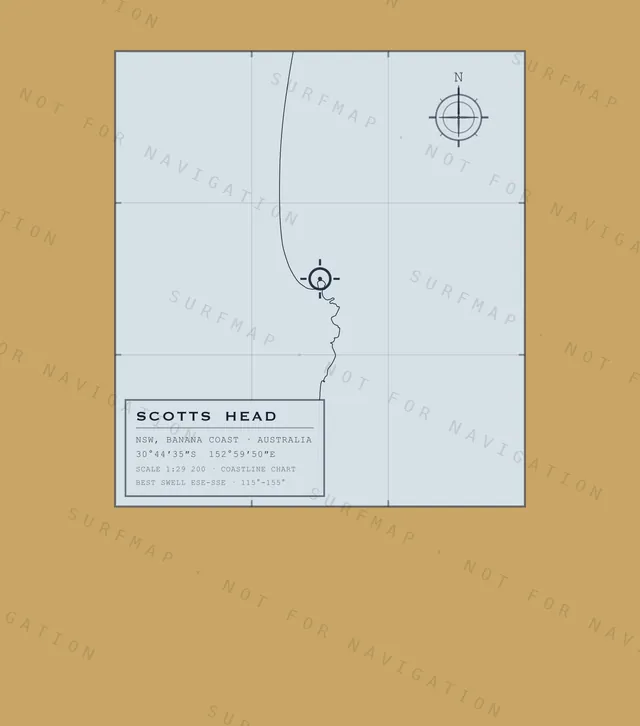
Scotts Head chart, the full artwork printed on the back
Scotts Head
NSW · Banana Coast · Australia
$39.00
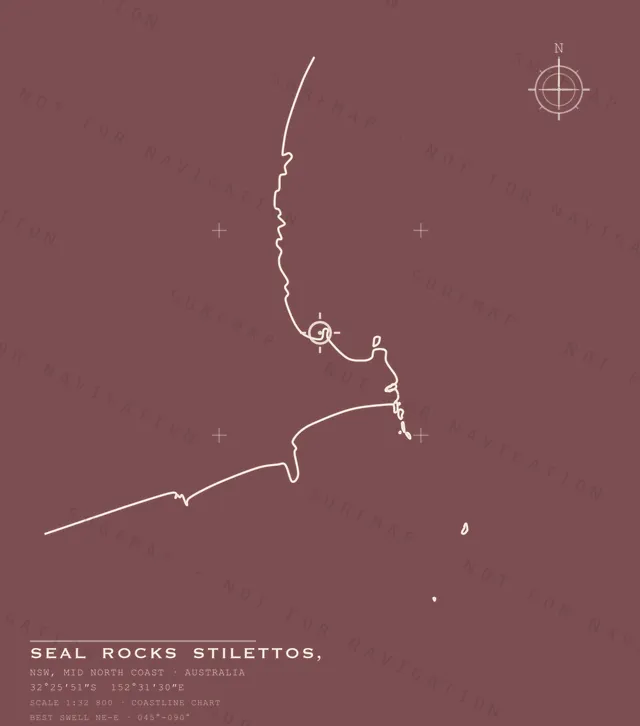
Seal Rocks Stilettos, chart, the full artwork printed on the back
Seal Rocks Stilettos,
NSW · Mid North Coast · Australia
$39.00
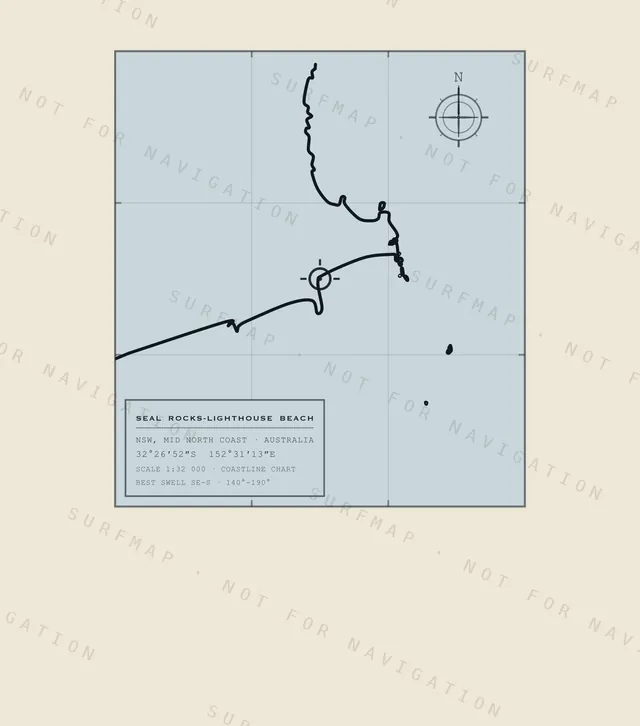
Seal Rocks-Lighthouse Beach chart, the full artwork printed on the back
Seal Rocks-Lighthouse Beach
NSW · Mid North Coast · Australia
$39.00
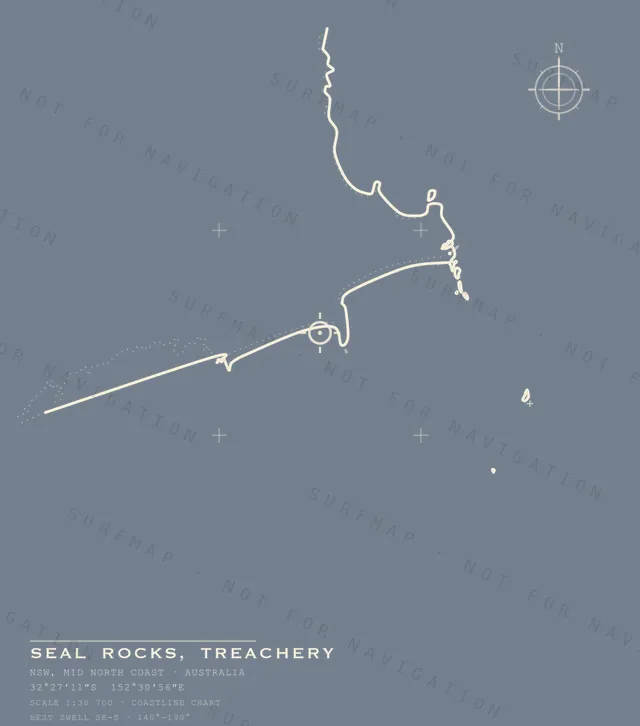
Seal Rocks, Treachery chart, the full artwork printed on the back
Seal Rocks, Treachery
NSW · Mid North Coast · Australia
$39.00
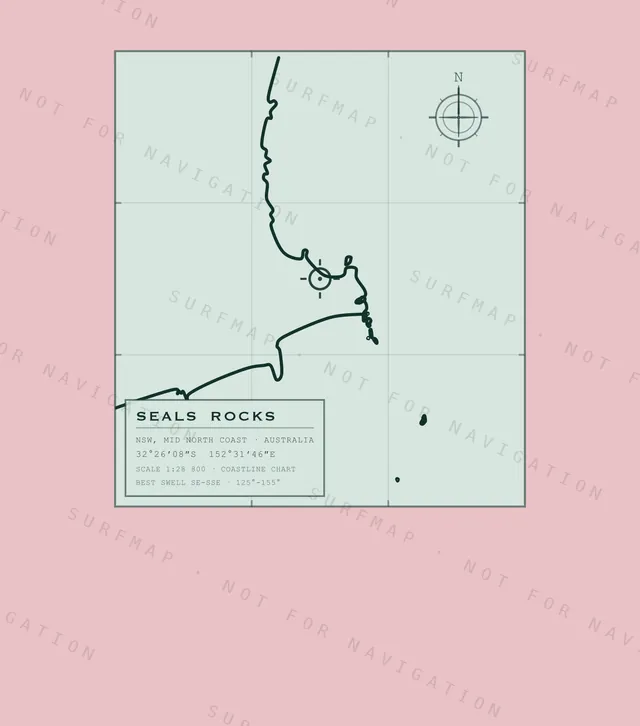
Seals Rocks chart, the full artwork printed on the back
Seals Rocks
NSW · Mid North Coast · Australia
$39.00
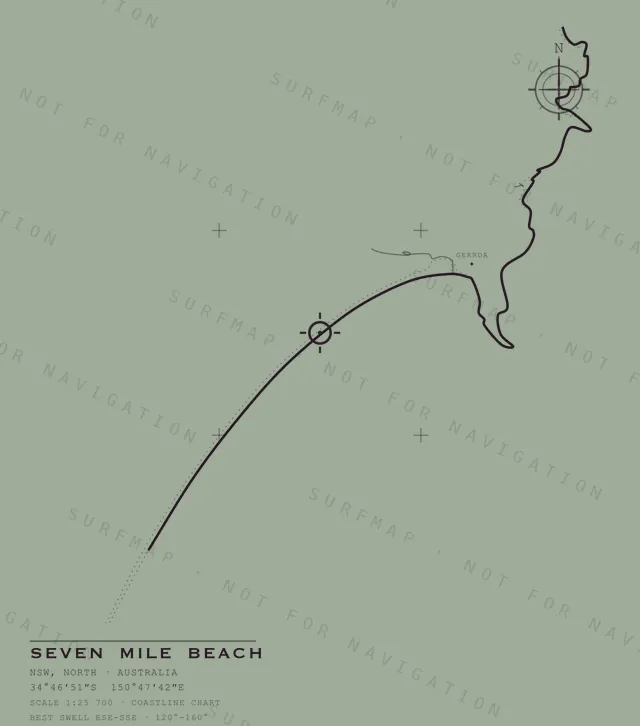
Seven Mile Beach chart, the full artwork printed on the back
Seven Mile Beach
NSW · North · Australia
$39.00
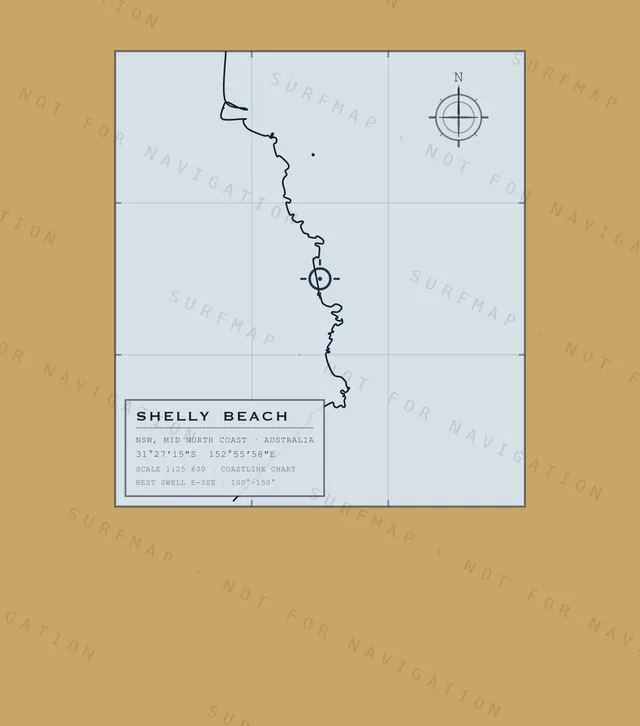
Shelly Beach chart, the full artwork printed on the back
Shelly Beach
NSW · Mid North Coast · Australia
$39.00
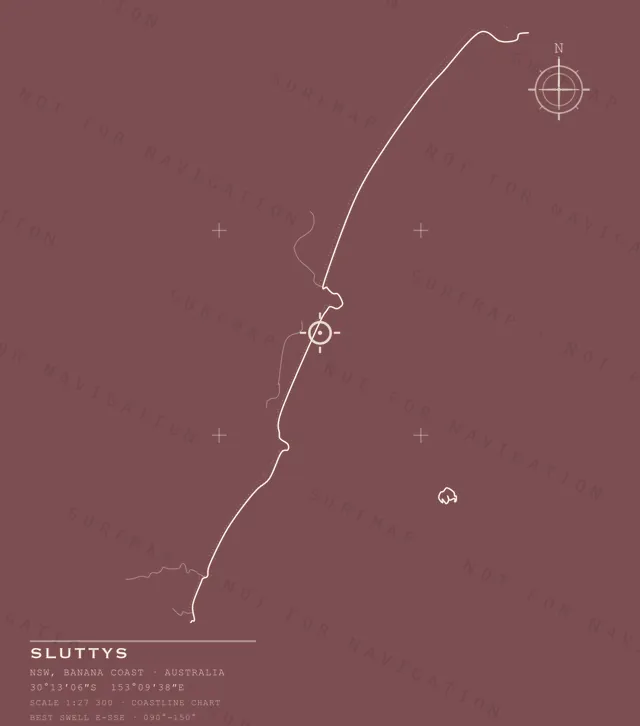
Sluttys chart, the full artwork printed on the back
Sluttys
NSW · Banana Coast · Australia
$39.00
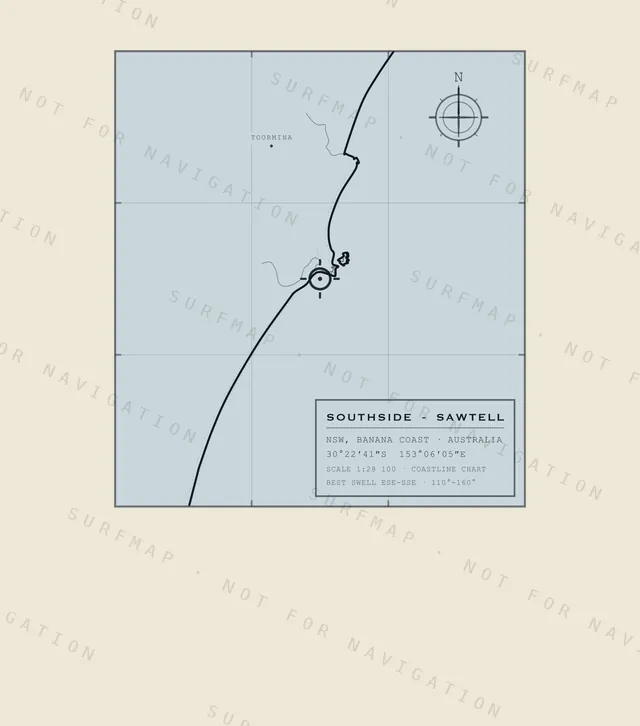
Southside - Sawtell chart, the full artwork printed on the back
Southside - Sawtell
NSW · Banana Coast · Australia
$39.00
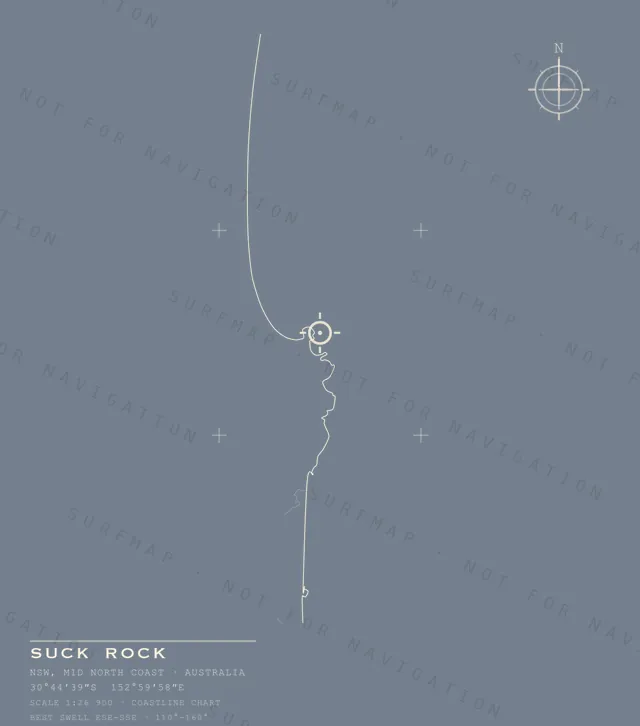
Suck Rock chart, the full artwork printed on the back
Suck Rock
NSW · Mid North Coast · Australia
$39.00
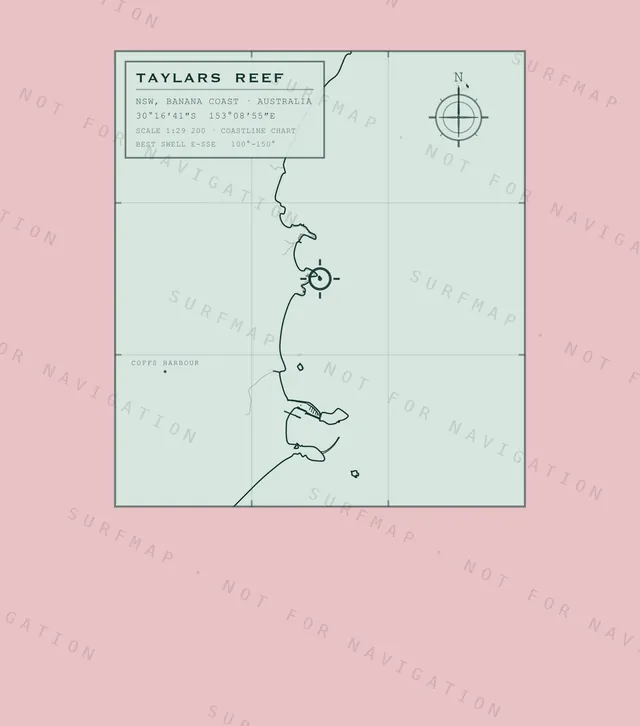
Taylars Reef chart, the full artwork printed on the back
Taylars Reef
NSW · Banana Coast · Australia
$39.00
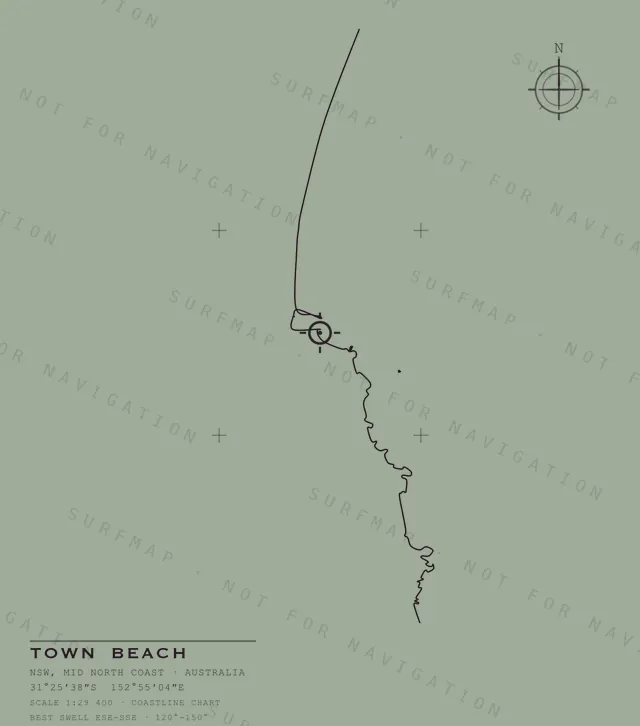
Town Beach chart, the full artwork printed on the back
Town Beach
NSW · Mid North Coast · Australia
$39.00
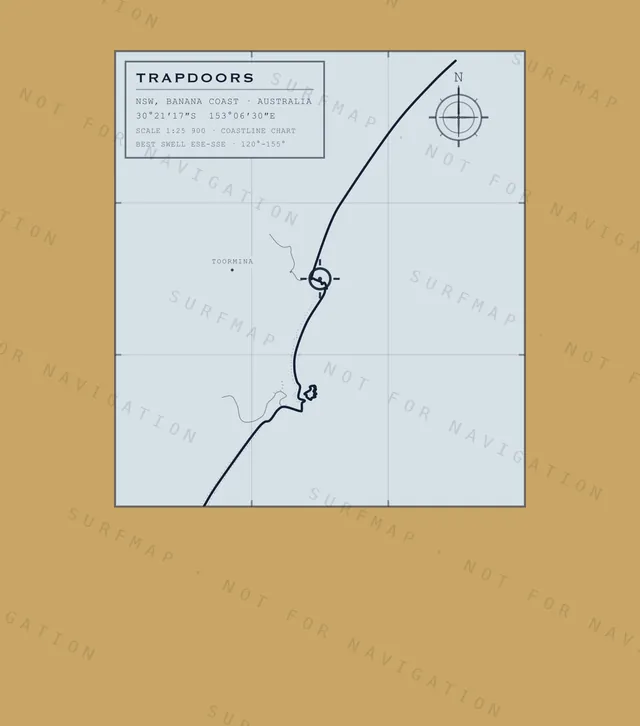
Trapdoors chart, the full artwork printed on the back
Trapdoors
NSW · Banana Coast · Australia
$39.00
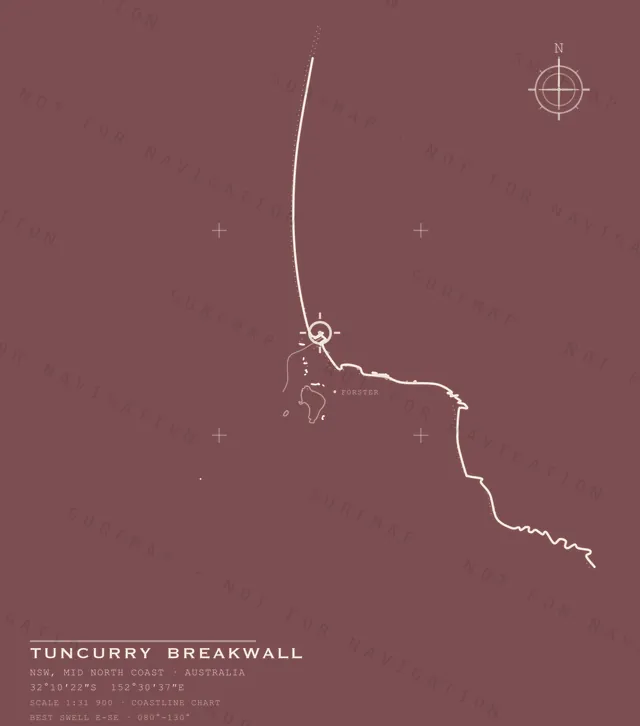
Tuncurry Breakwall chart, the full artwork printed on the back
Tuncurry Breakwall
NSW · Mid North Coast · Australia
$39.00
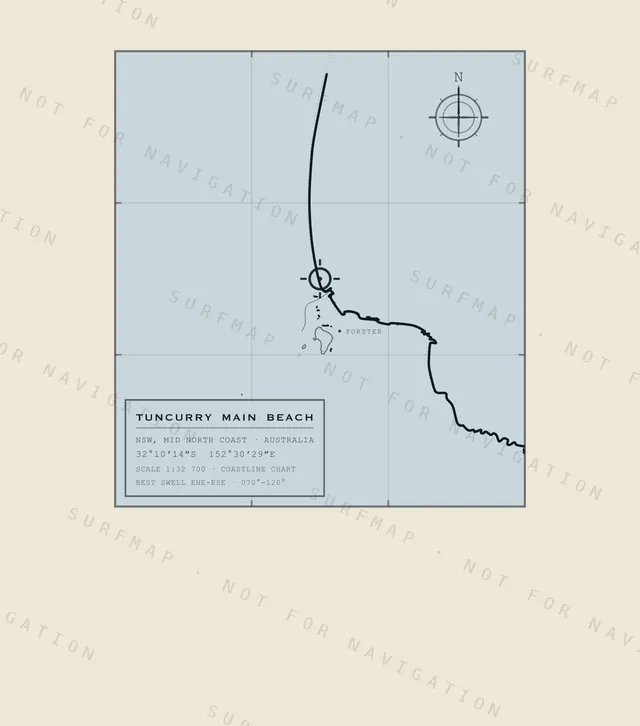
Tuncurry Main Beach chart, the full artwork printed on the back
Tuncurry Main Beach
NSW · Mid North Coast · Australia
$39.00
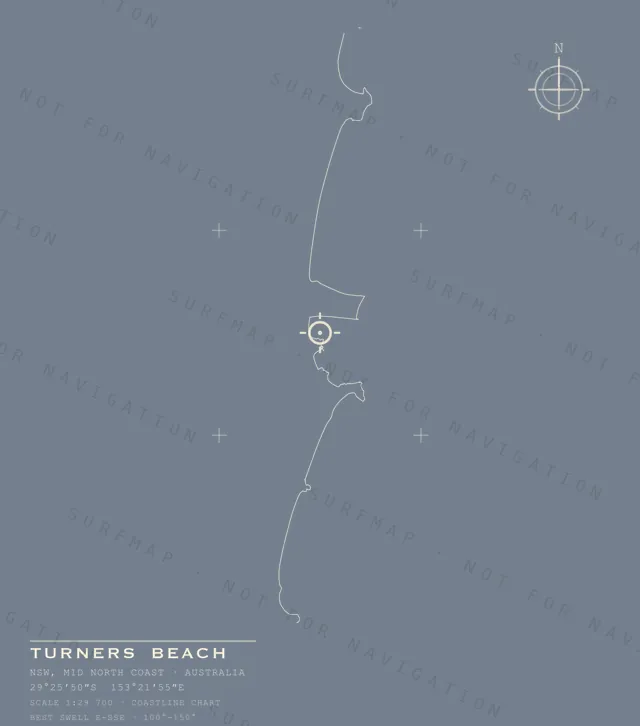
Turners Beach chart, the full artwork printed on the back
Turners Beach
NSW · Mid North Coast · Australia
$39.00
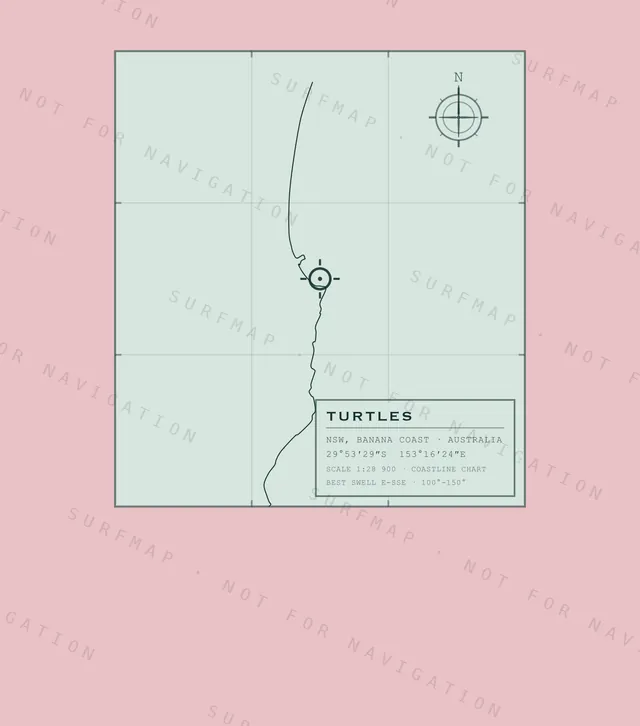
Turtles chart, the full artwork printed on the back
Turtles
NSW · Banana Coast · Australia
$39.00
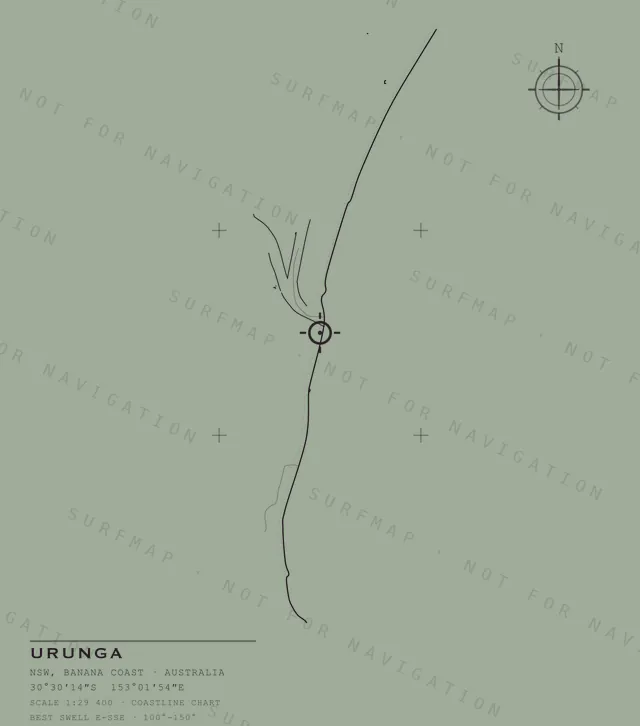
Urunga chart, the full artwork printed on the back
Urunga
NSW · Banana Coast · Australia
$39.00
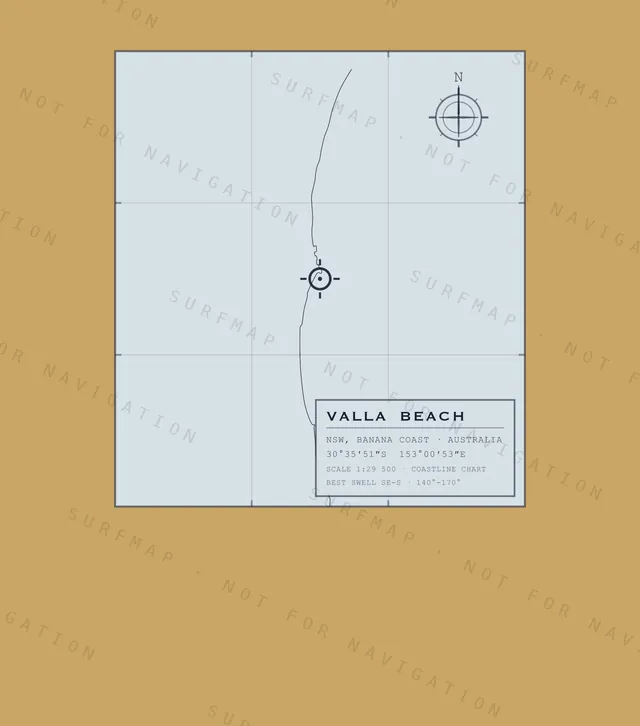
Valla Beach chart, the full artwork printed on the back
Valla Beach
NSW · Banana Coast · Australia
$39.00
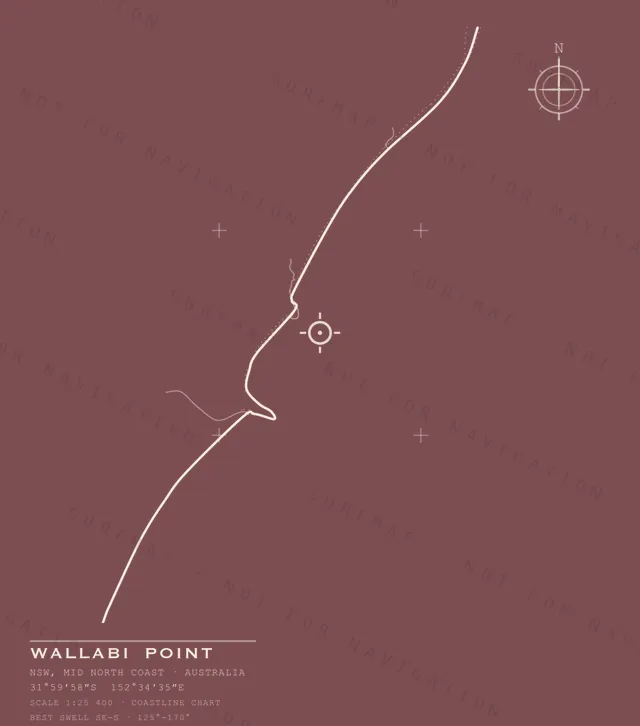
Wallabi Point chart, the full artwork printed on the back
Wallabi Point
NSW · Mid North Coast · Australia
$39.00
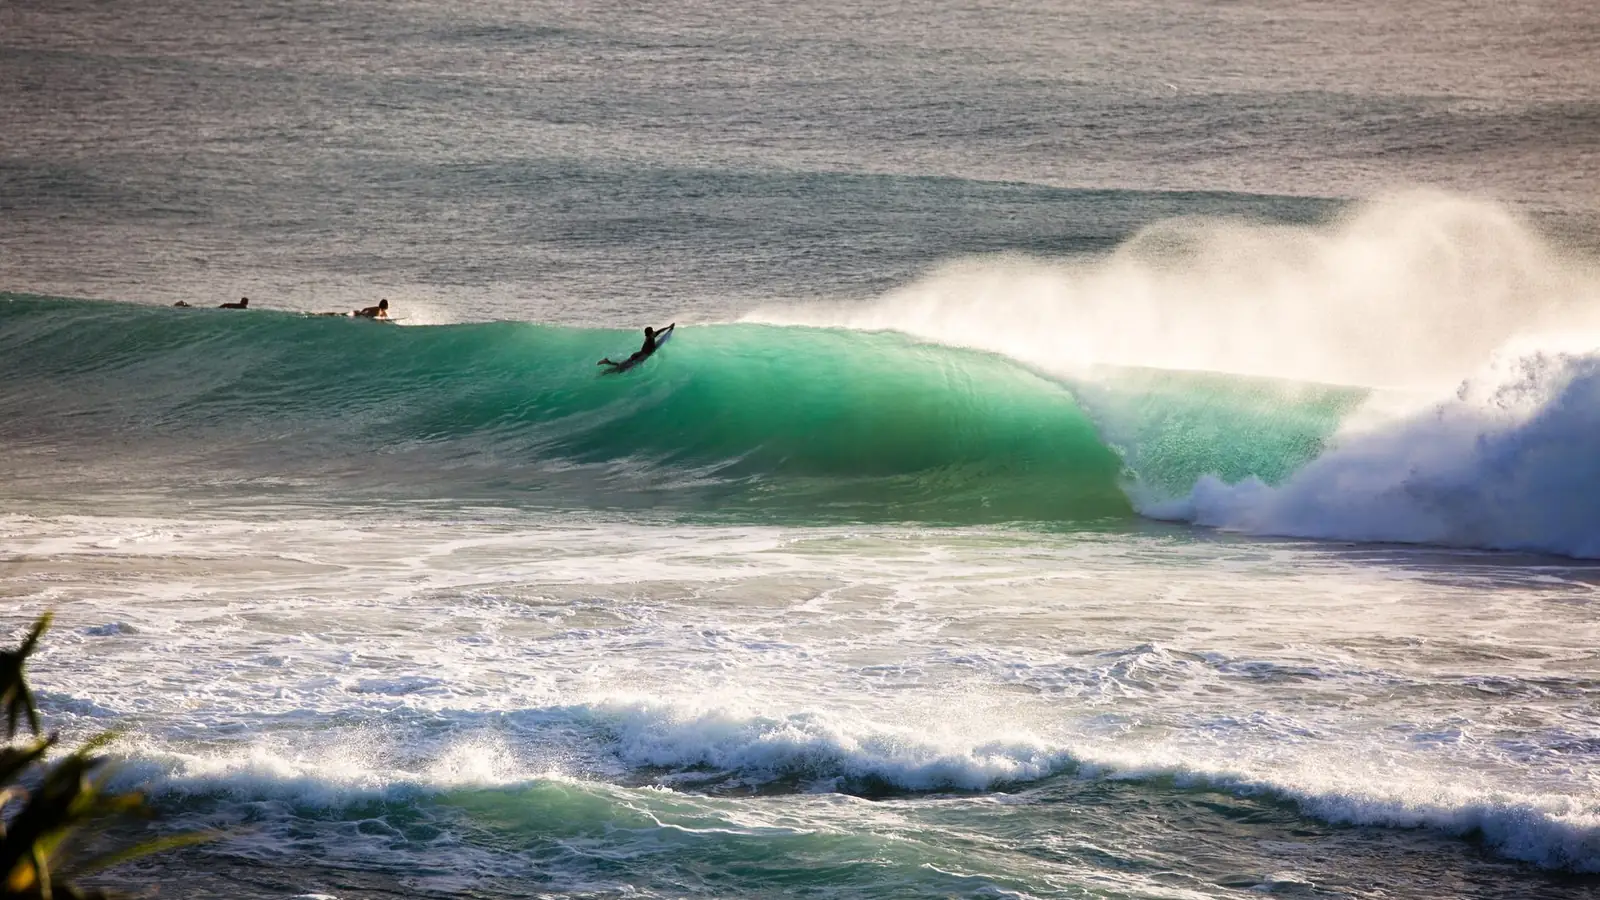
Find your spot

Every dot is a spot someone paddles out at, straight from the SurfMap database. Pick yours and its chart goes on your tee.