
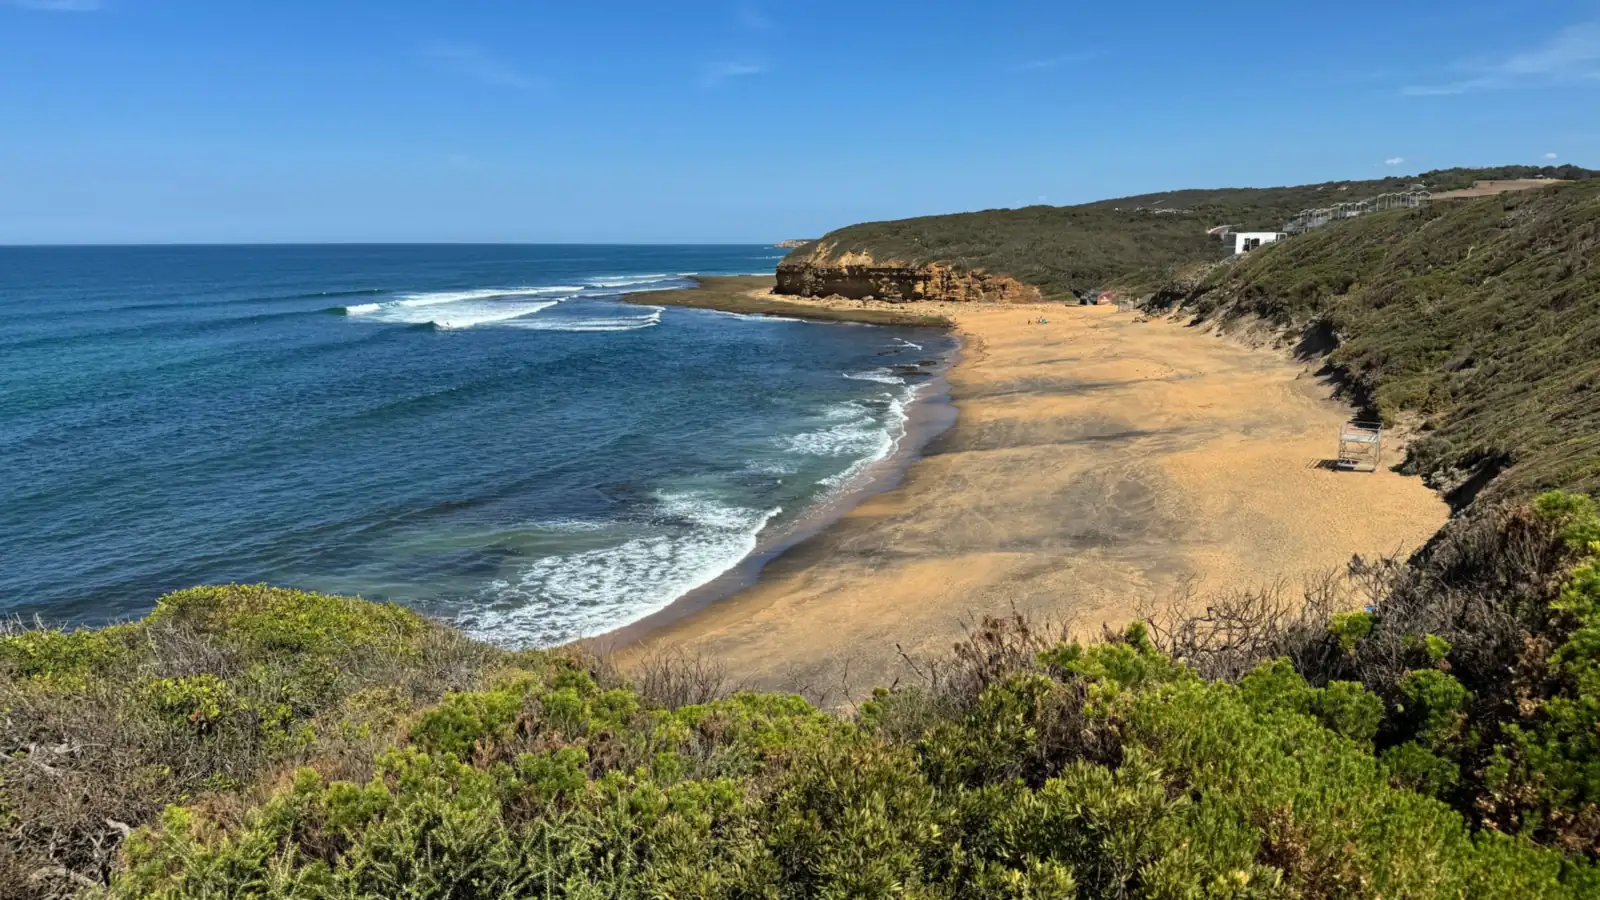
Victoria
Bells Beach, Jan Juc, Lorne and Phillip Island: cold water and Southern Ocean swell along the Great Ocean Road and around Melbourne, best from March to August.
122 tees · Photo: Petra Nesti
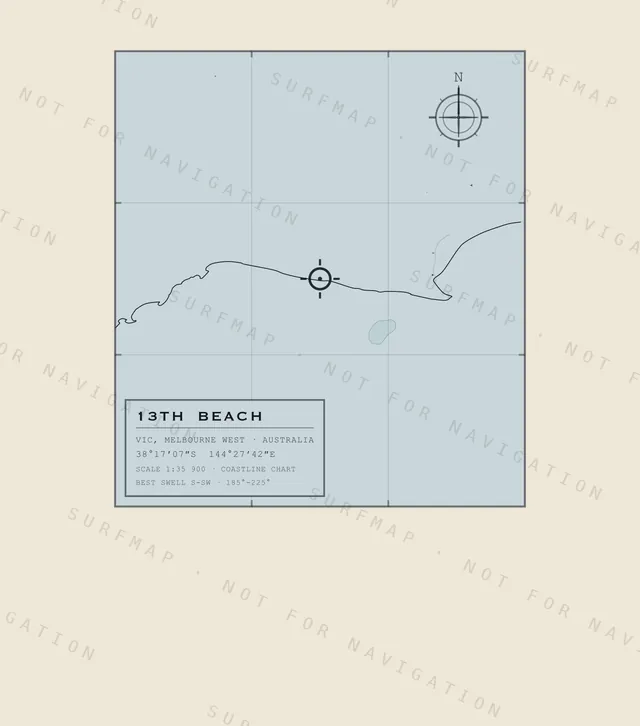
13th Beach
VIC · Melbourne West · Australia
$39.00
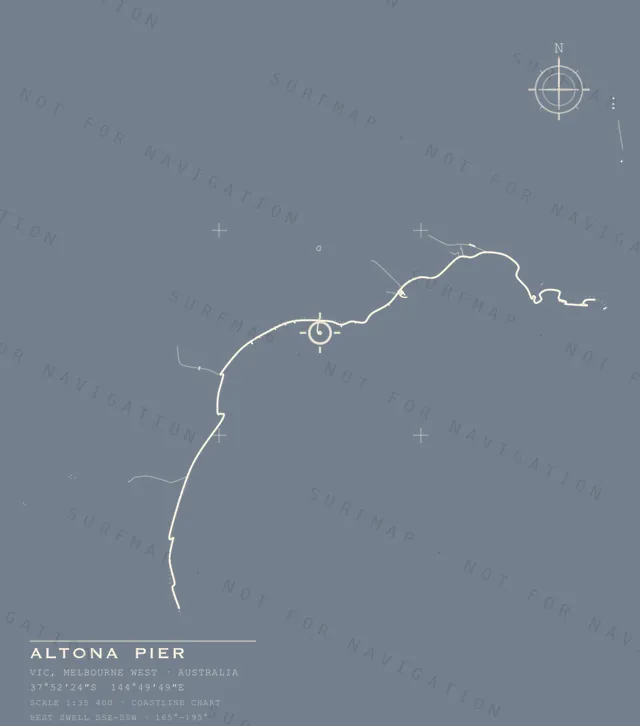
Altona Pier
VIC · Melbourne West · Australia
$39.00
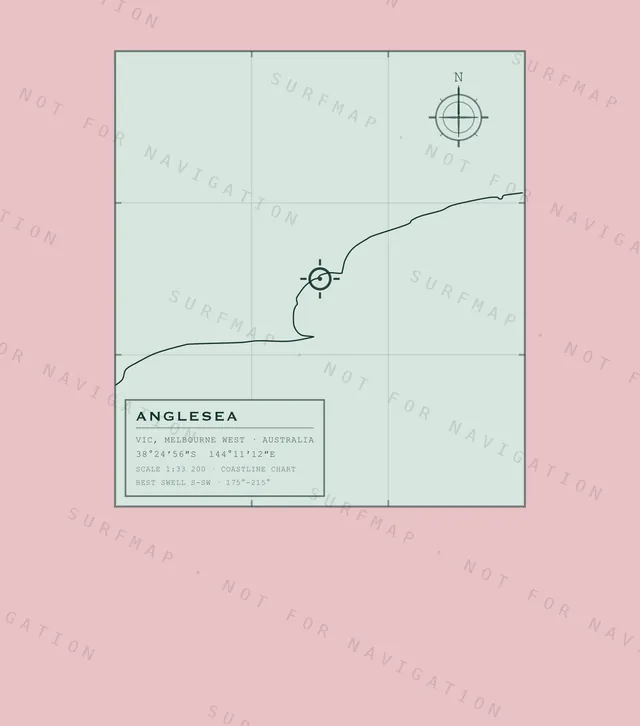
Anglesea
VIC · Melbourne West · Australia
$39.00
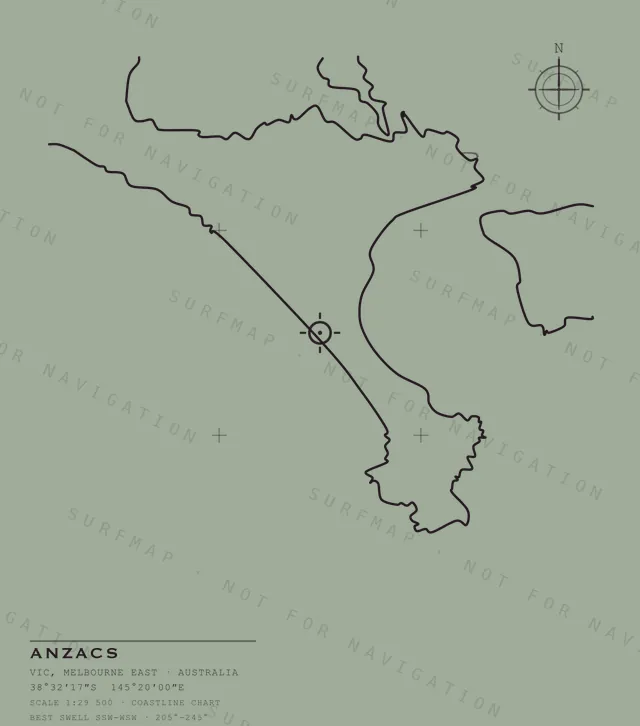
Anzacs
VIC · Melbourne East · Australia
$39.00
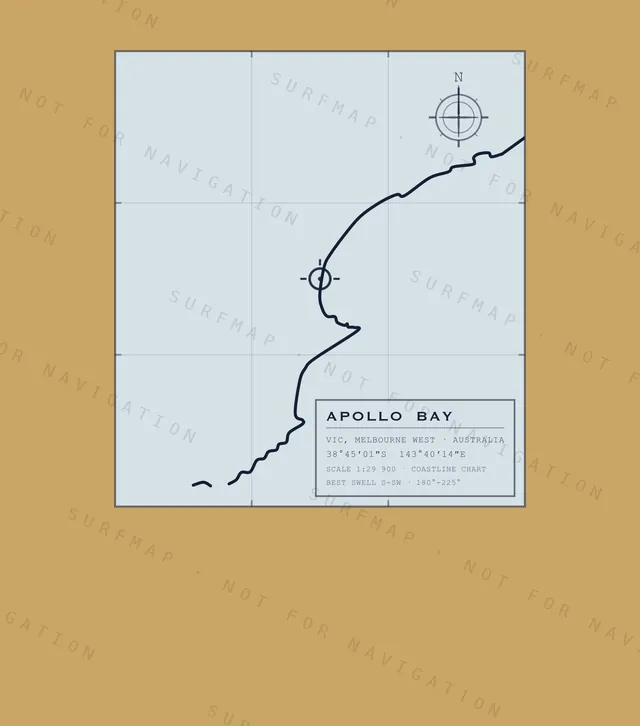
Apollo Bay
VIC · Melbourne West · Australia
$39.00
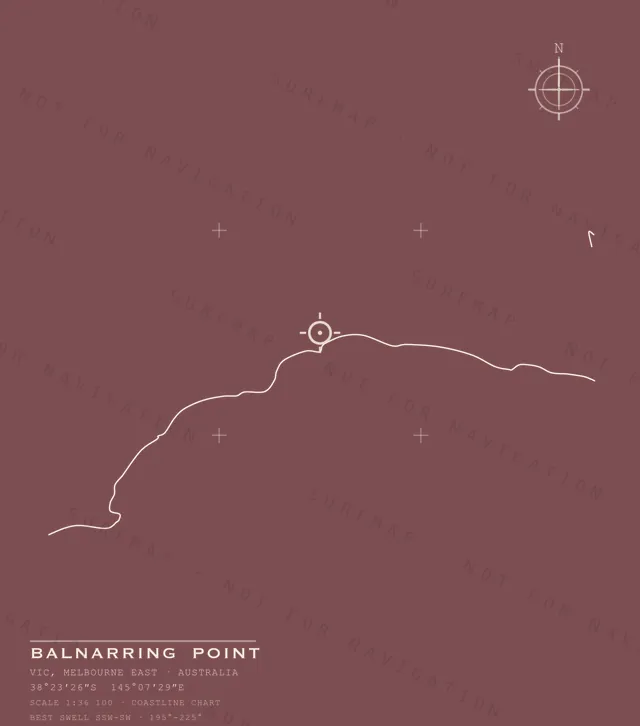
Balnarring Point
VIC · Melbourne East · Australia
$39.00
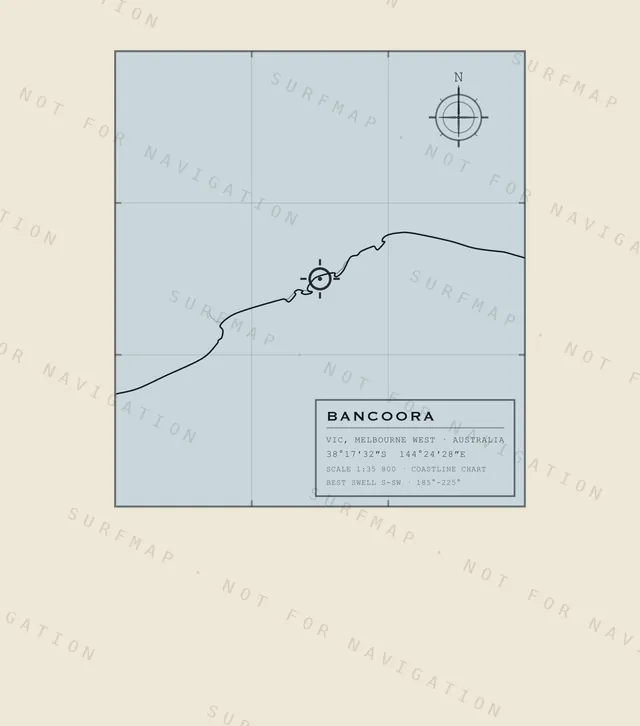
Bancoora
VIC · Melbourne West · Australia
$39.00
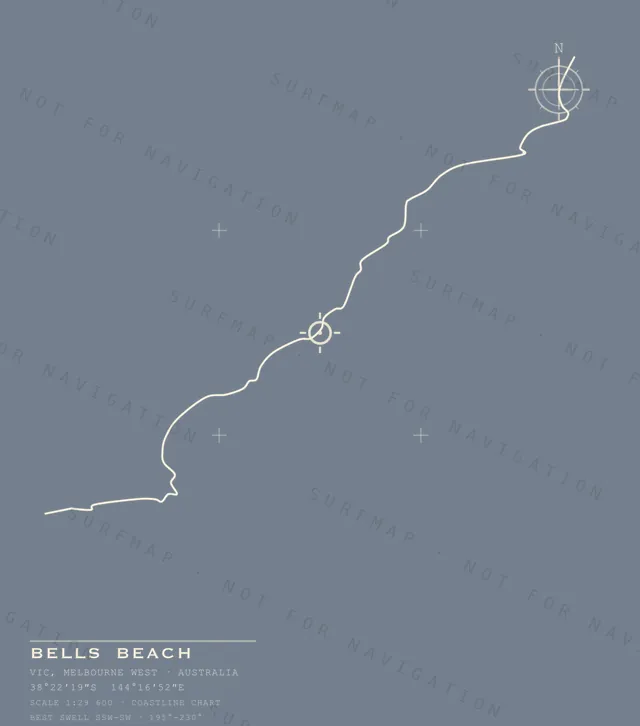
Bells Beach
VIC · Melbourne West · Australia
$39.00
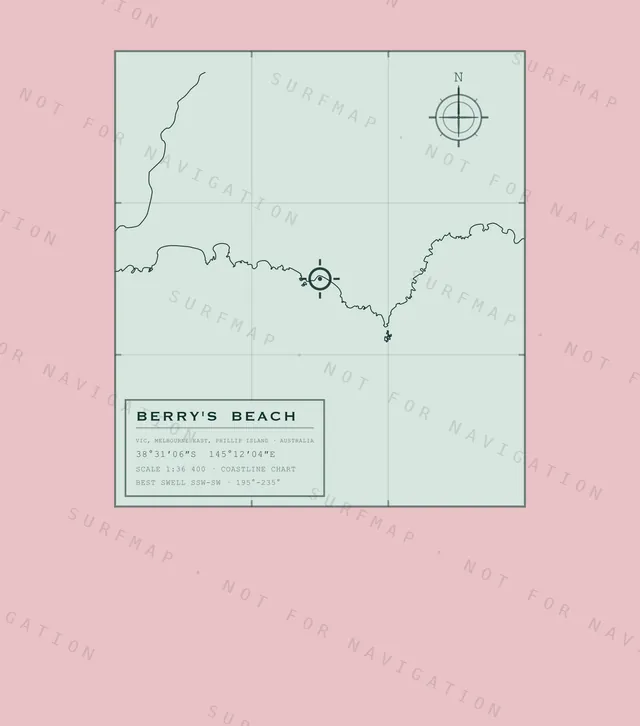
Berry's Beach
VIC · Melbourne East · Phillip Island · Australia
$39.00
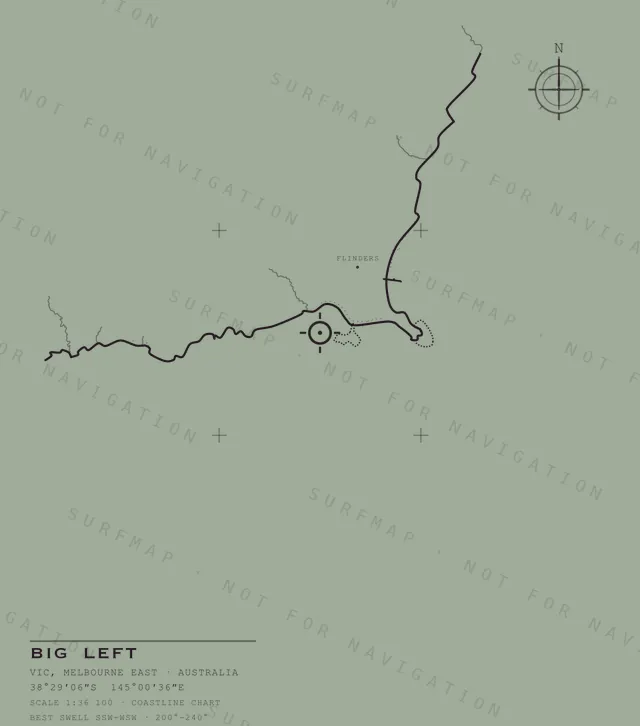
Big Left
VIC · Melbourne East · Australia
$39.00
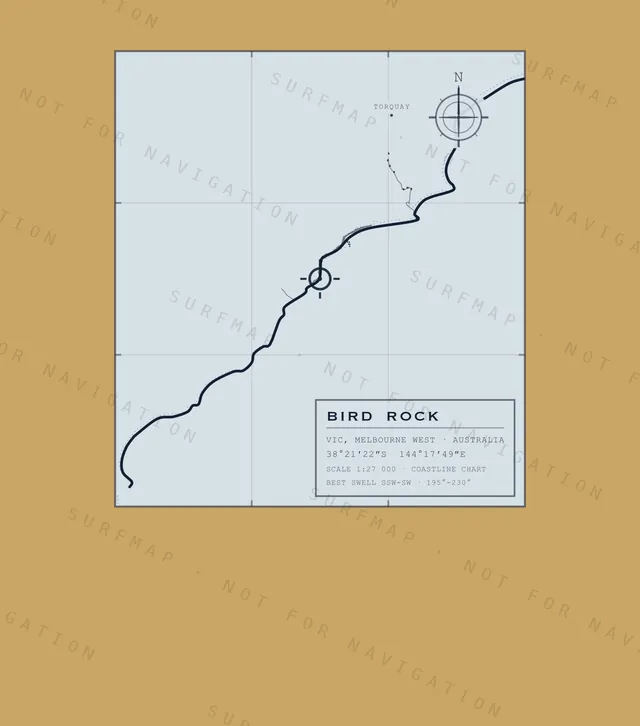
Bird Rock
VIC · Melbourne West · Australia
$39.00
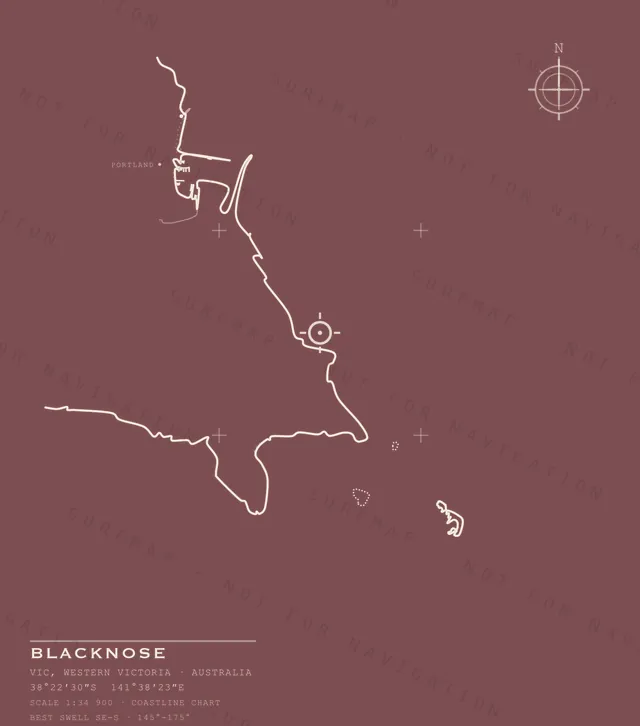
Blacknose
VIC · Western Victoria · Australia
$39.00
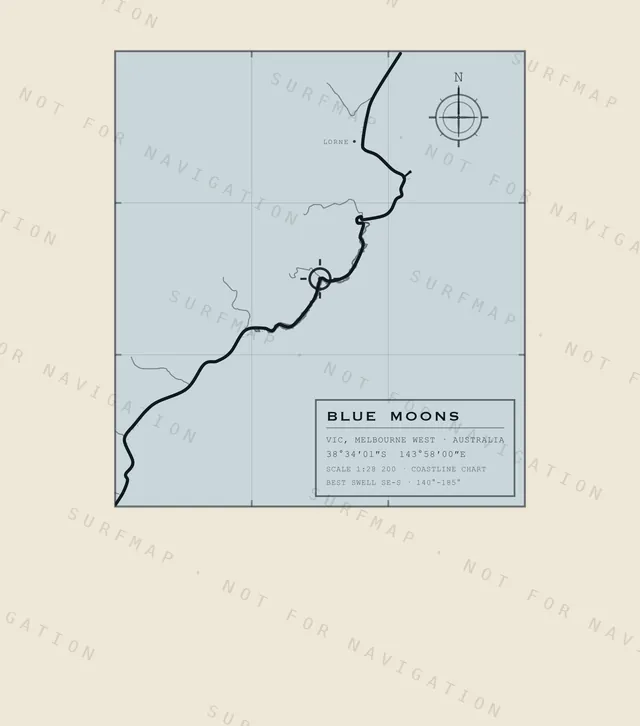
Blue Moons
VIC · Melbourne West · Australia
$39.00
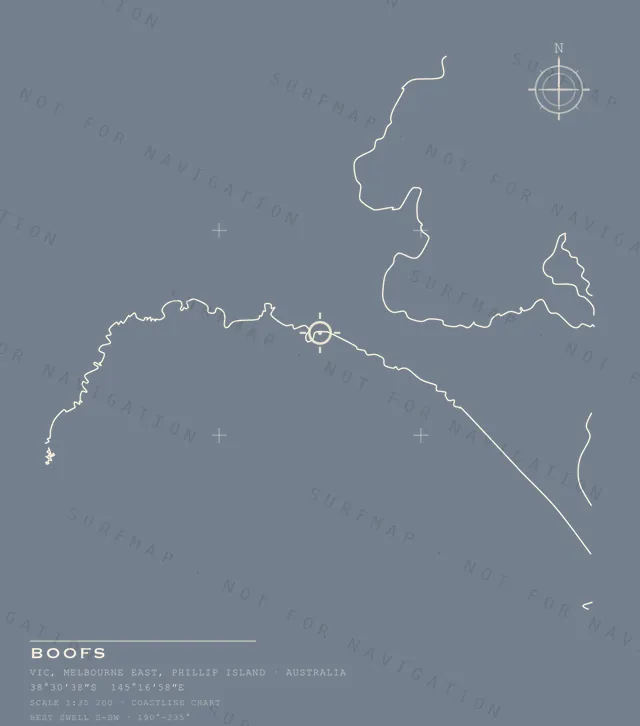
Boofs
VIC · Melbourne East · Phillip Island · Australia
$39.00
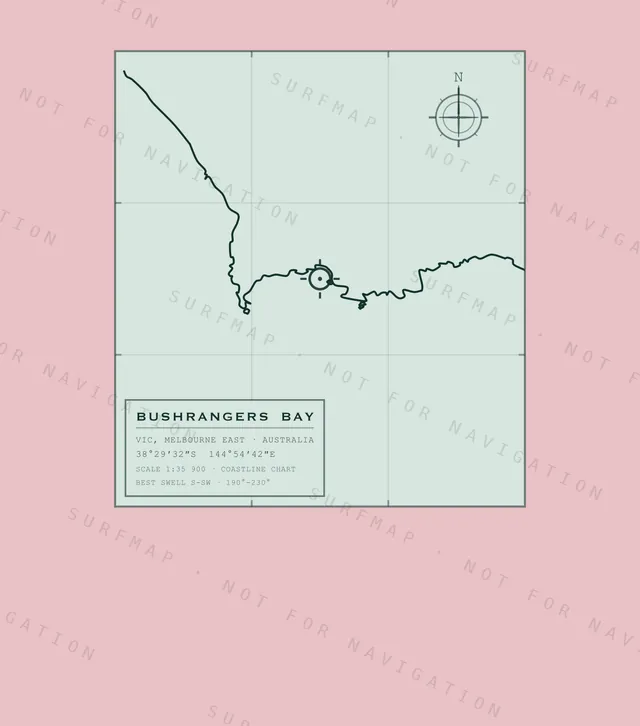
Bushrangers Bay
VIC · Melbourne East · Australia
$39.00
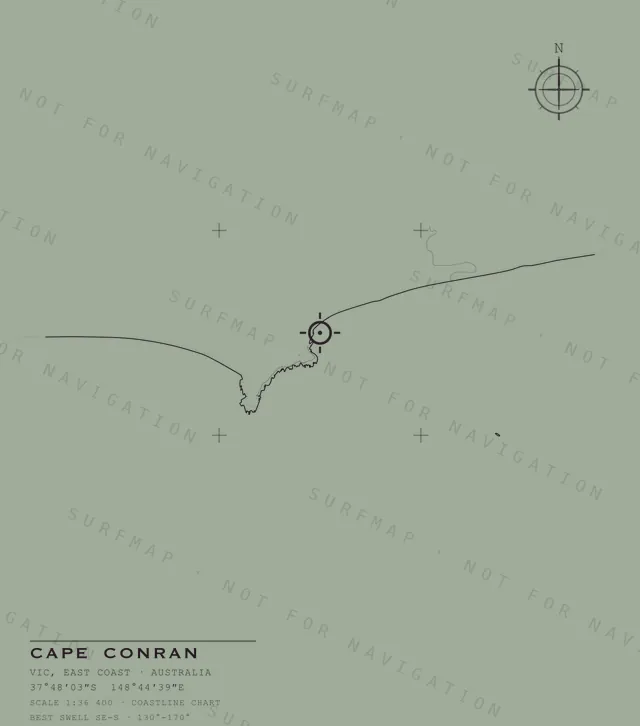
Cape Conran
VIC · East Coast · Australia
$39.00
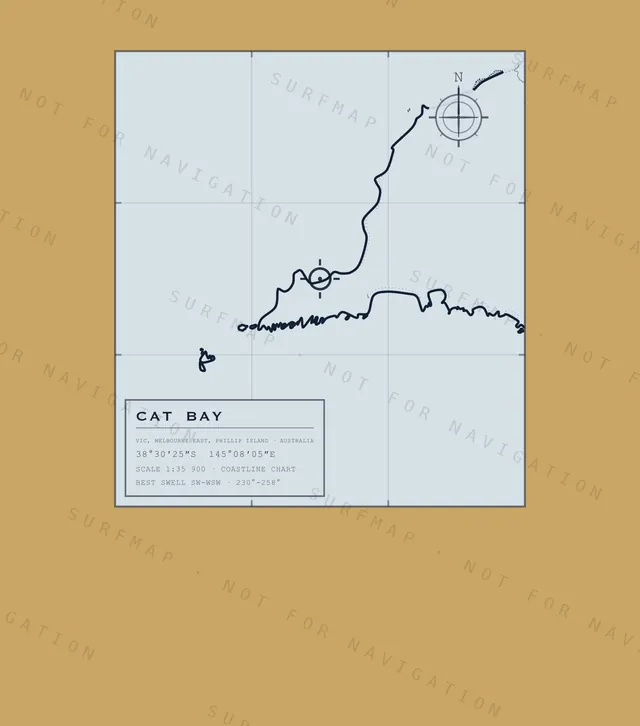
Cat Bay
VIC · Melbourne East · Phillip Island · Australia
$39.00
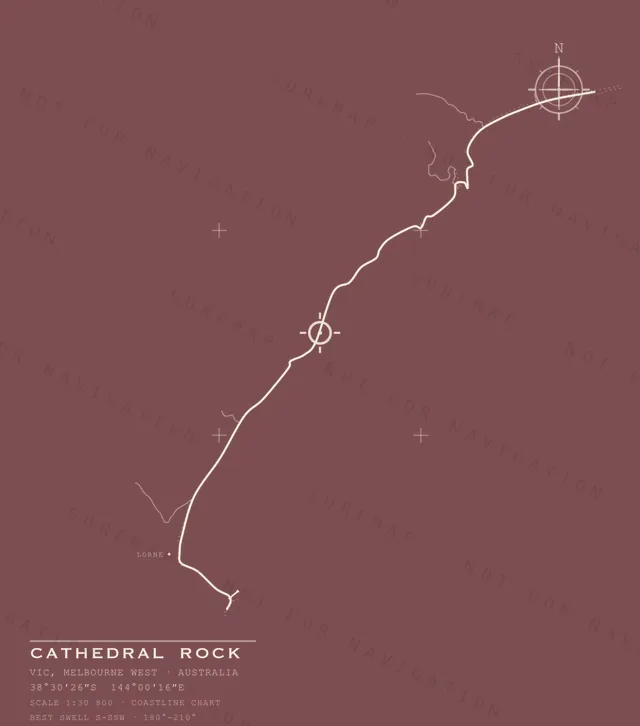
Cathedral Rock
VIC · Melbourne West · Australia
$39.00
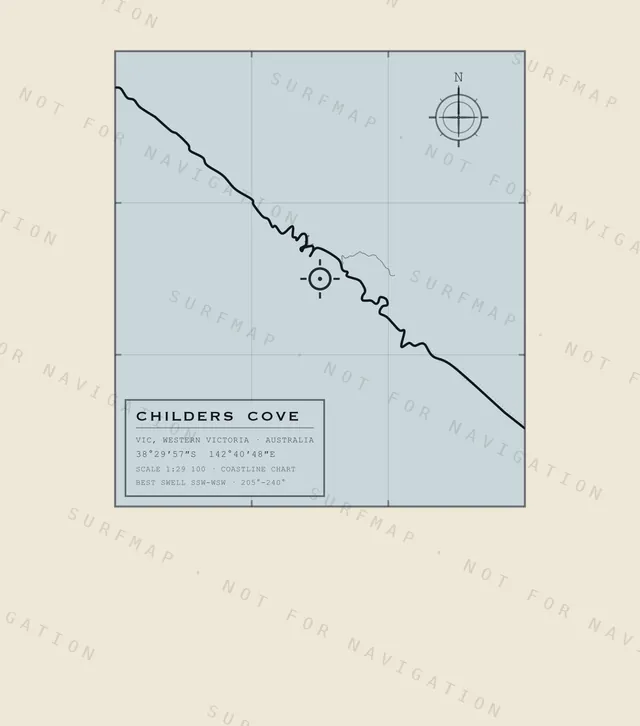
Childers Cove
VIC · Western Victoria · Australia
$39.00
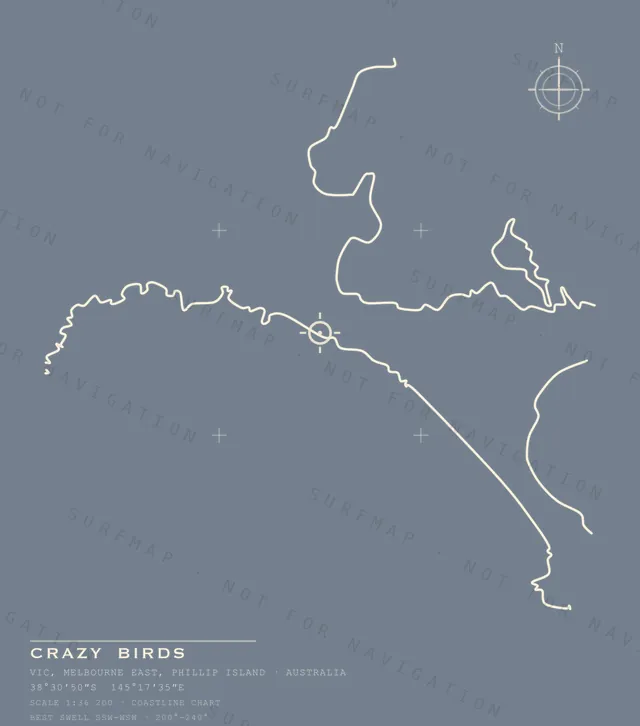
Crazy Birds
VIC · Melbourne East · Phillip Island · Australia
$39.00
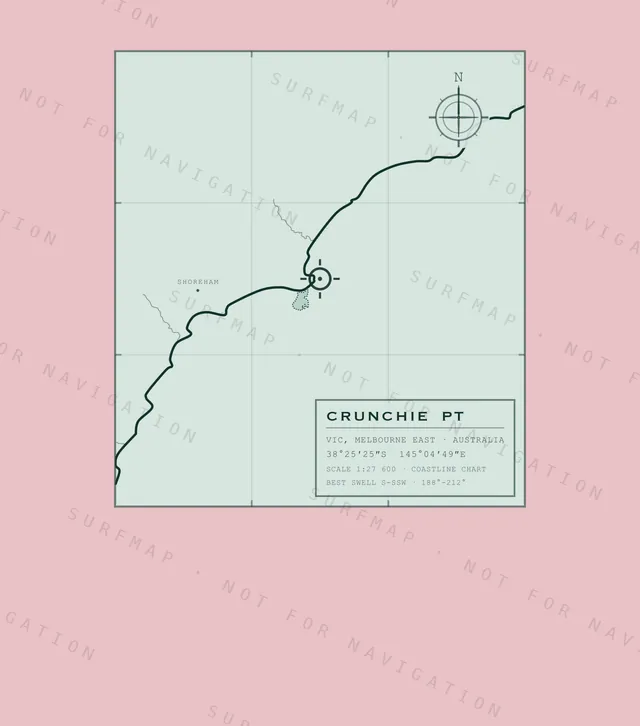
Crunchie Pt
VIC · Melbourne East · Australia
$39.00
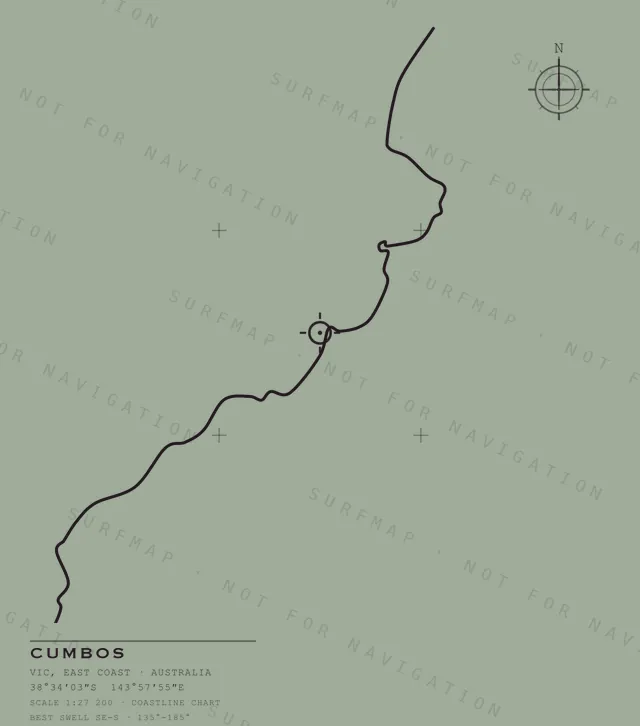
Cumbos
VIC · East Coast · Australia
$39.00
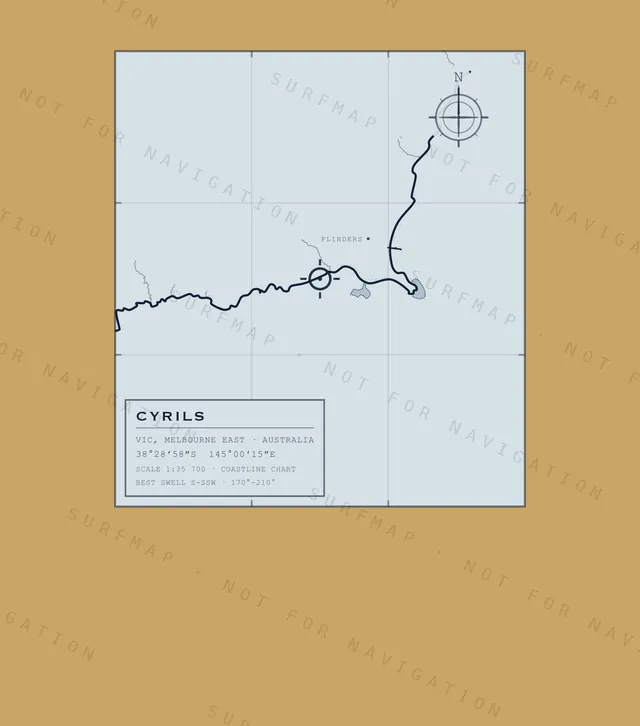
Cyrils
VIC · Melbourne East · Australia
$39.00
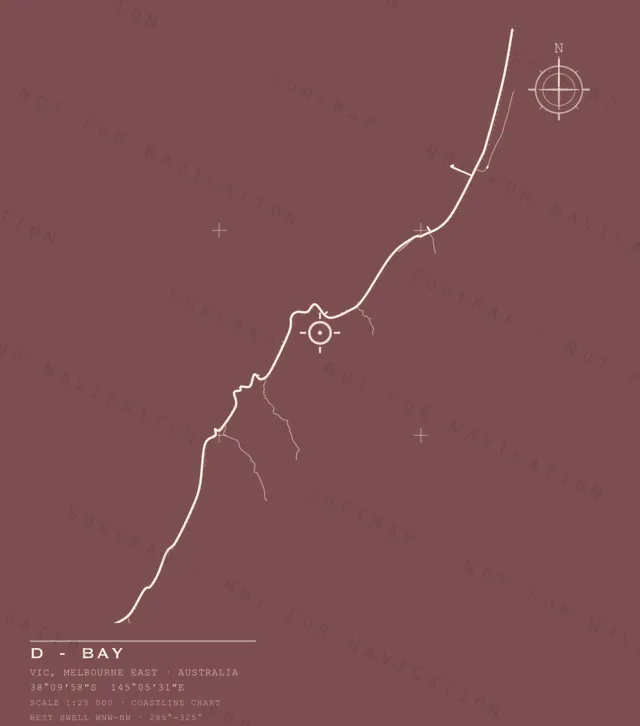
D - Bay
VIC · Melbourne East · Australia
$39.00
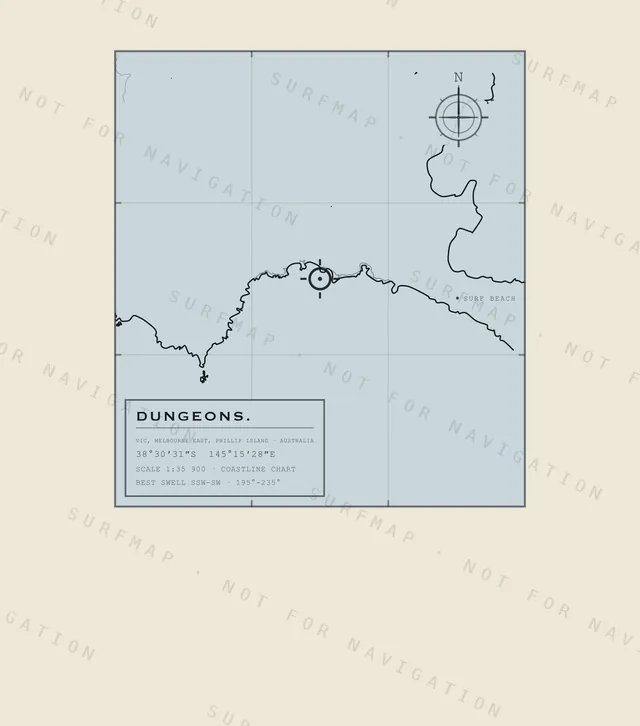
Dungeons.
VIC · Melbourne East · Phillip Island · Australia
$39.00
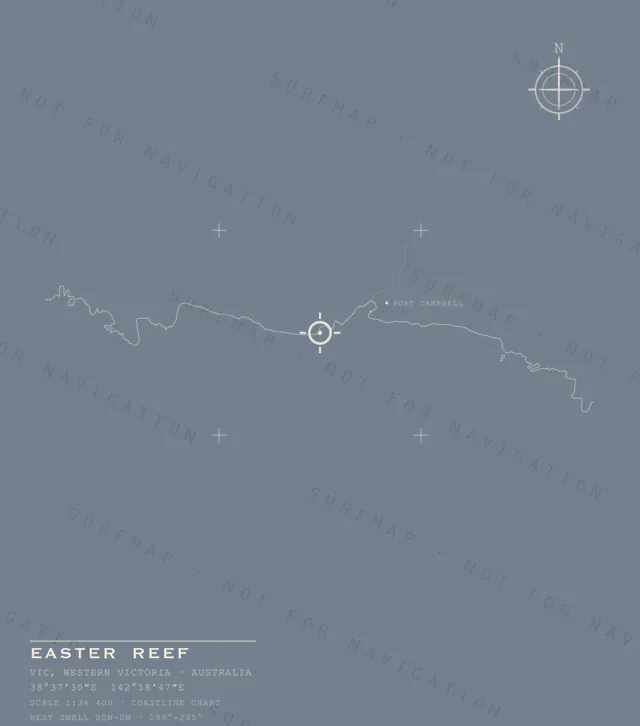
Easter Reef
VIC · Western Victoria · Australia
$39.00
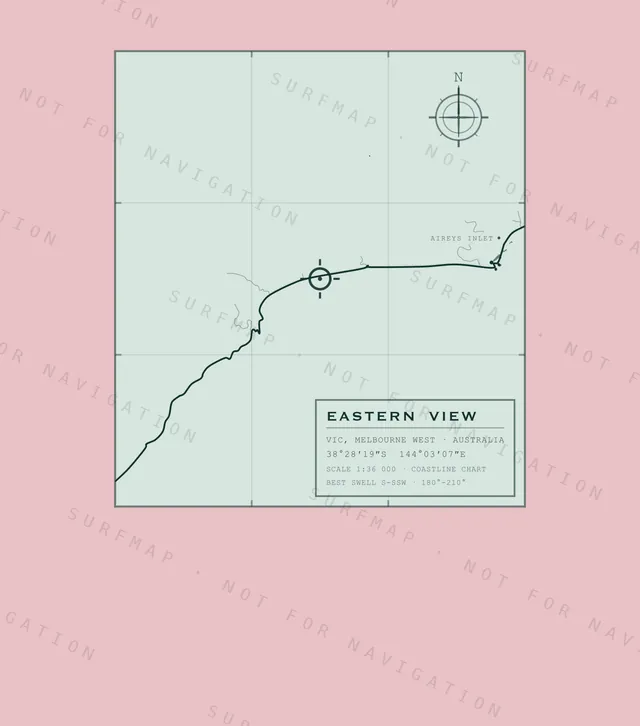
Eastern View
VIC · Melbourne West · Australia
$39.00
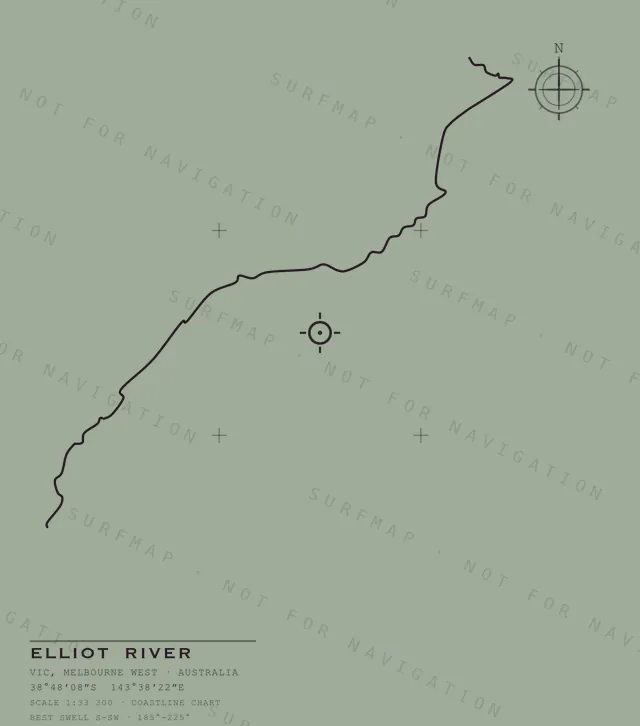
Elliot River
VIC · Melbourne West · Australia
$39.00
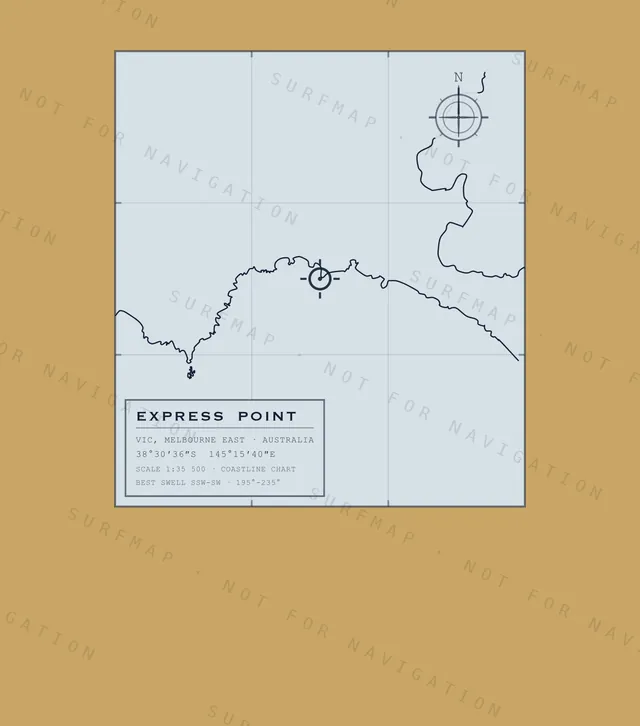
Express Point
VIC · Melbourne East · Australia
$39.00
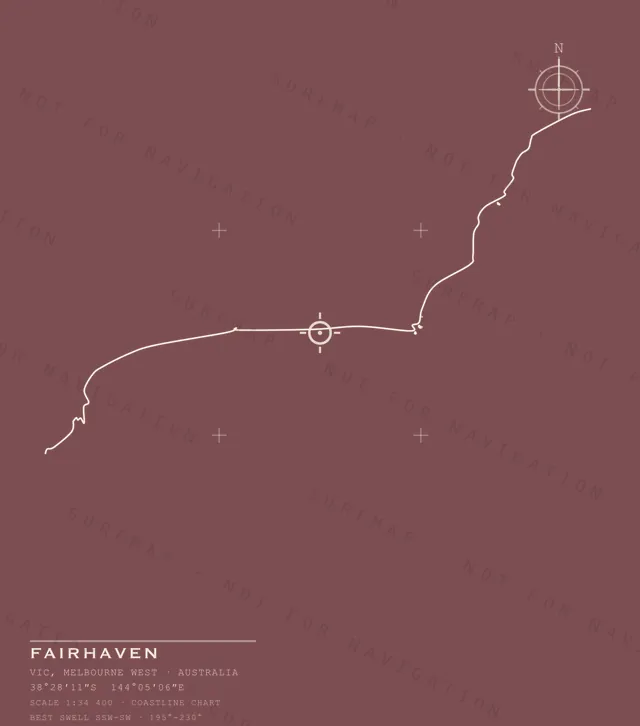
Fairhaven
VIC · Melbourne West · Australia
$39.00
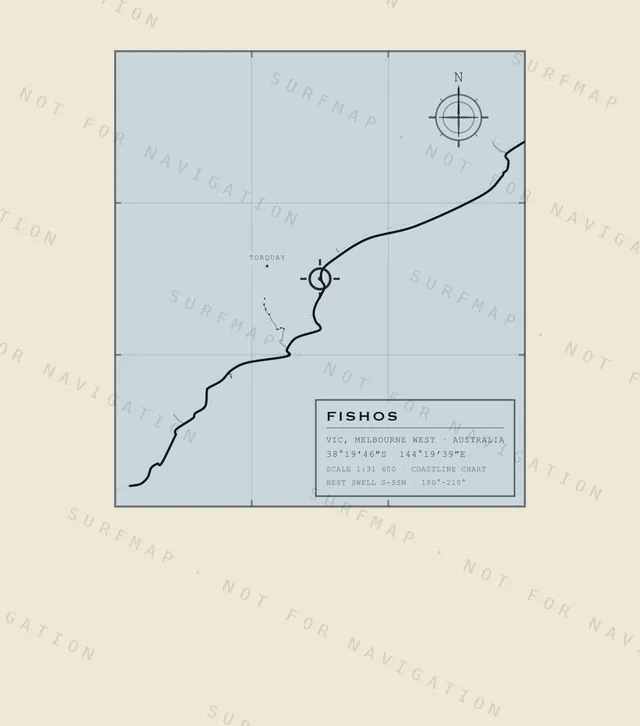
Fishos
VIC · Melbourne West · Australia
$39.00
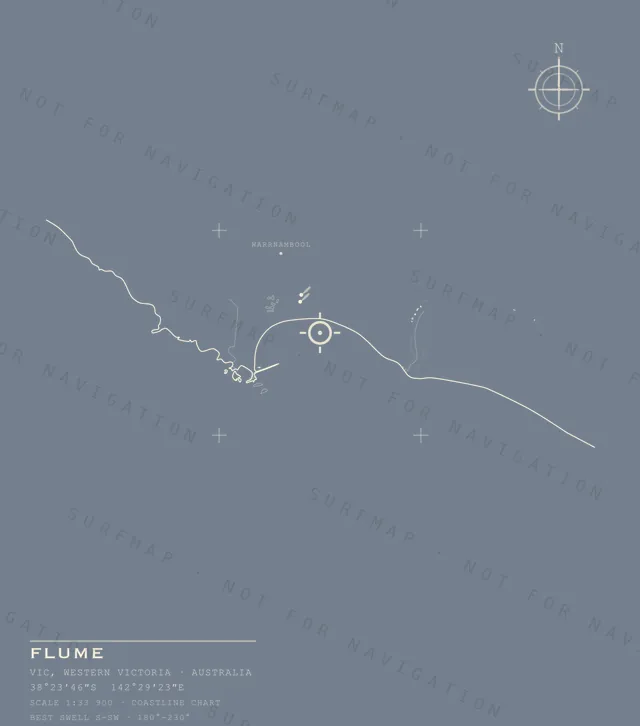
Flume
VIC · Western Victoria · Australia
$39.00
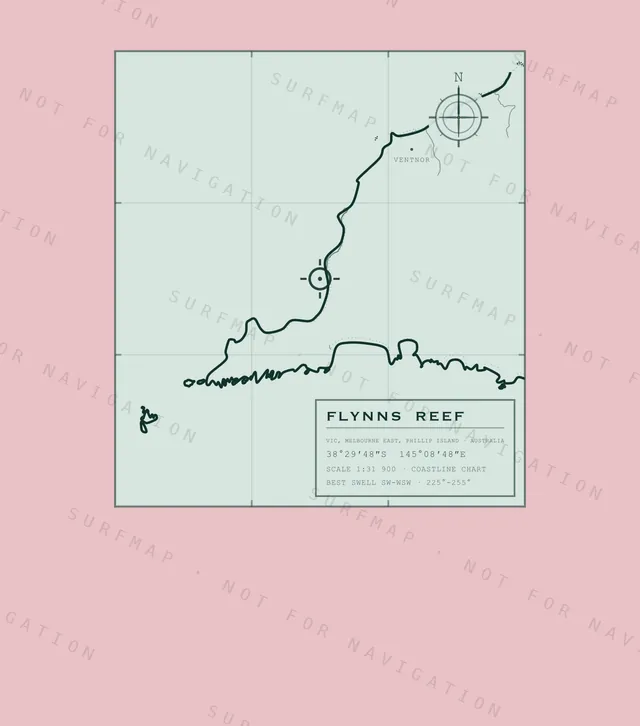
Flynns Reef
VIC · Melbourne East · Phillip Island · Australia
$39.00
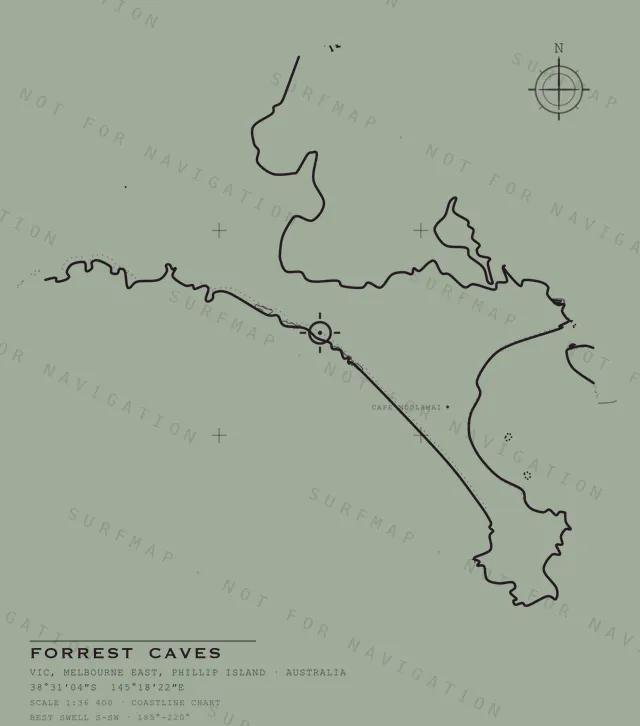
Forrest Caves
VIC · Melbourne East · Phillip Island · Australia
$39.00
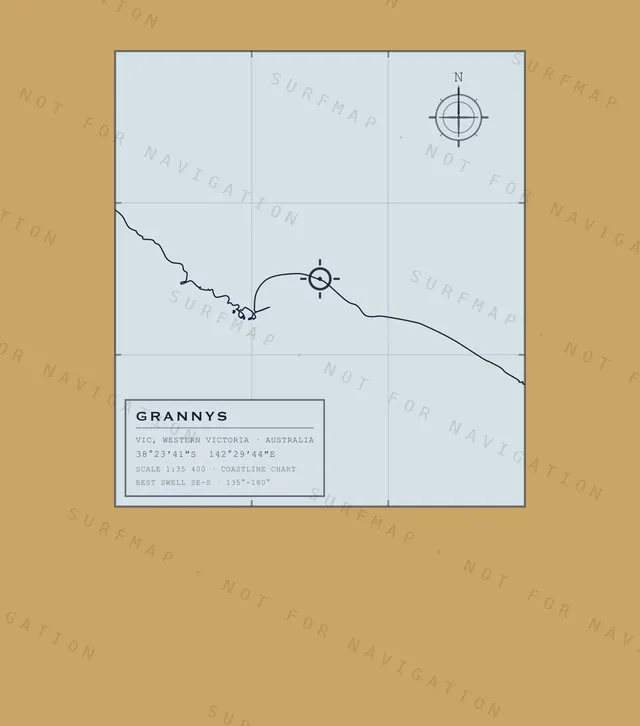
Grannys
VIC · Western Victoria · Australia
$39.00
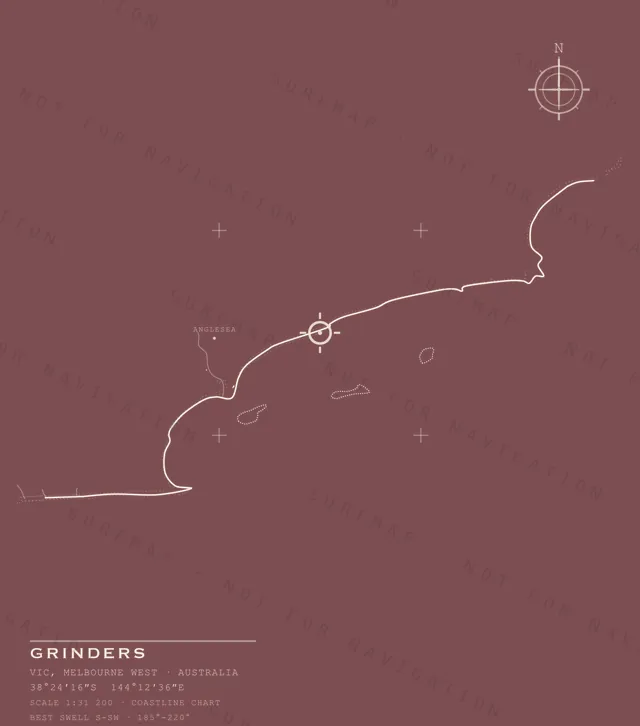
Grinders
VIC · Melbourne West · Australia
$39.00
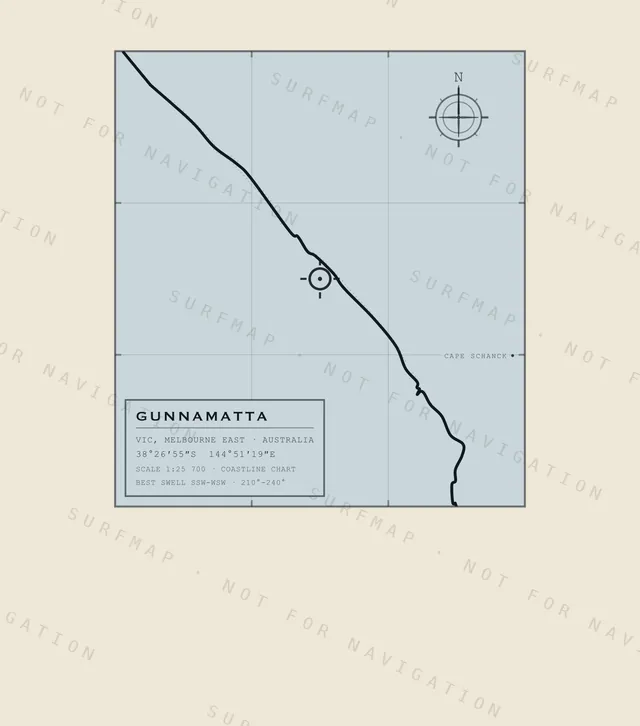
Gunnamatta
VIC · Melbourne East · Australia
$39.00
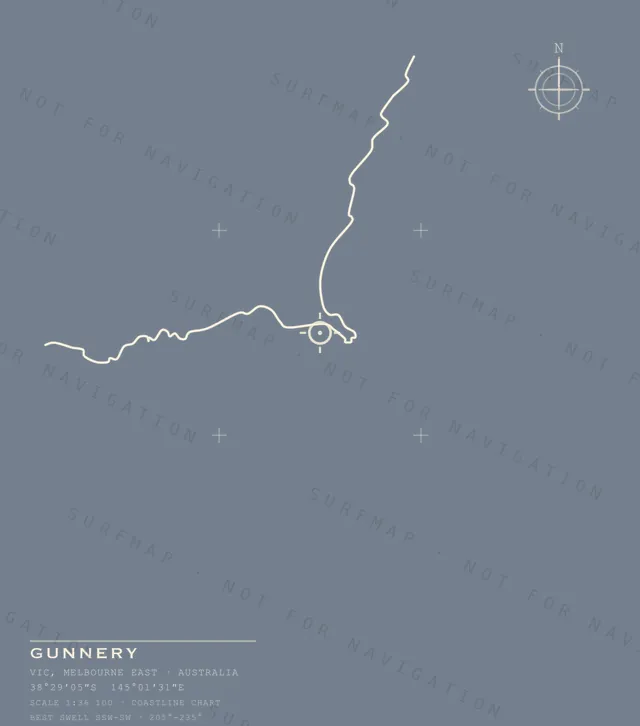
Gunnery
VIC · Melbourne East · Australia
$39.00
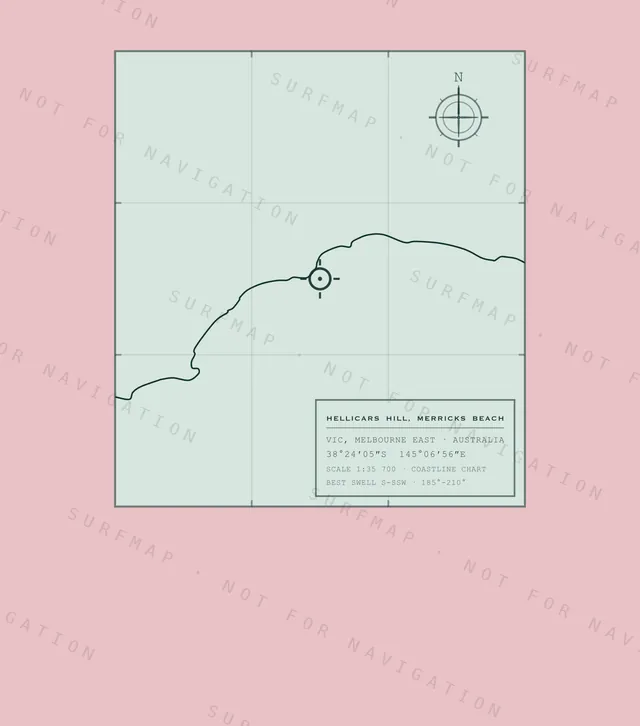
Hellicars Hill, Merricks Beach
VIC · Melbourne East · Australia
$39.00
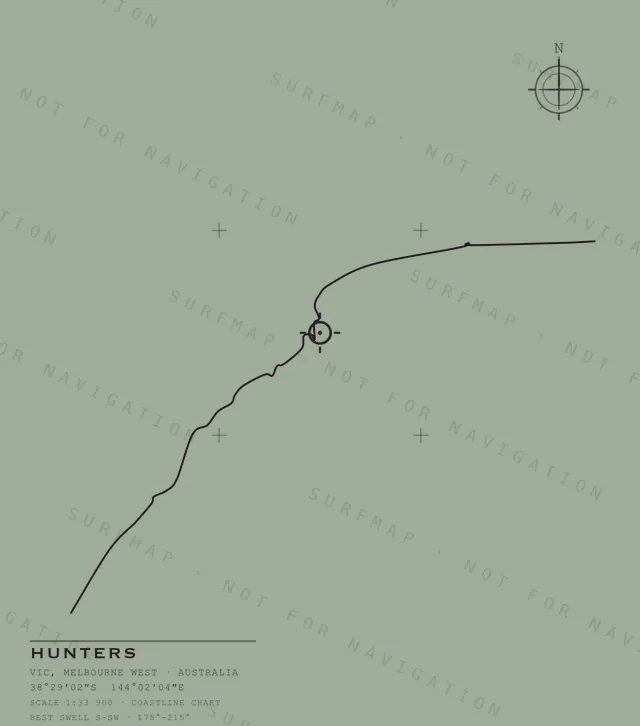
Hunters
VIC · Melbourne West · Australia
$39.00
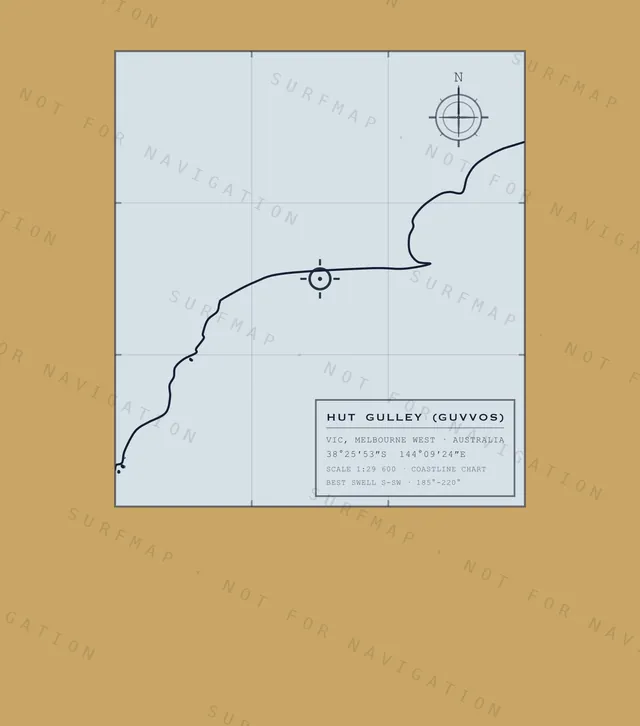
Hut Gulley (Guvvos)
VIC · Melbourne West · Australia
$39.00
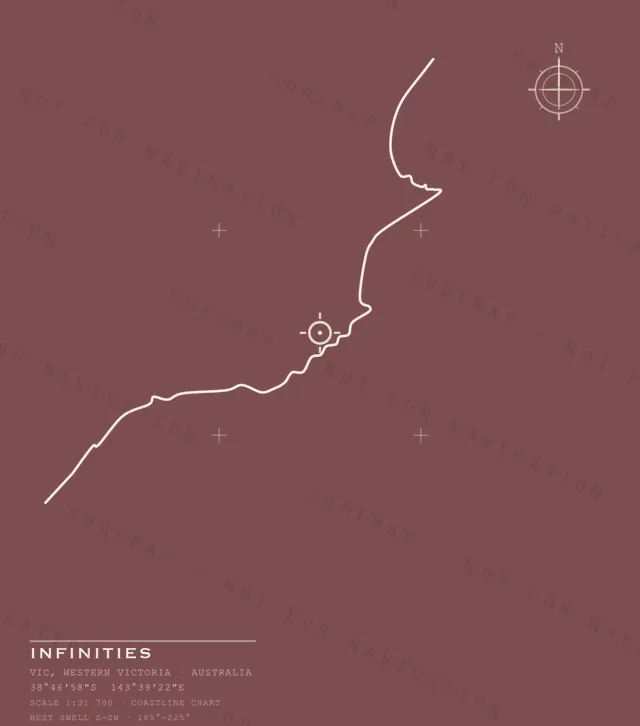
Infinities
VIC · Western Victoria · Australia
$39.00
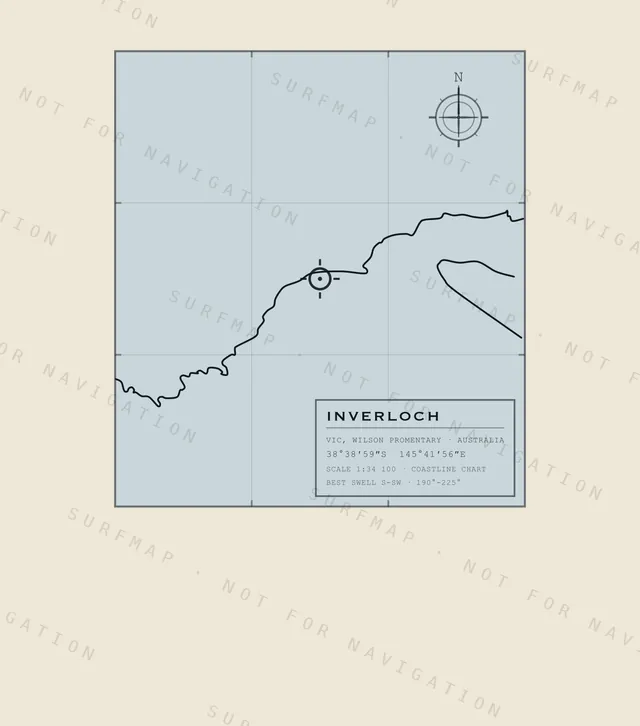
Inverloch
VIC · Wilsons Promontory · Australia
$39.00
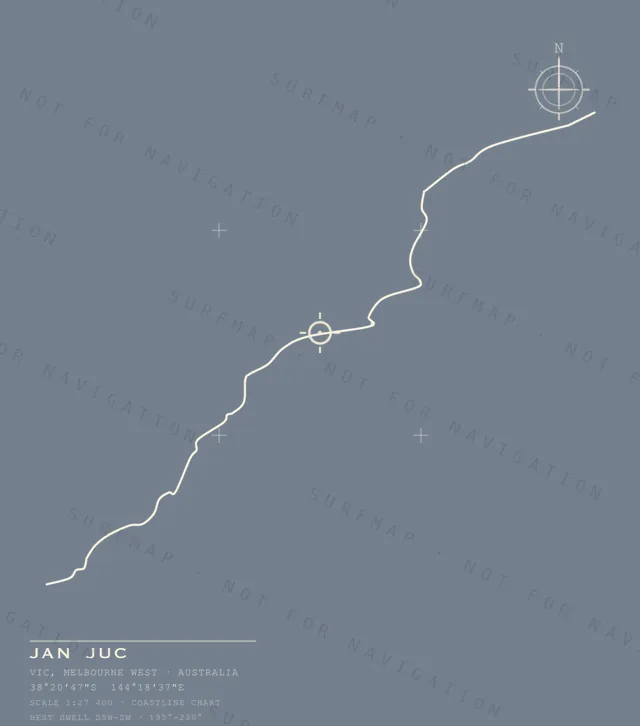
Jan Juc
VIC · Melbourne West · Australia
$39.00
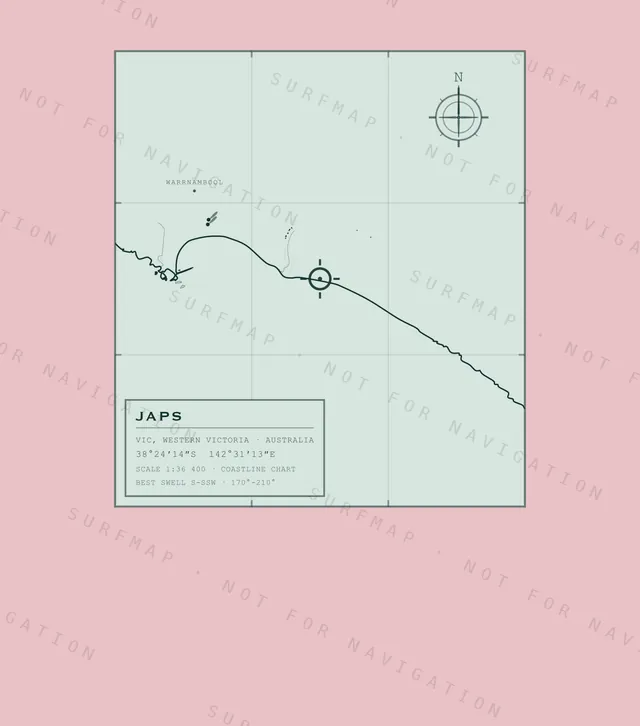
Japs
VIC · Western Victoria · Australia
$39.00
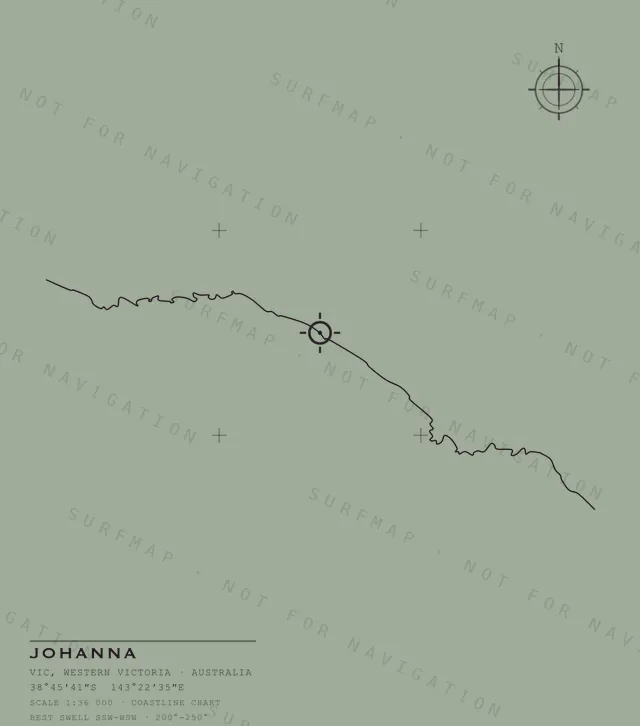
Johanna
VIC · Western Victoria · Australia
$39.00
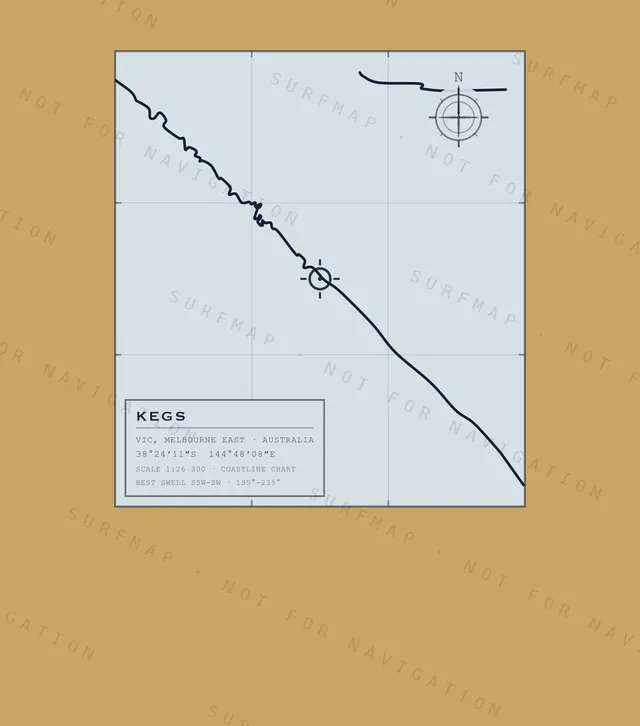
Kegs
VIC · Melbourne East · Australia
$39.00
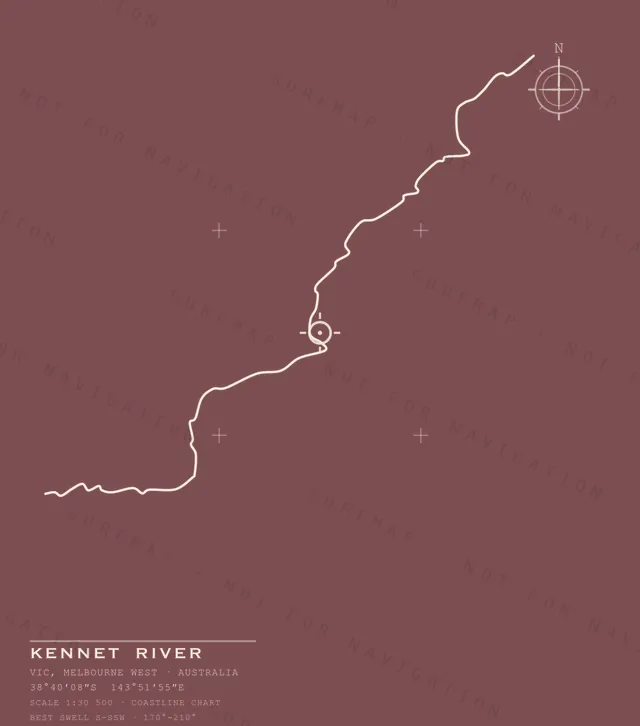
Kennet River
VIC · Melbourne West · Australia
$39.00
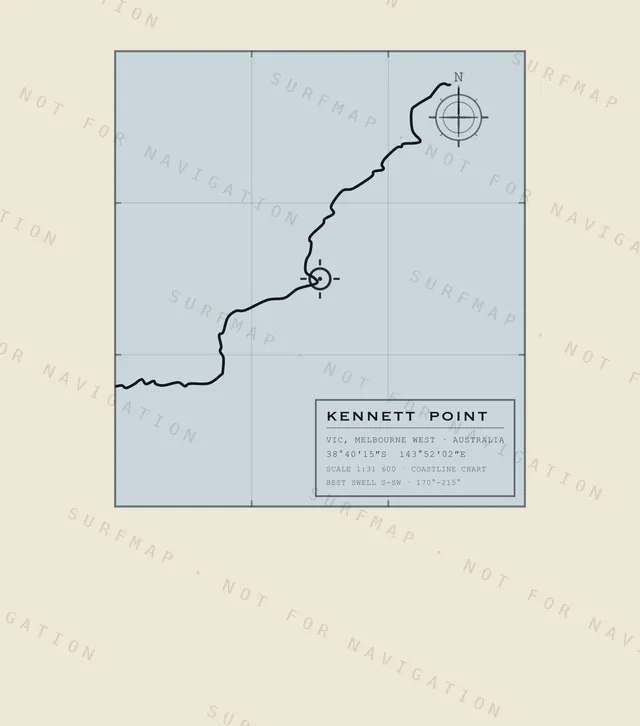
Kennett Point
VIC · Melbourne West · Australia
$39.00
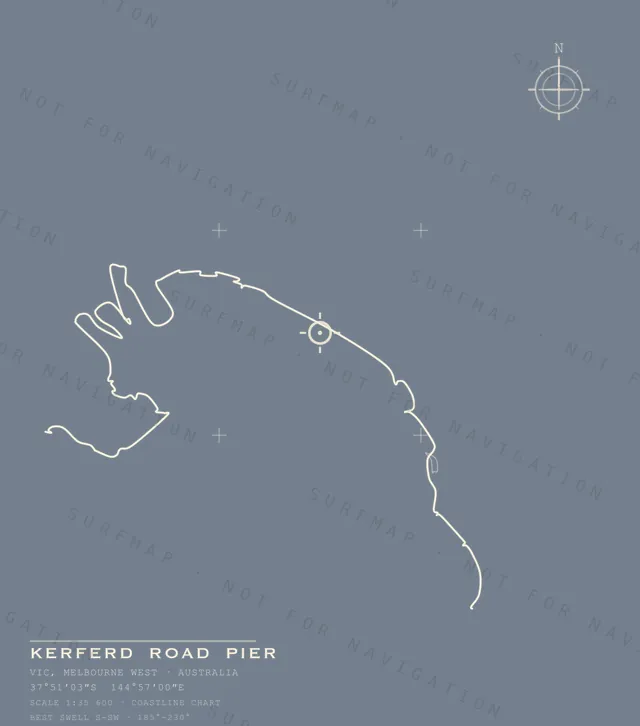
Kerferd Road Pier
VIC · Melbourne West · Australia
$39.00
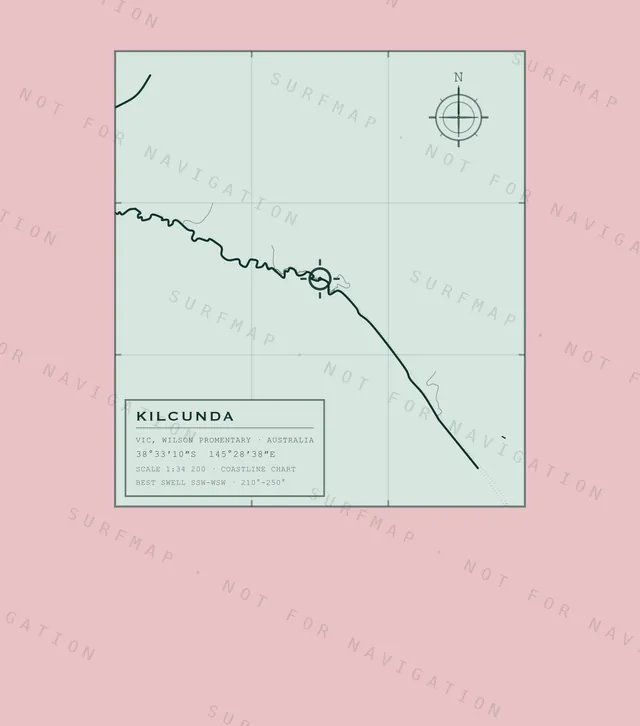
Kilcunda
VIC · Wilsons Promontory · Australia
$39.00
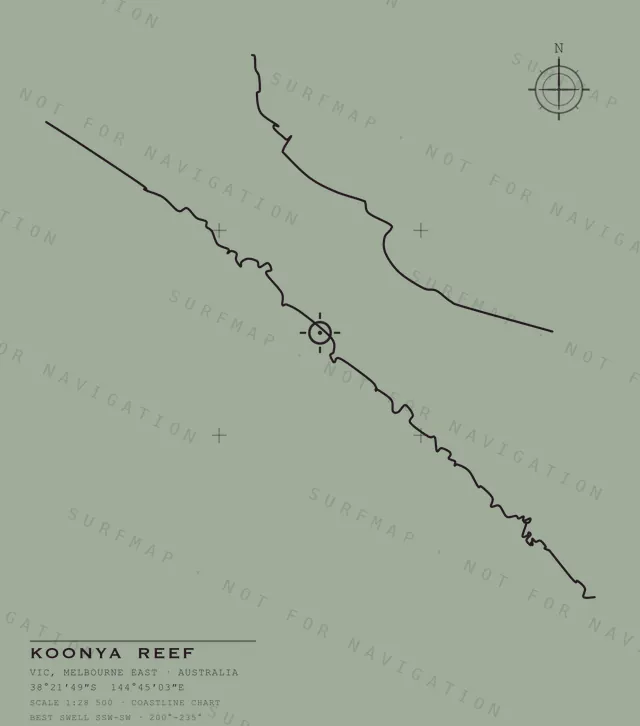
Koonya Reef
VIC · Melbourne East · Australia
$39.00
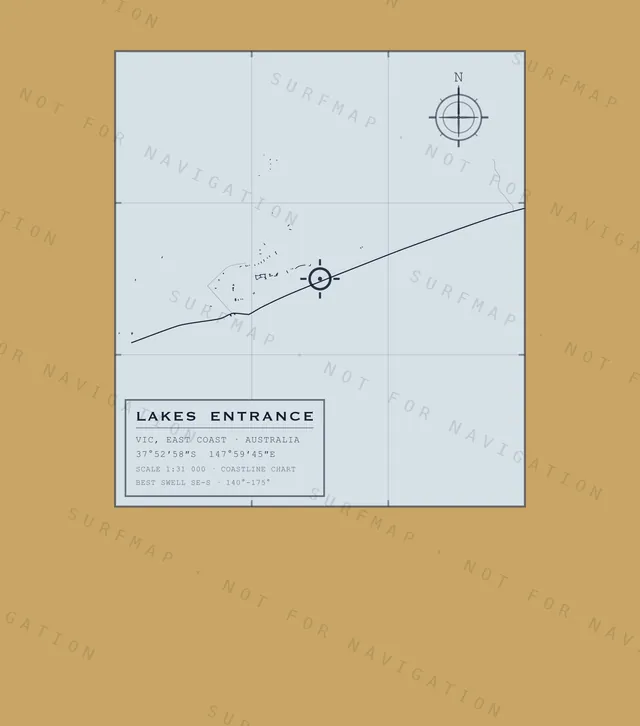
Lakes Entrance
VIC · East Coast · Australia
$39.00
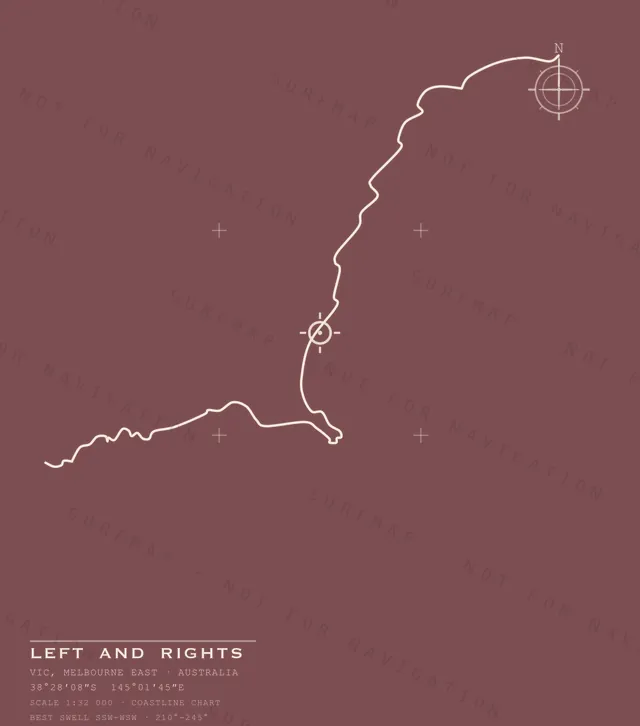
Left and Rights
VIC · Melbourne East · Australia
$39.00
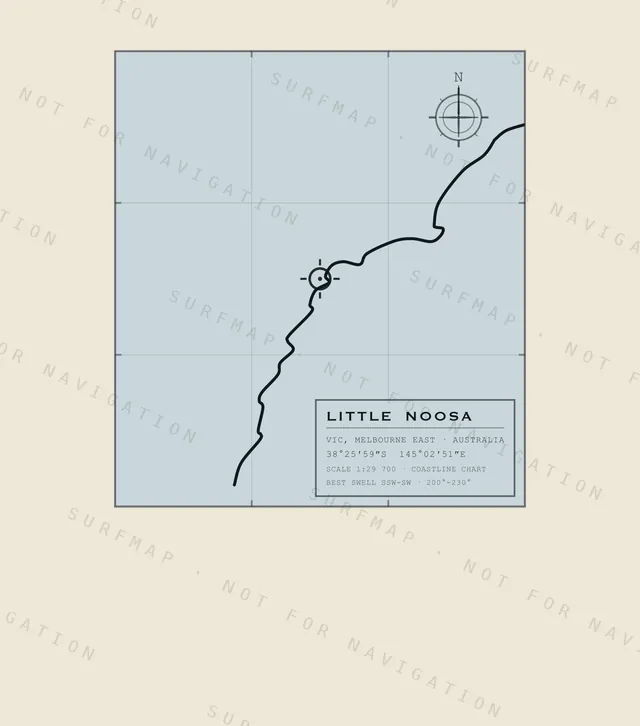
Little Noosa
VIC · Melbourne East · Australia
$39.00
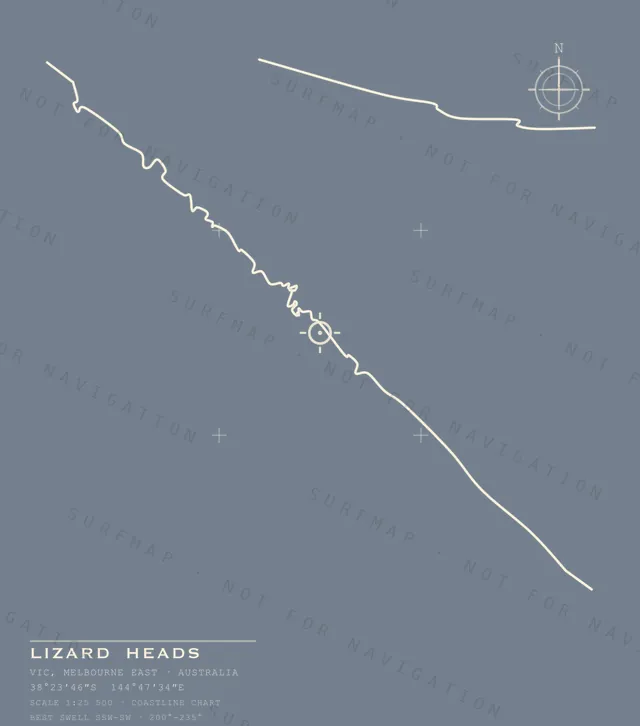
Lizard Heads
VIC · Melbourne East · Australia
$39.00
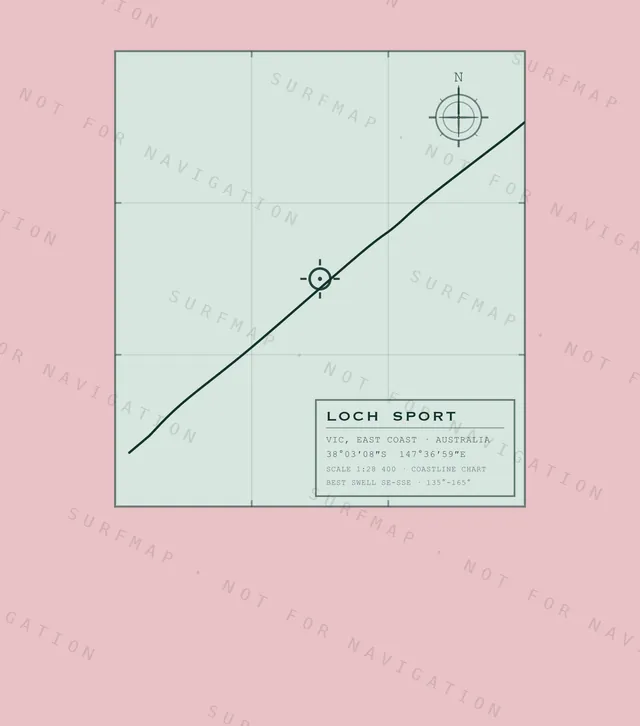
Loch Sport
VIC · East Coast · Australia
$39.00
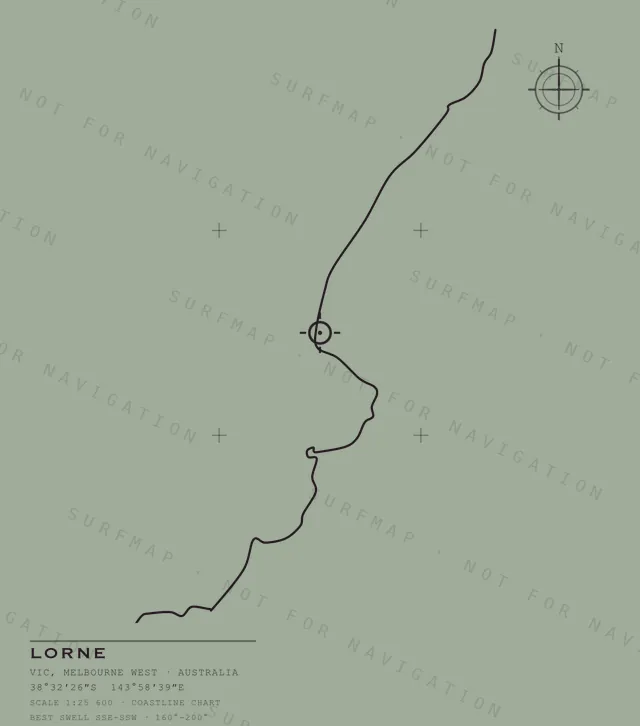
Lorne
VIC · Melbourne West · Australia
$39.00
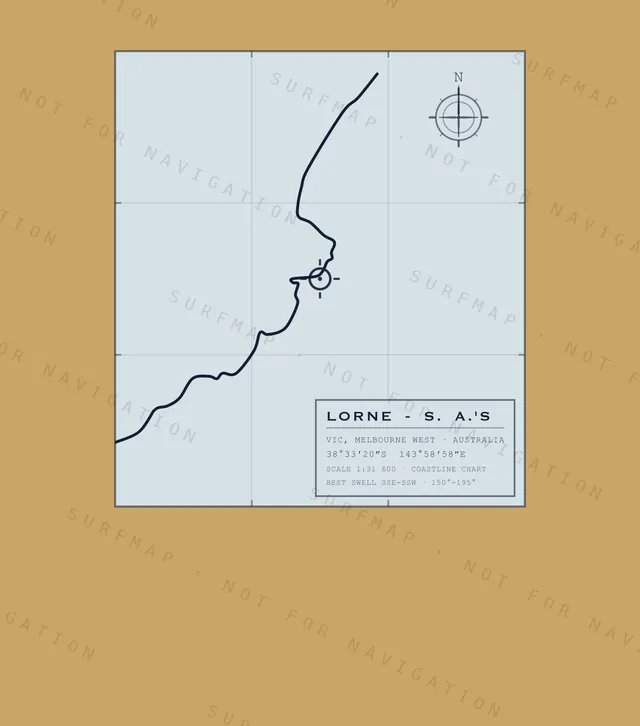
Lorne - S. A.'s
VIC · Melbourne West · Australia
$39.00
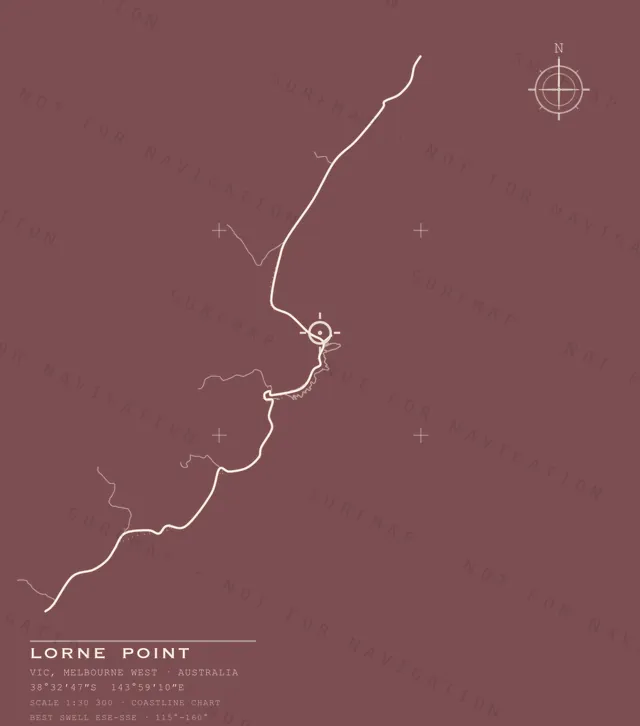
Lorne Point
VIC · Melbourne West · Australia
$39.00
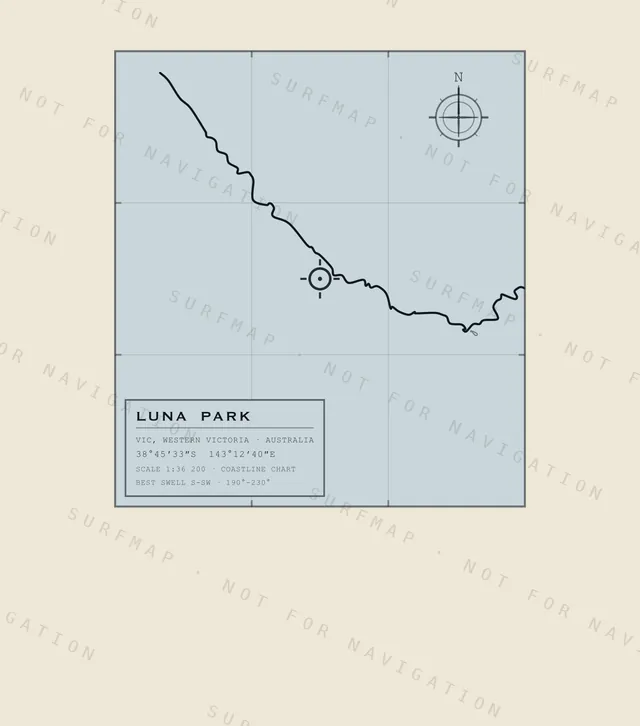
Luna Park
VIC · Western Victoria · Australia
$39.00
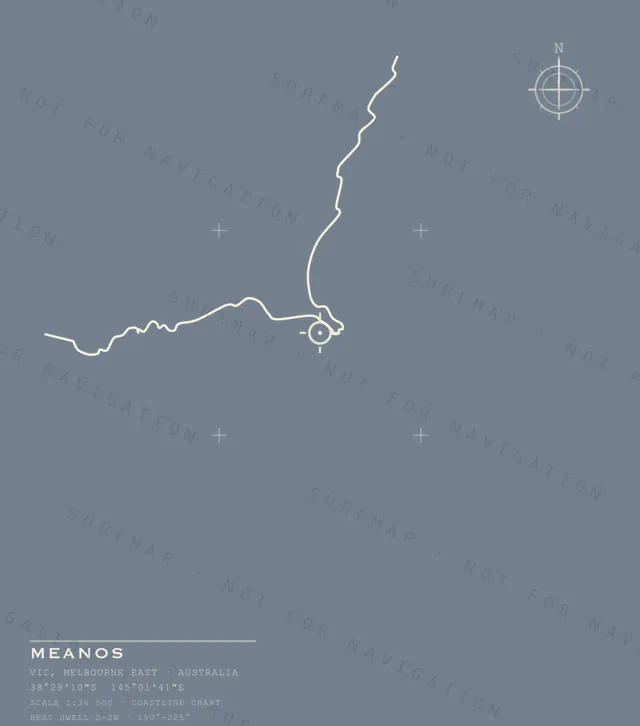
Meanos
VIC · Melbourne East · Australia
$39.00
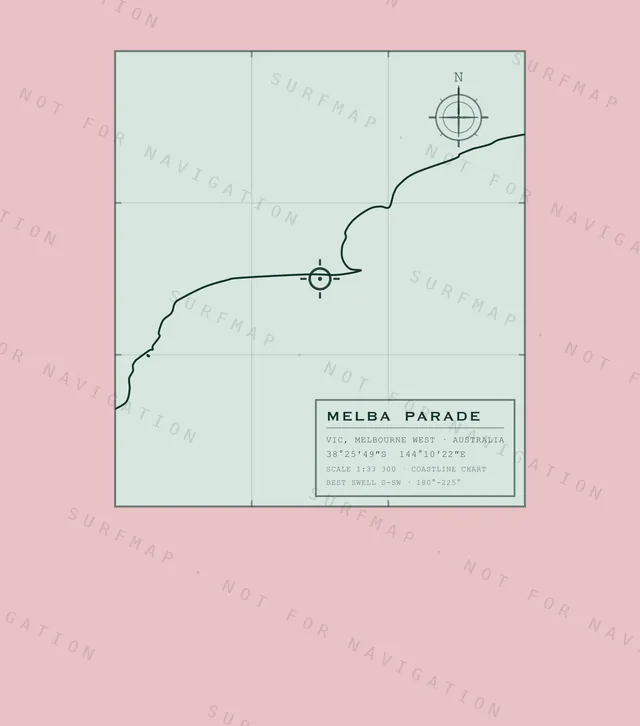
Melba Parade
VIC · Melbourne West · Australia
$39.00
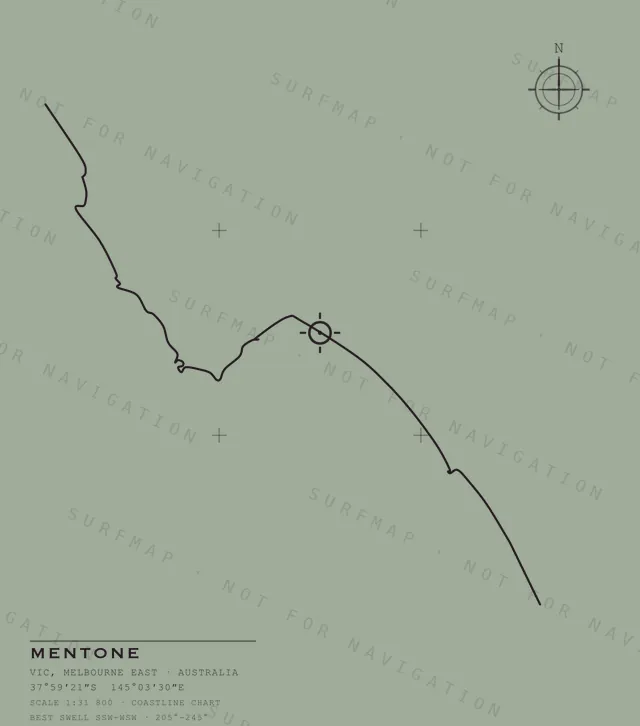
Mentone
VIC · Melbourne East · Australia
$39.00
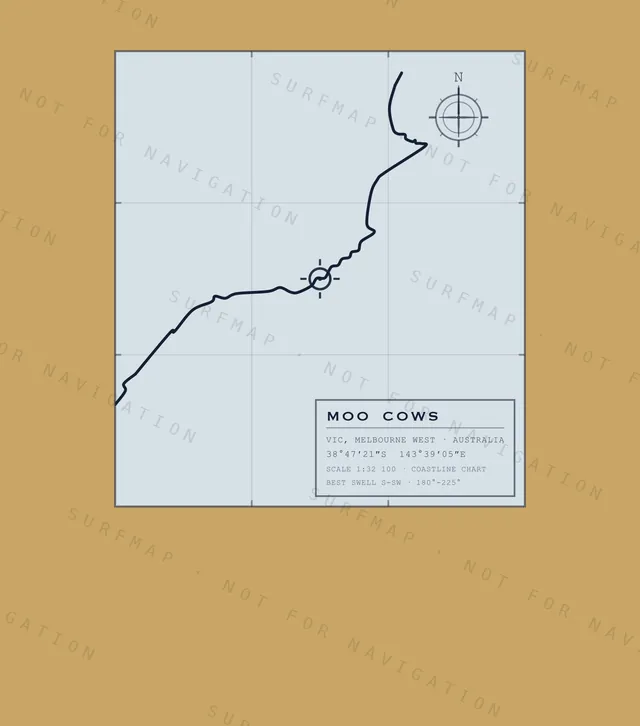
Moo Cows
VIC · Melbourne West · Australia
$39.00

Mornington Mills & Mothers Beach
VIC · Melbourne East · Australia
$39.00
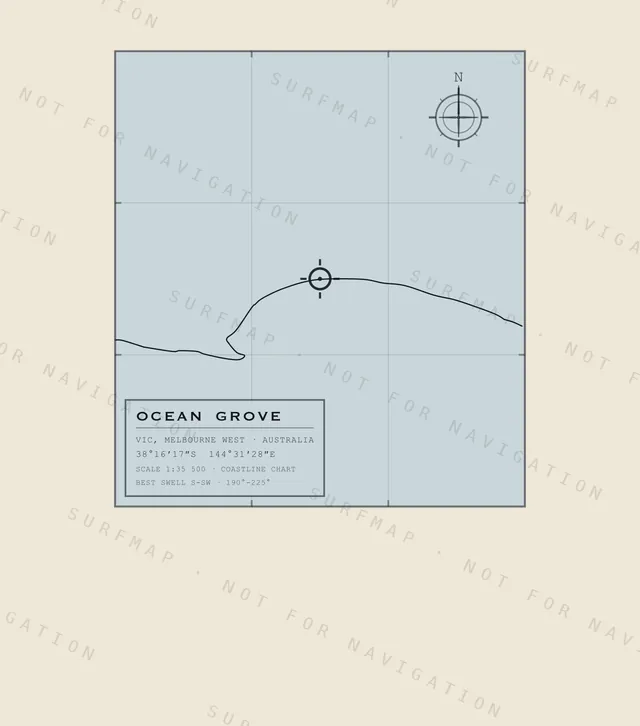
Ocean Grove
VIC · Melbourne West · Australia
$39.00
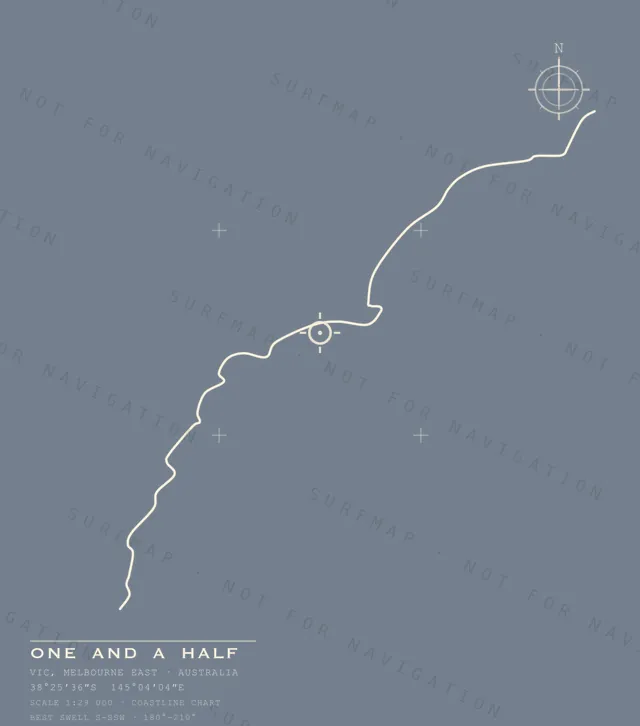
One and a Half
VIC · Melbourne East · Australia
$39.00
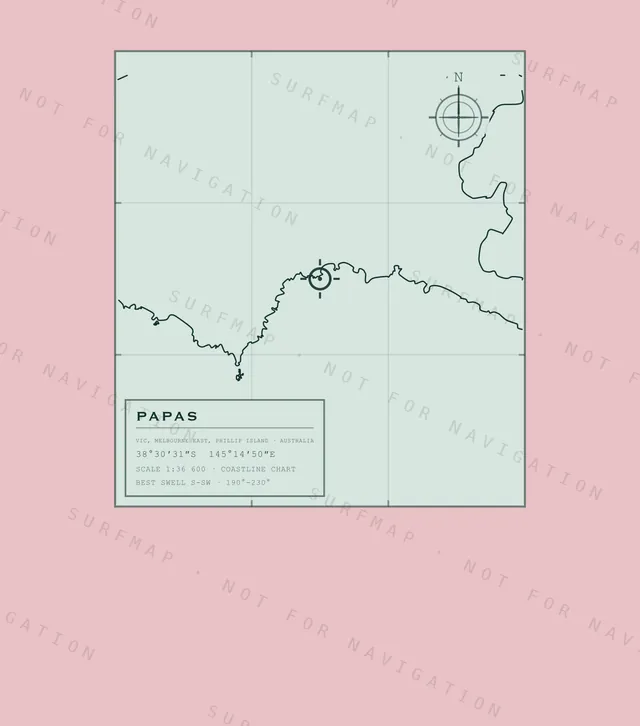
Papas
VIC · Melbourne East · Phillip Island · Australia
$39.00
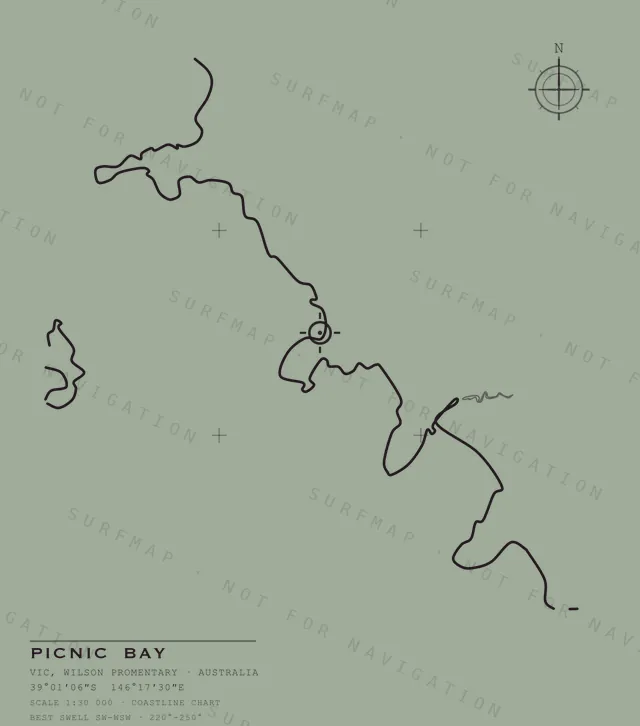
Picnic Bay
VIC · Wilsons Promontory · Australia
$39.00
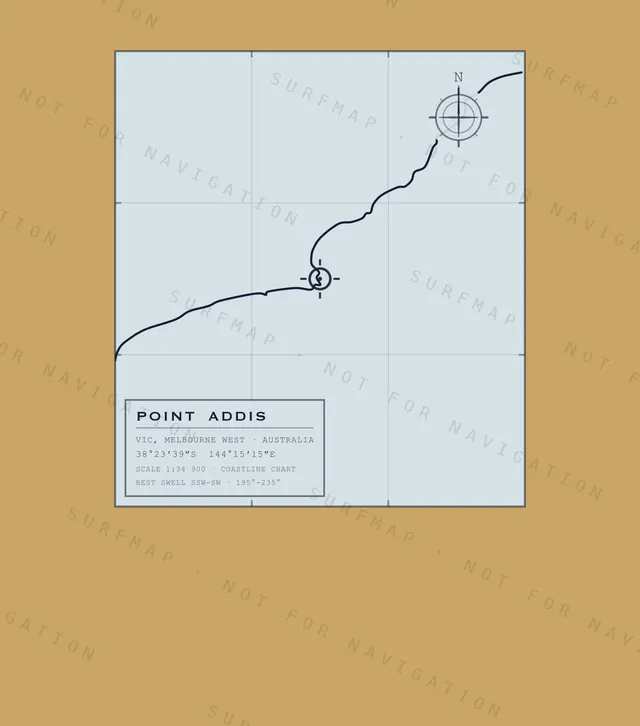
Point Addis
VIC · Melbourne West · Australia
$39.00
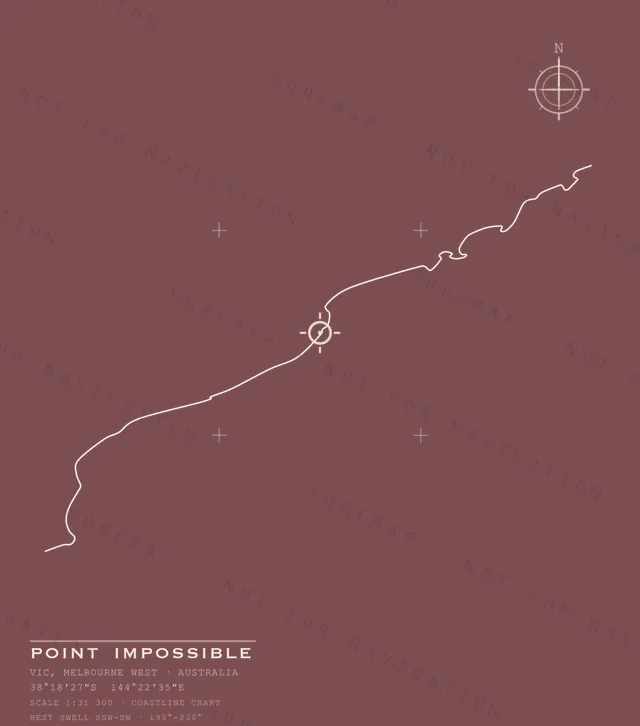
Point Impossible
VIC · Melbourne West · Australia
$39.00
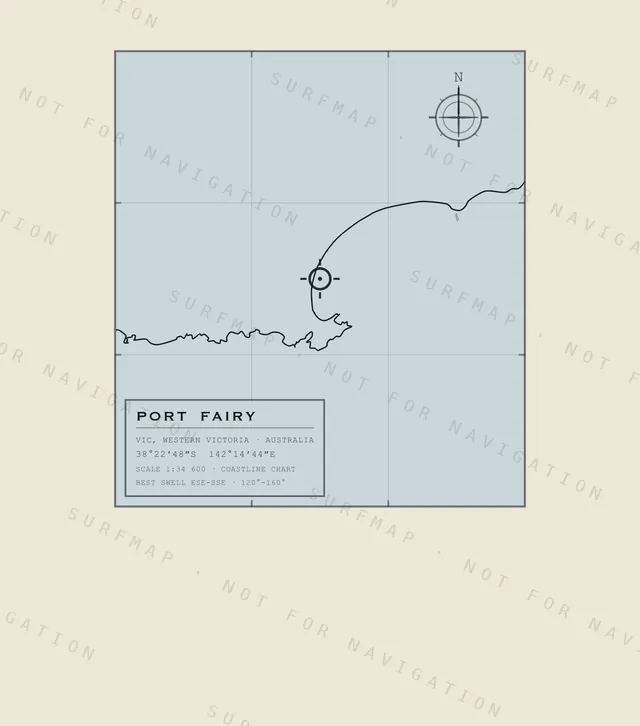
Port Fairy
VIC · Western Victoria · Australia
$39.00
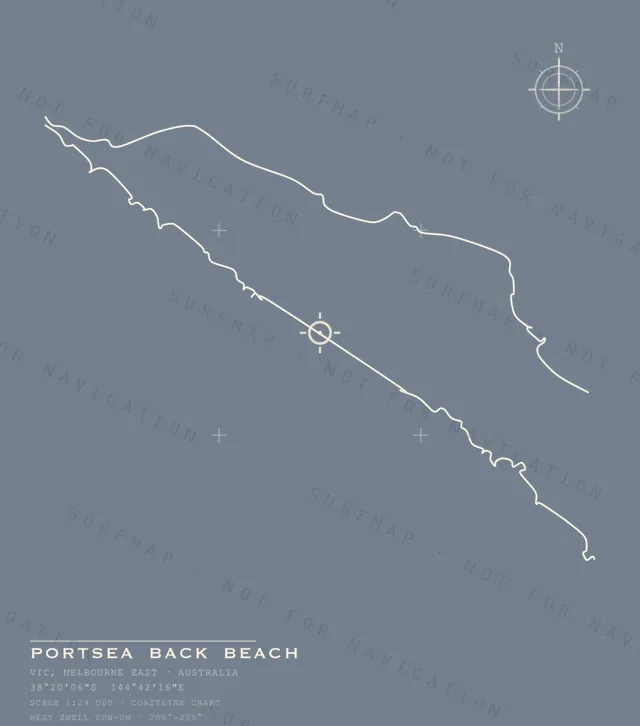
Portsea Back Beach
VIC · Melbourne East · Australia
$39.00
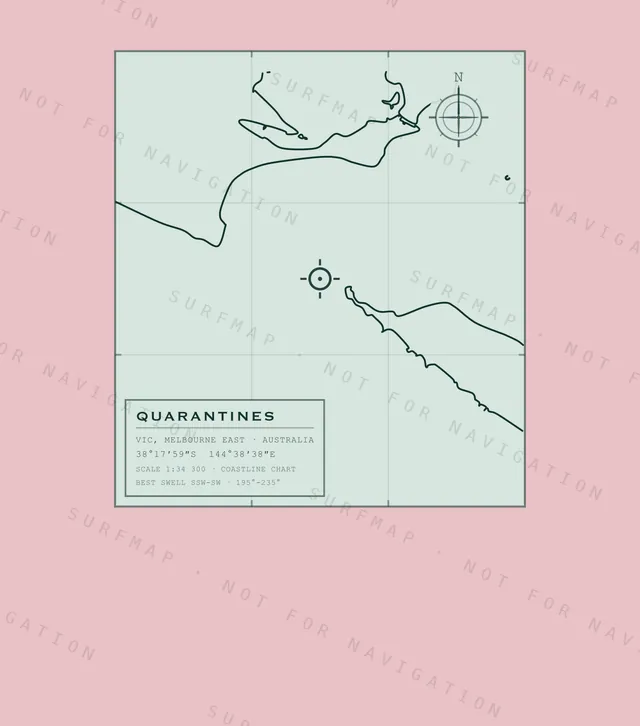
Quarantines
VIC · Melbourne East · Australia
$39.00
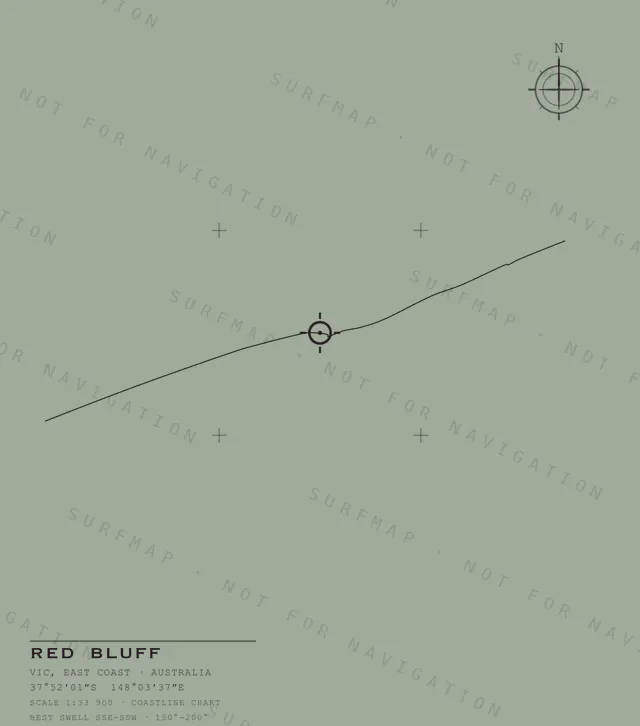
Red Bluff
VIC · East Coast · Australia
$39.00
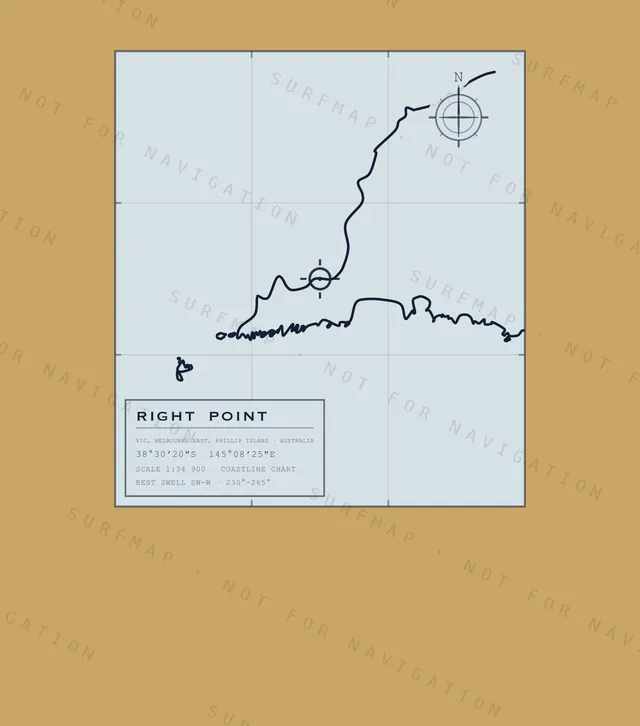
Right Point
VIC · Melbourne East · Phillip Island · Australia
$39.00
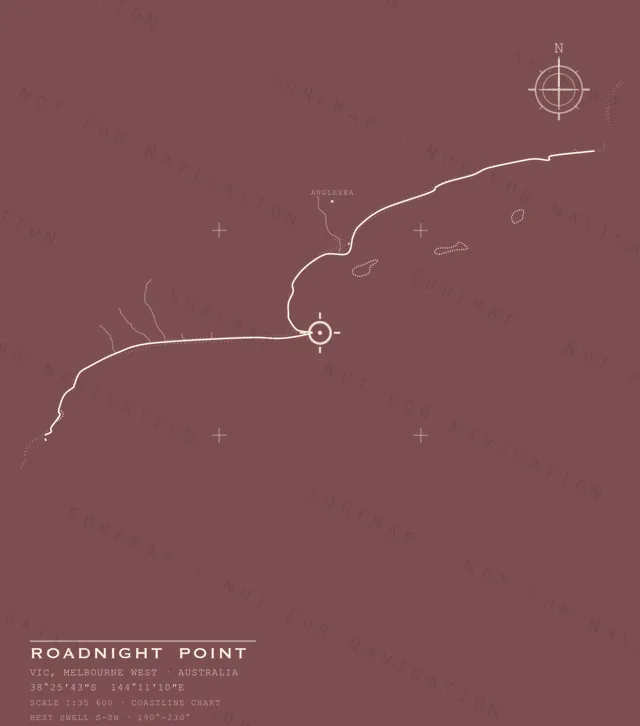
Roadnight Point
VIC · Melbourne West · Australia
$39.00
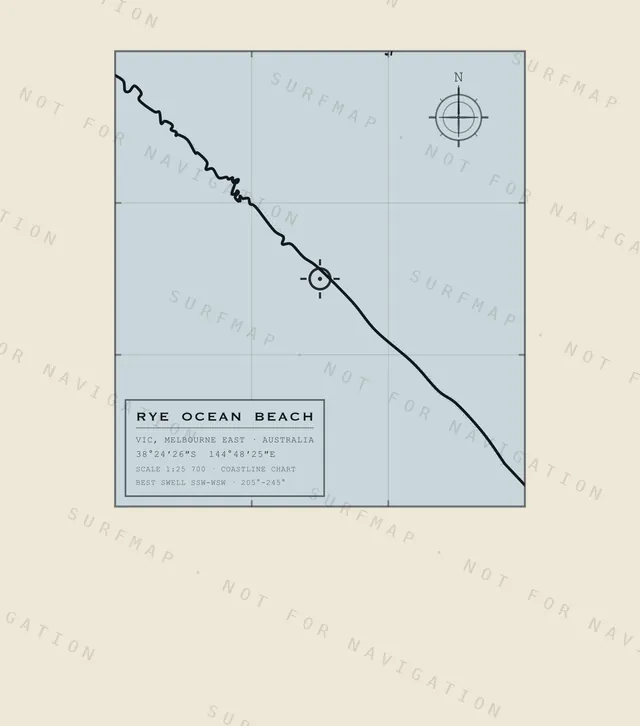
Rye Ocean Beach
VIC · Melbourne East · Australia
$39.00
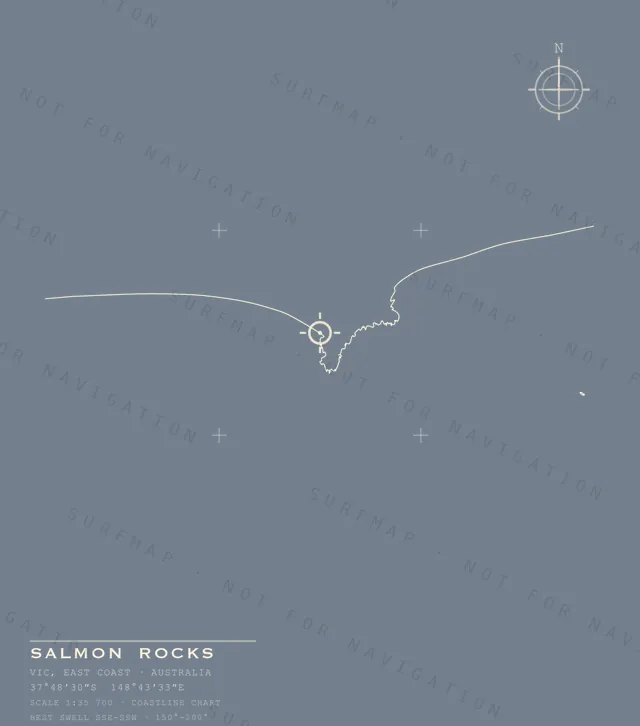
Salmon Rocks
VIC · East Coast · Australia
$39.00
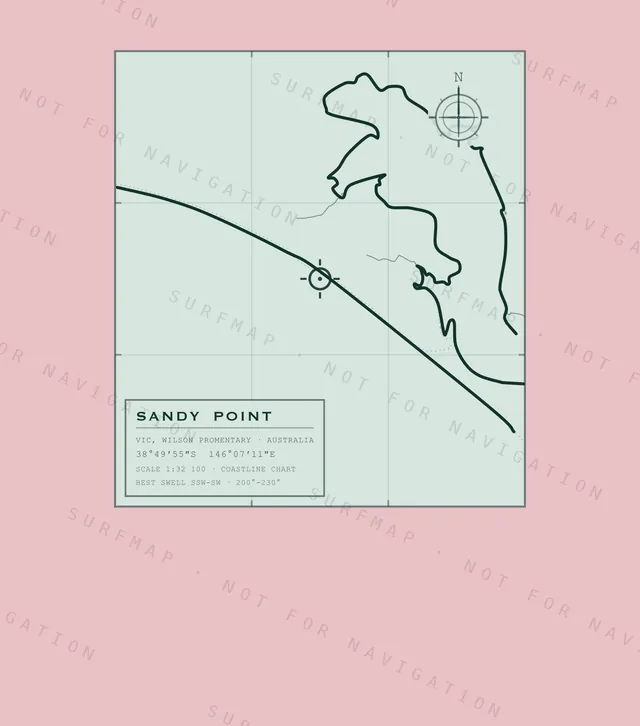
Sandy Point
VIC · Wilsons Promontory · Australia
$39.00
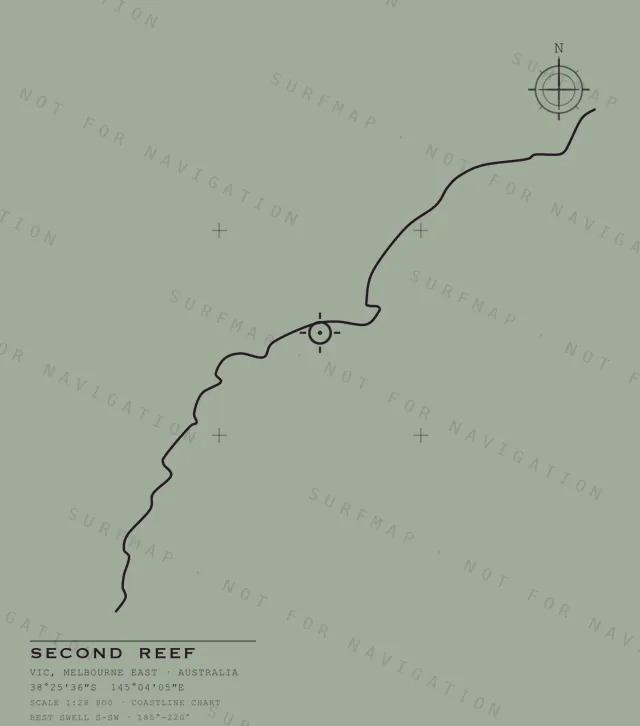
Second Reef
VIC · Melbourne East · Australia
$39.00
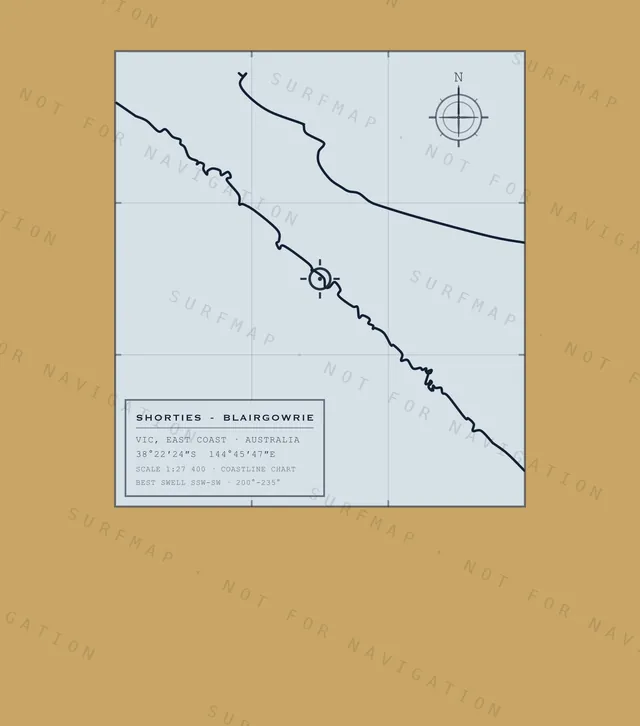
Shorties - Blairgowrie
VIC · East Coast · Australia
$39.00
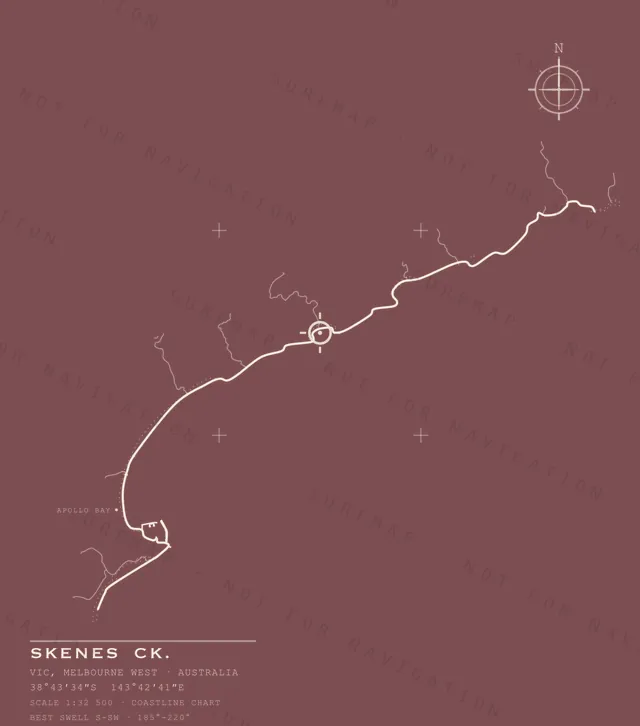
Skenes Ck.
VIC · Melbourne West · Australia
$39.00
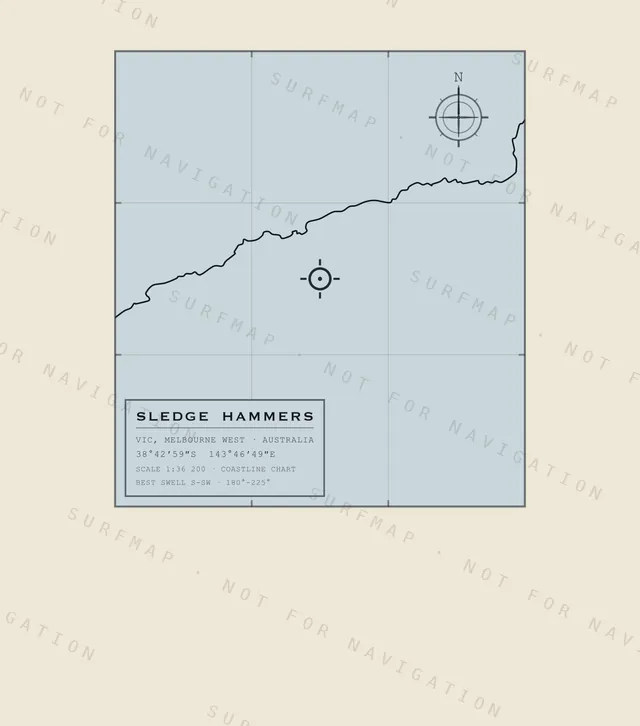
Sledge Hammers
VIC · Melbourne West · Australia
$39.00
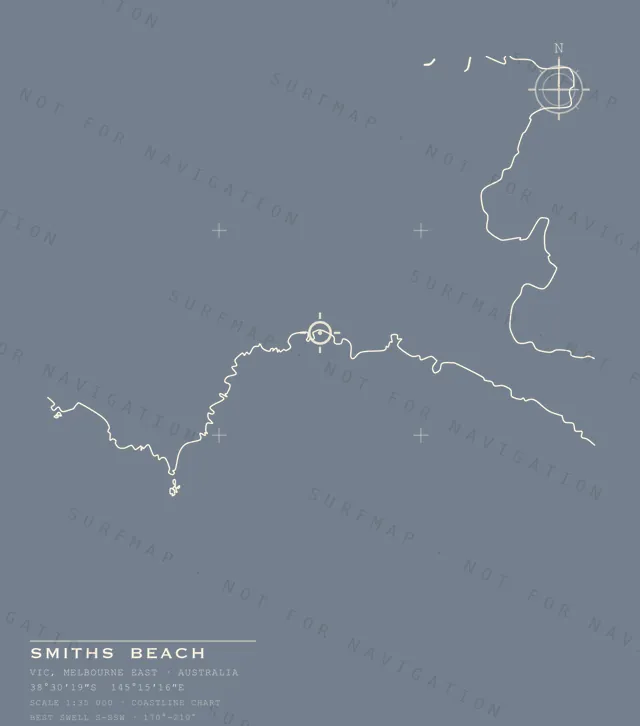
Smiths Beach
VIC · Melbourne East · Australia
$39.00
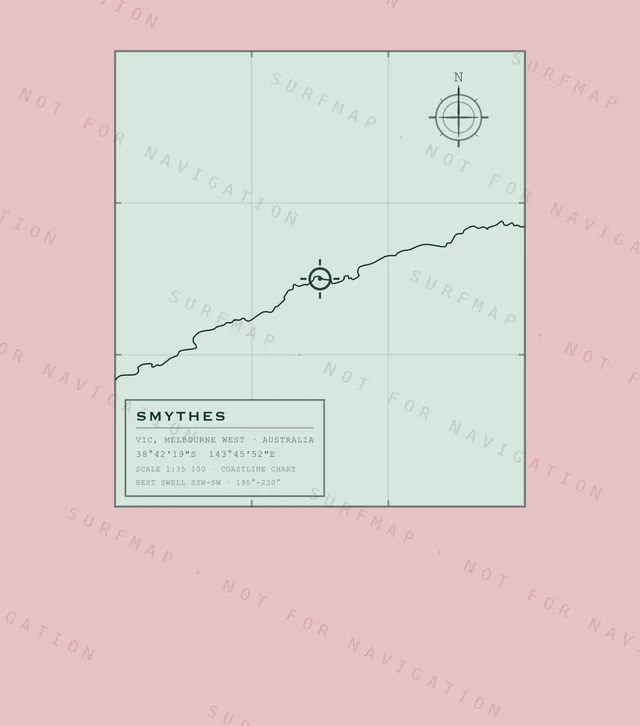
Smythes
VIC · Melbourne West · Australia
$39.00
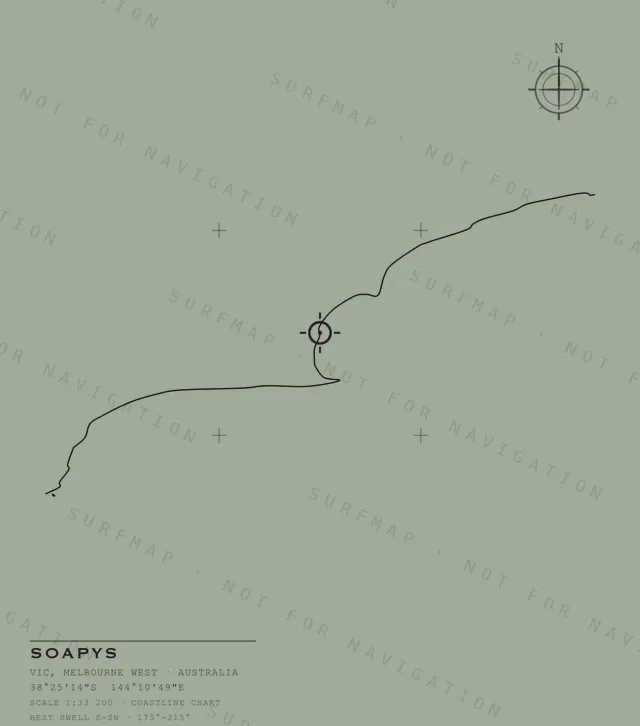
Soapys
VIC · Melbourne West · Australia
$39.00
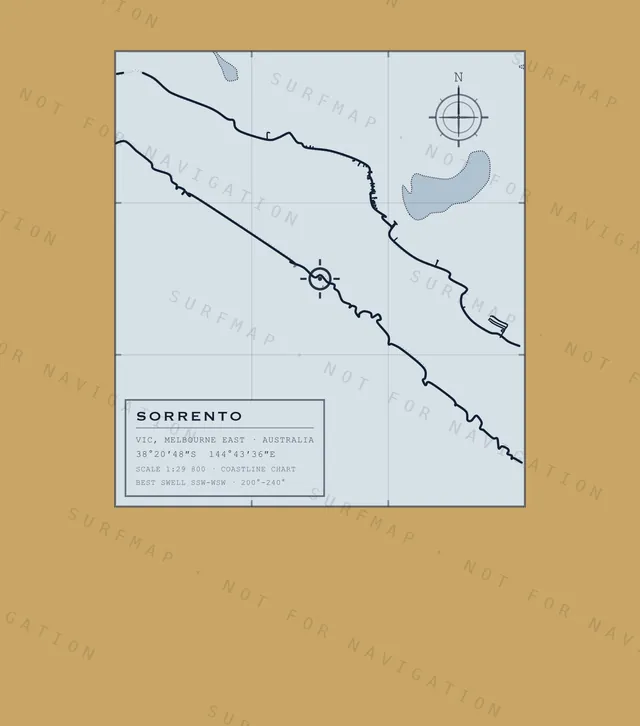
Sorrento
VIC · Melbourne East · Australia
$39.00
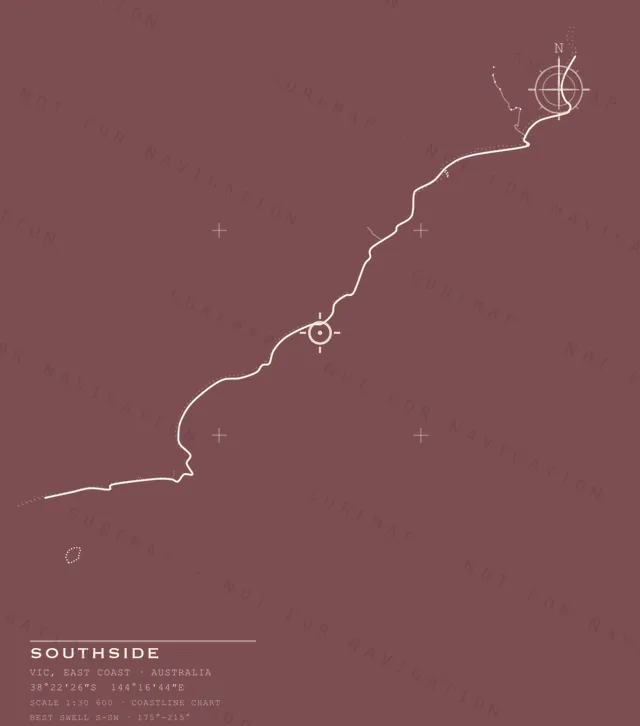
Southside
VIC · East Coast · Australia
$39.00
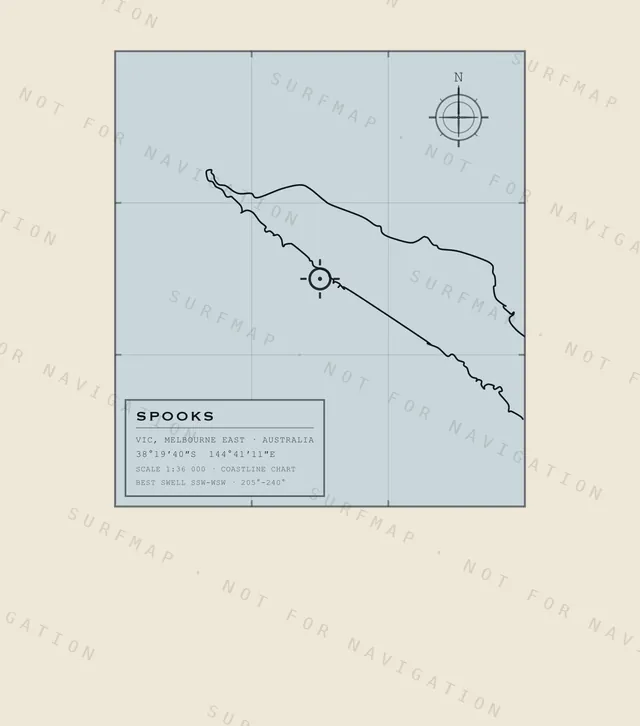
Spooks
VIC · Melbourne East · Australia
$39.00
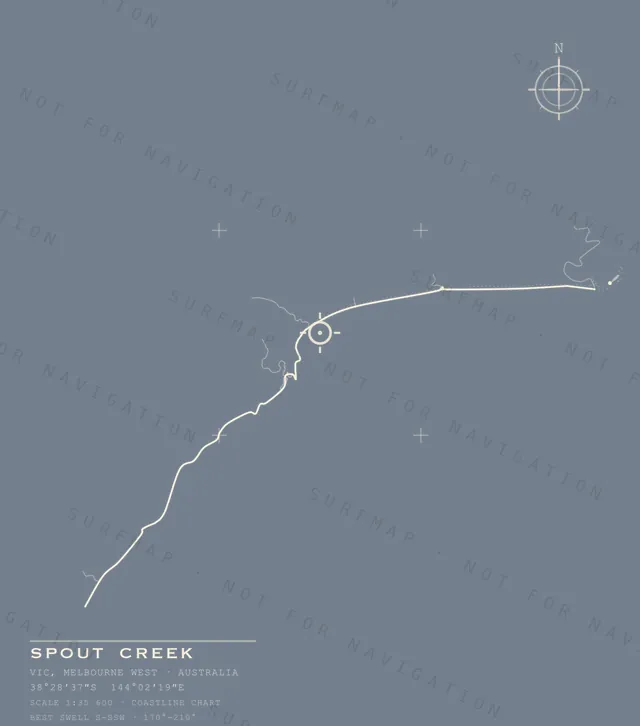
Spout Creek
VIC · Melbourne West · Australia
$39.00
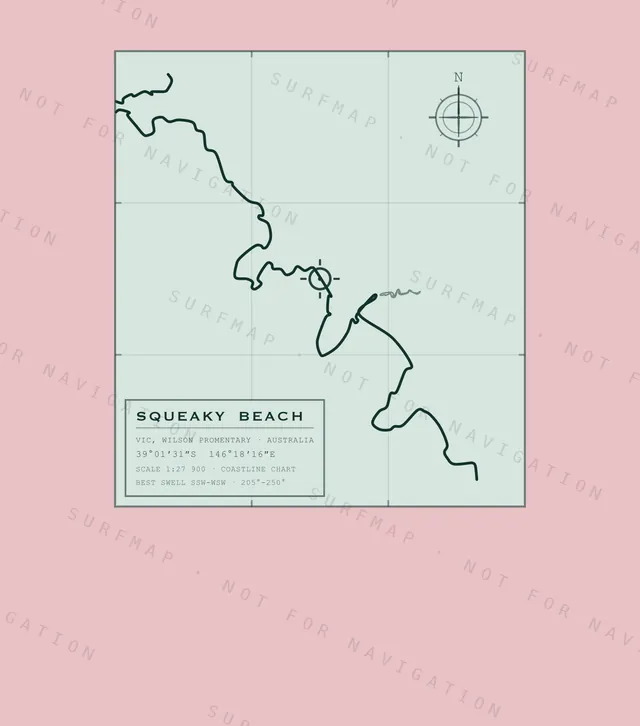
Squeaky Beach
VIC · Wilsons Promontory · Australia
$39.00
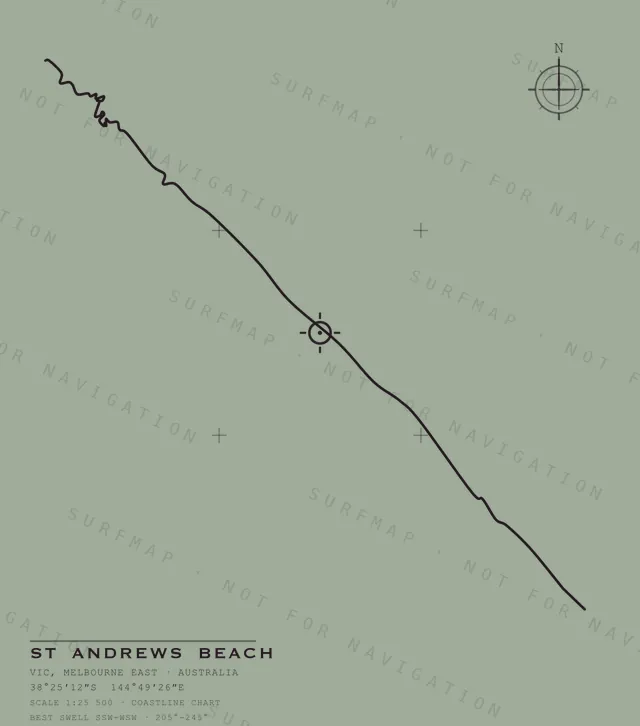
St Andrews Beach
VIC · Melbourne East · Australia
$39.00
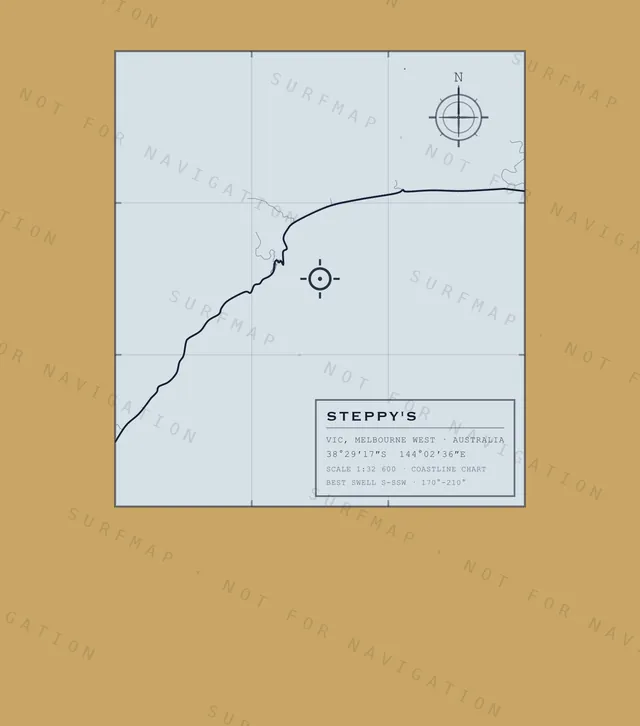
Steppy's
VIC · Melbourne West · Australia
$39.00
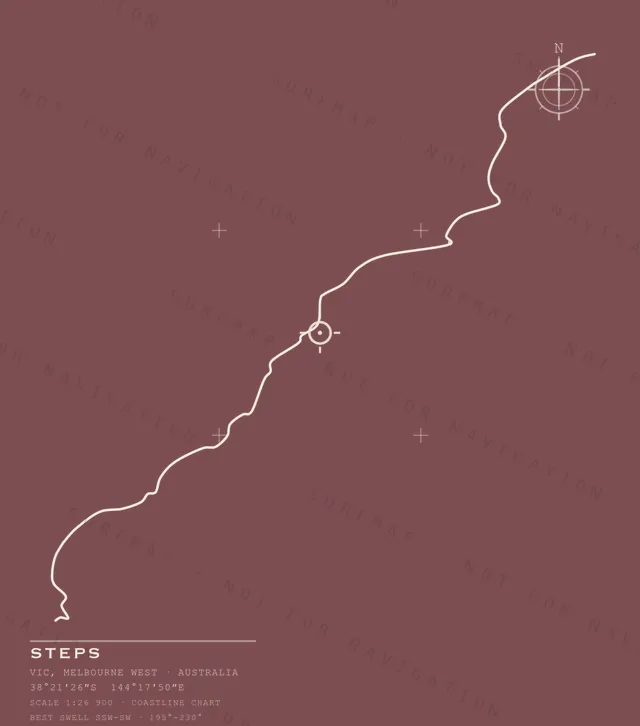
Steps
VIC · Melbourne West · Australia
$39.00
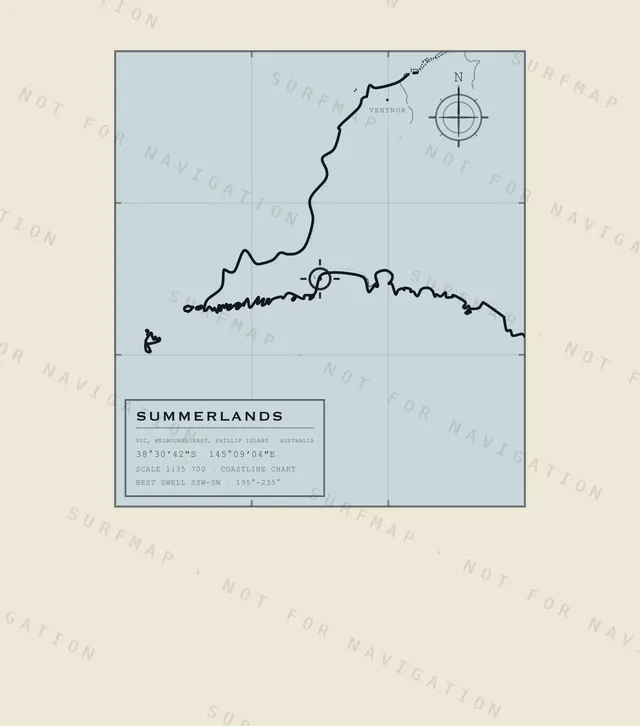
Summerlands
VIC · Melbourne East · Phillip Island · Australia
$39.00
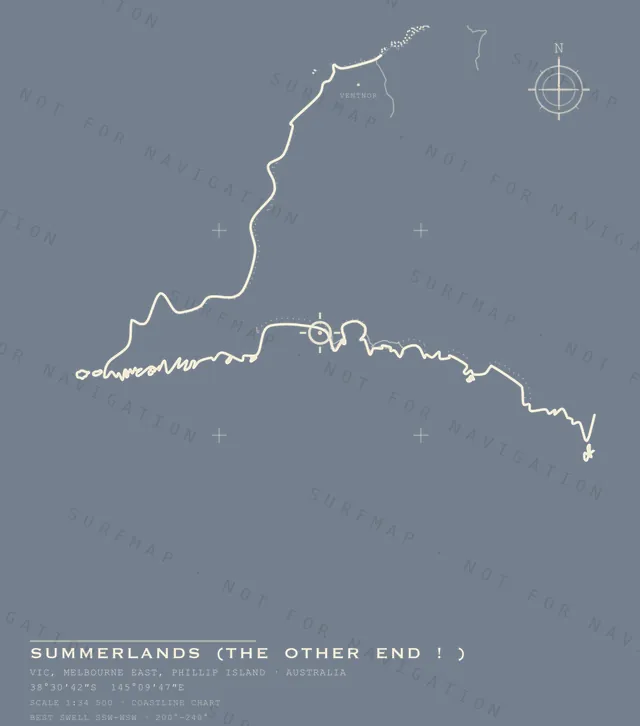
Summerlands (the Other End ! )
VIC · Melbourne East · Phillip Island · Australia
$39.00
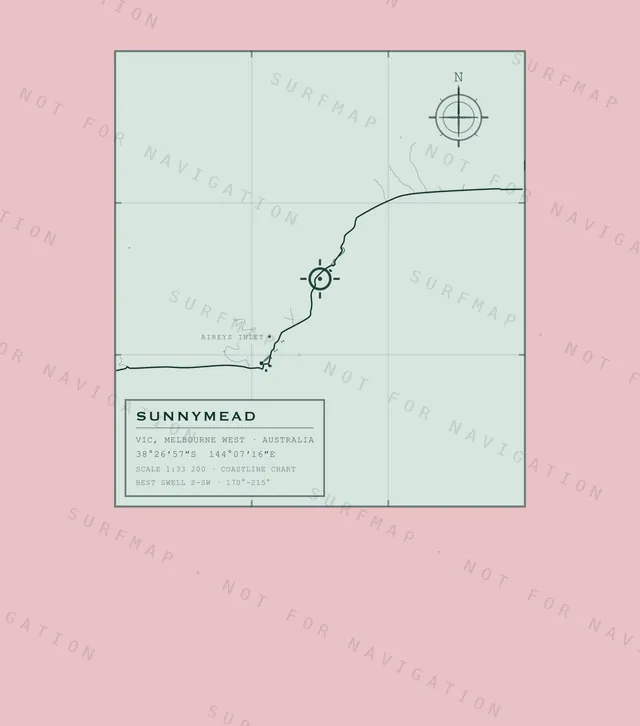
Sunnymead
VIC · Melbourne West · Australia
$39.00
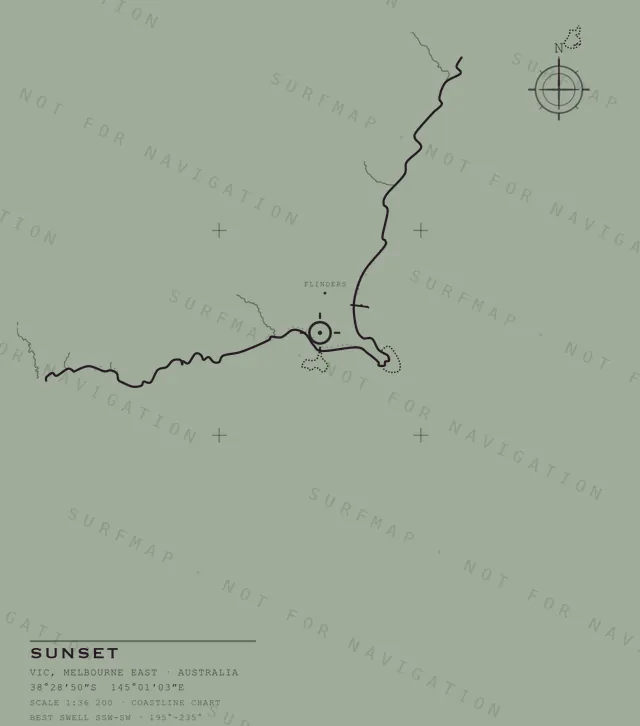
Sunset
VIC · Melbourne East · Australia
$39.00
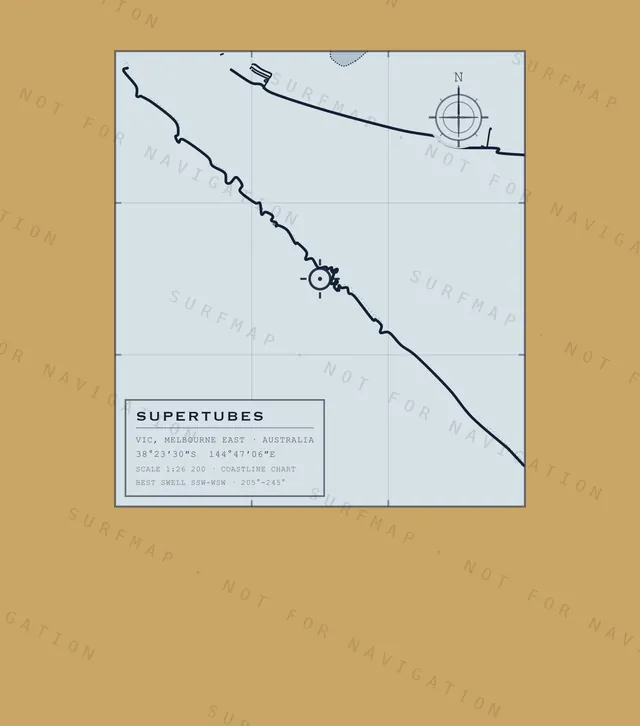
Supertubes
VIC · Melbourne East · Australia
$39.00
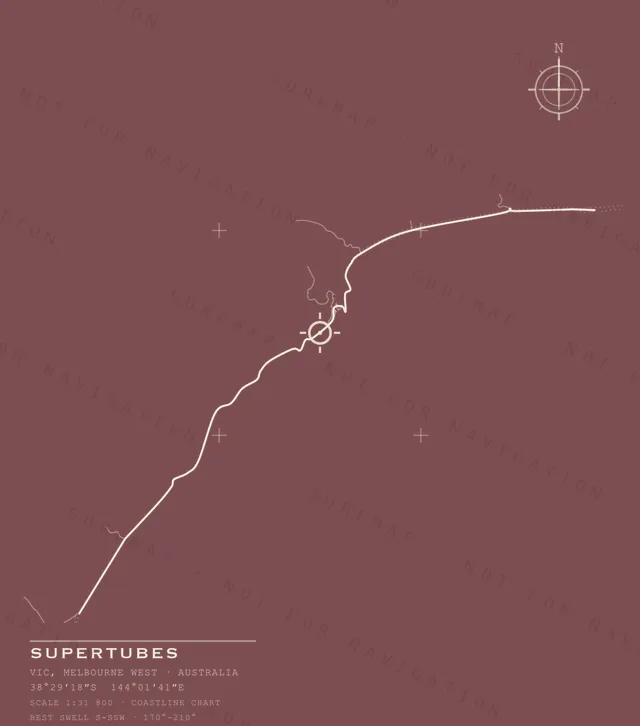
Supertubes
VIC · Melbourne West · Australia
$39.00
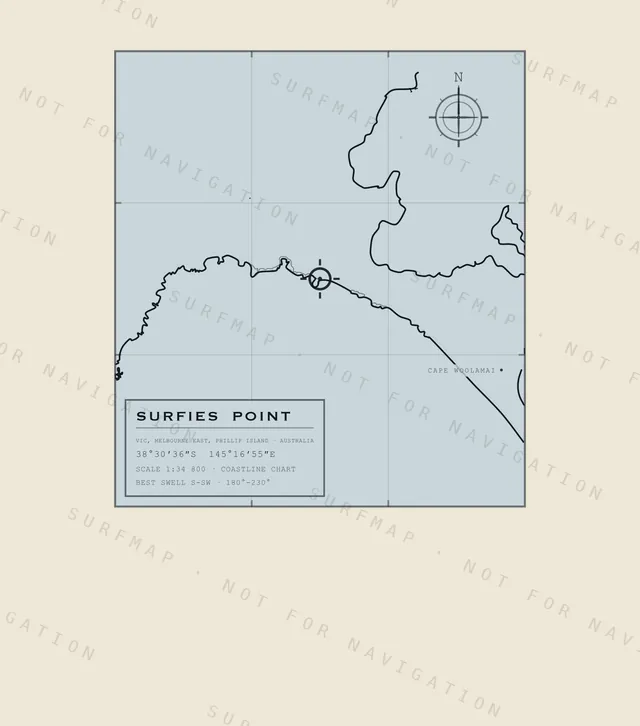
Surfies Point
VIC · Melbourne East · Phillip Island · Australia
$39.00
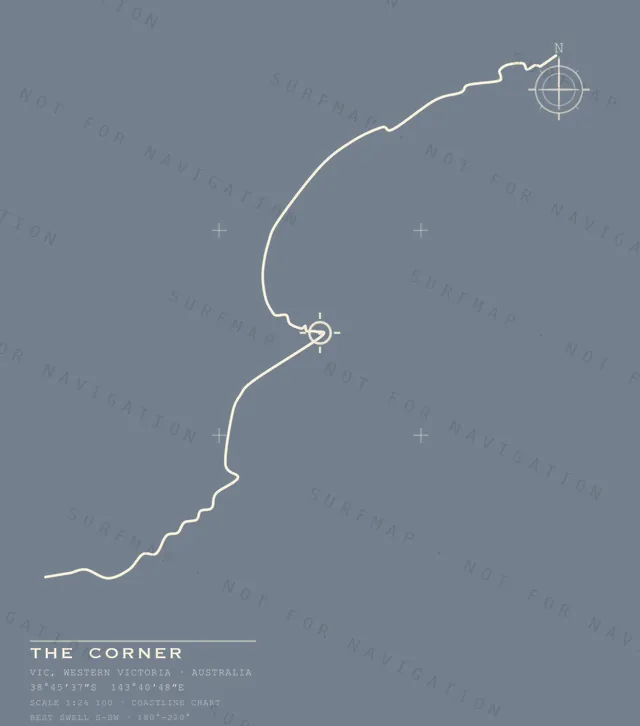
The Corner
VIC · Western Victoria · Australia
$39.00
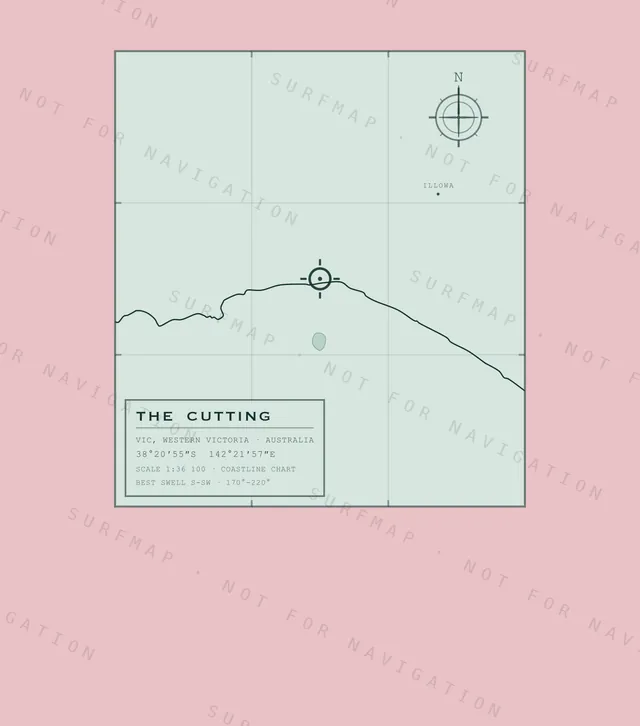
The Cutting
VIC · Western Victoria · Australia
$39.00
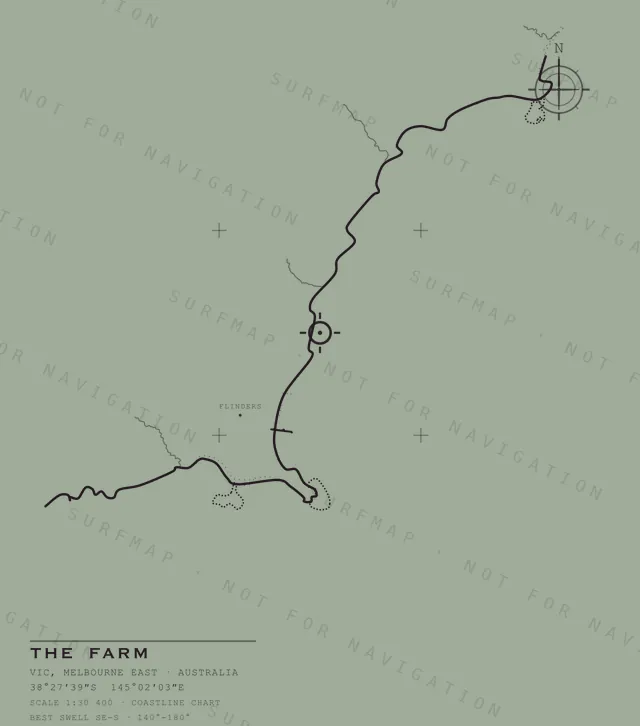
The Farm
VIC · Melbourne East · Australia
$39.00
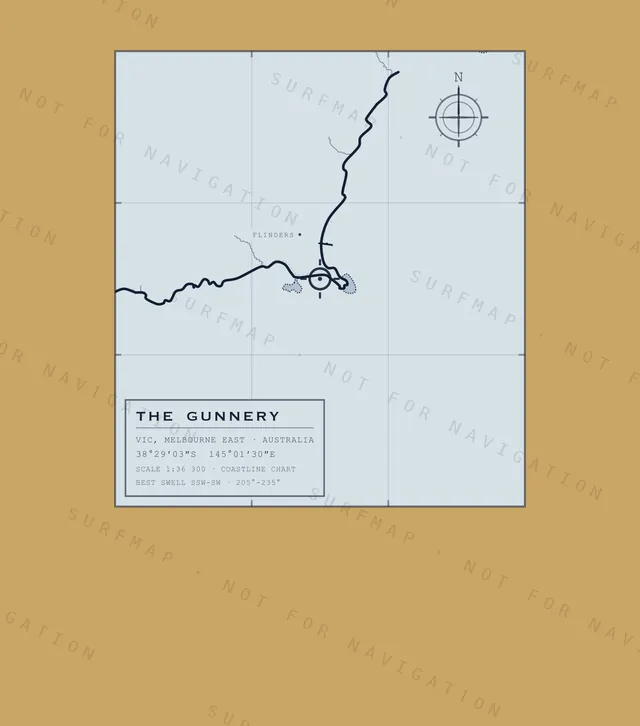
The Gunnery
VIC · Melbourne East · Australia
$39.00
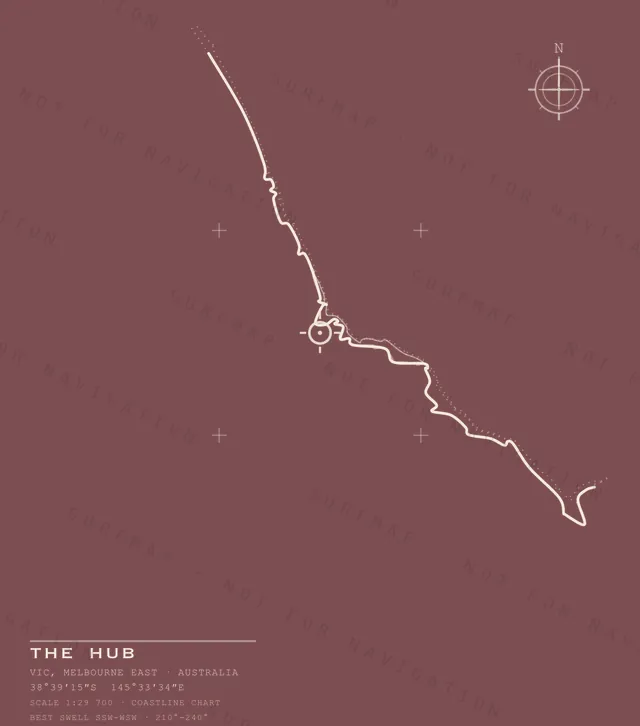
The Hub
VIC · Melbourne East · Australia
$39.00
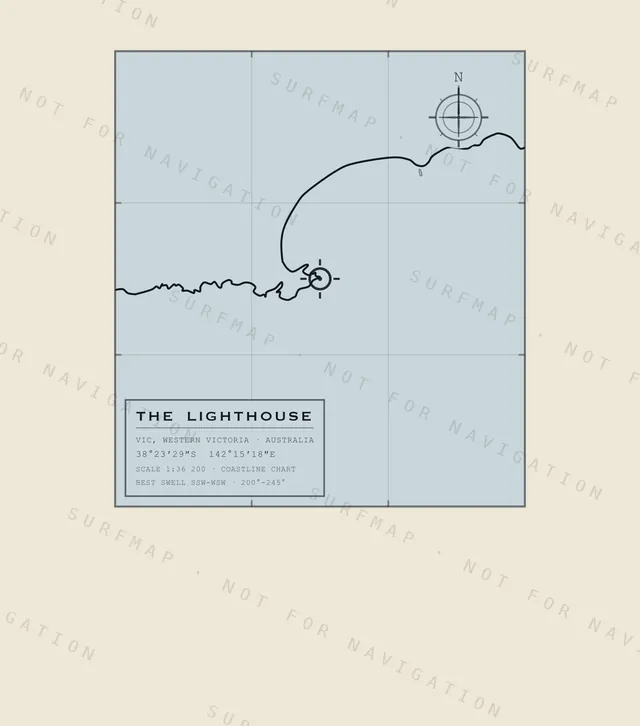
The Lighthouse
VIC · Western Victoria · Australia
$39.00
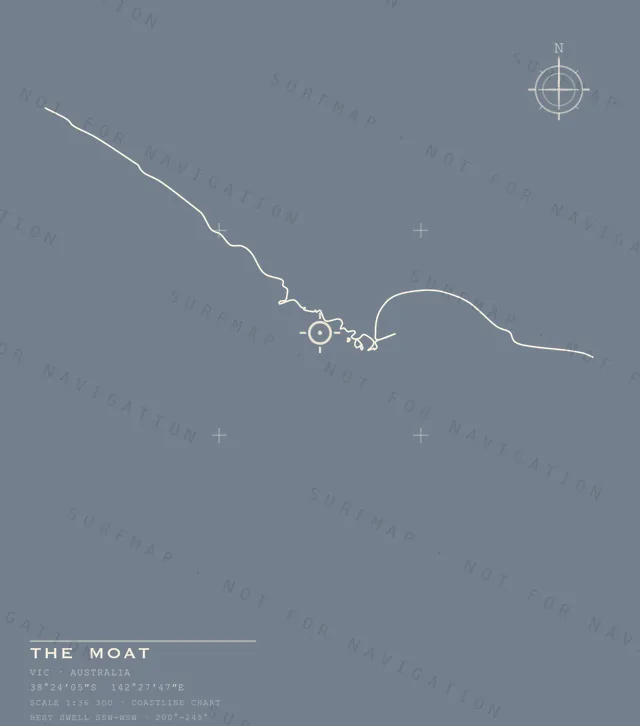
The Moat
VIC · Australia
$39.00
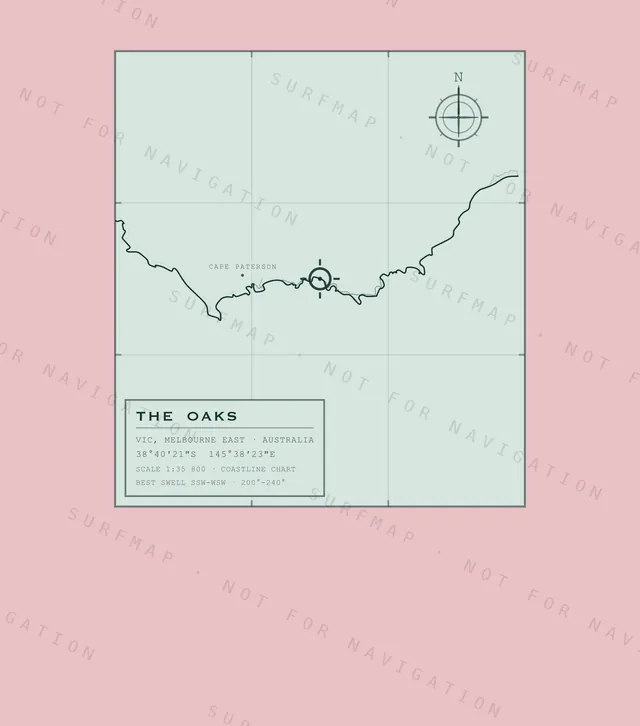
The Oaks
VIC · Melbourne East · Australia
$39.00
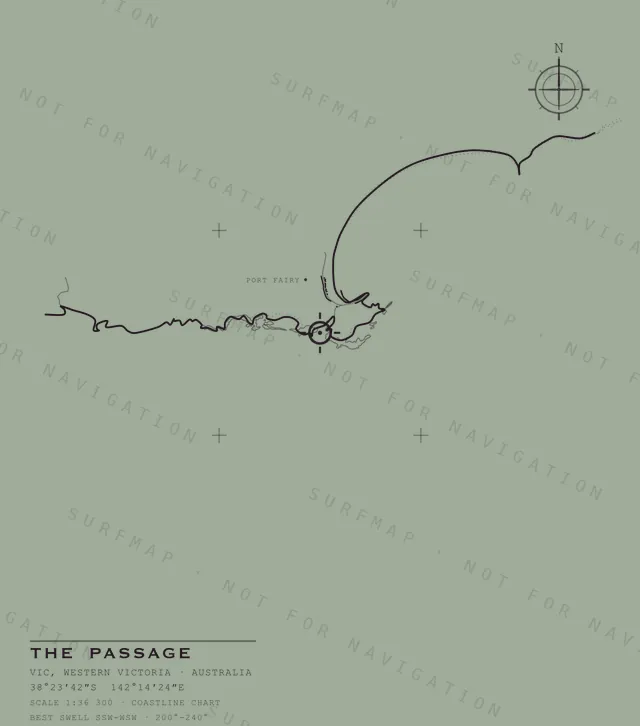
The Passage
VIC · Western Victoria · Australia
$39.00
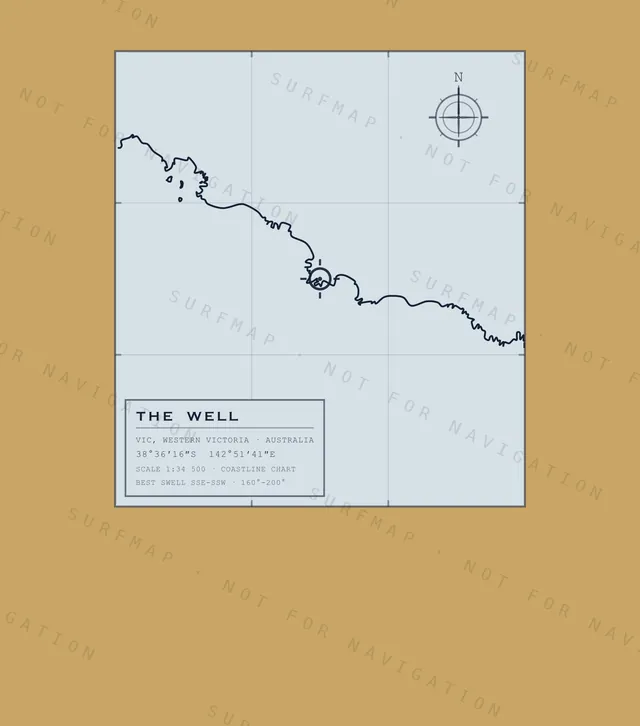
The Well
VIC · Western Victoria · Australia
$39.00
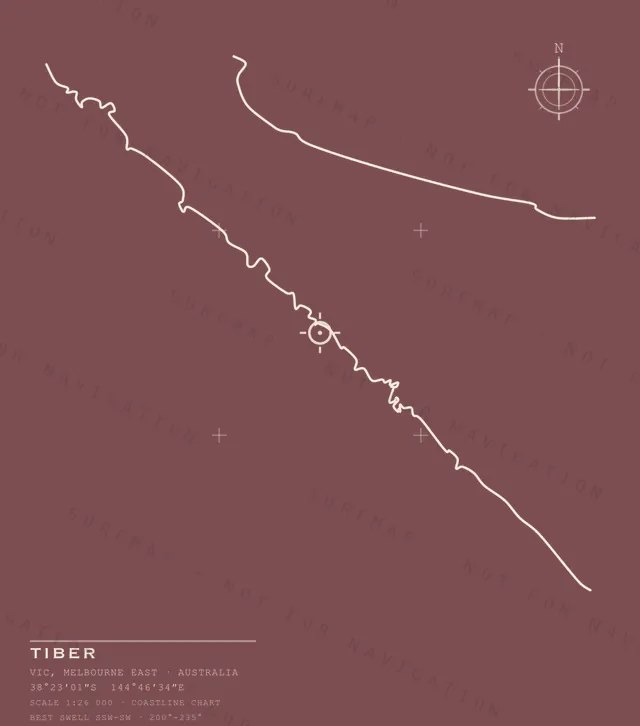
Tiber
VIC · Melbourne East · Australia
$39.00
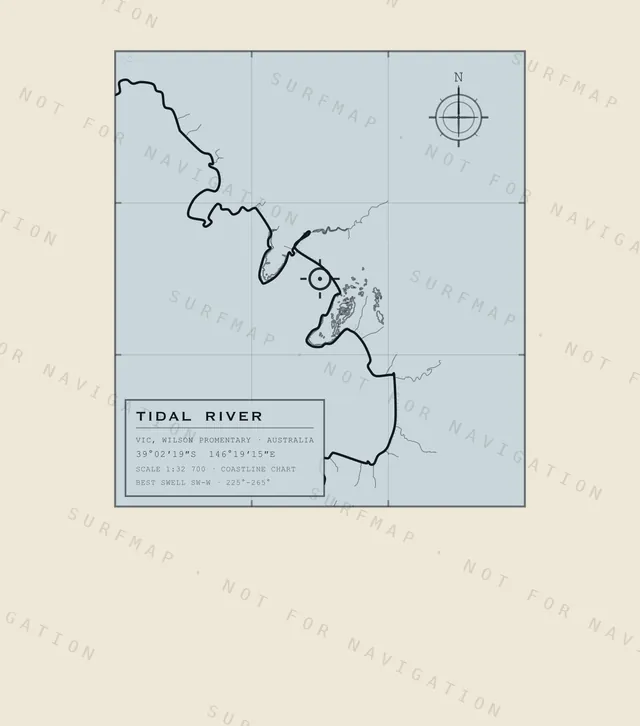
Tidal River
VIC · Wilsons Promontory · Australia
$39.00
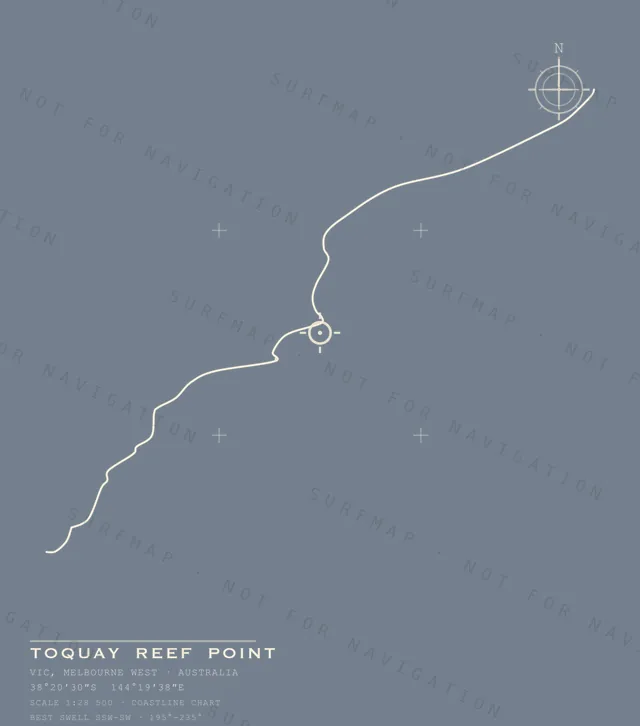
Toquay Reef Point
VIC · Melbourne West · Australia
$39.00
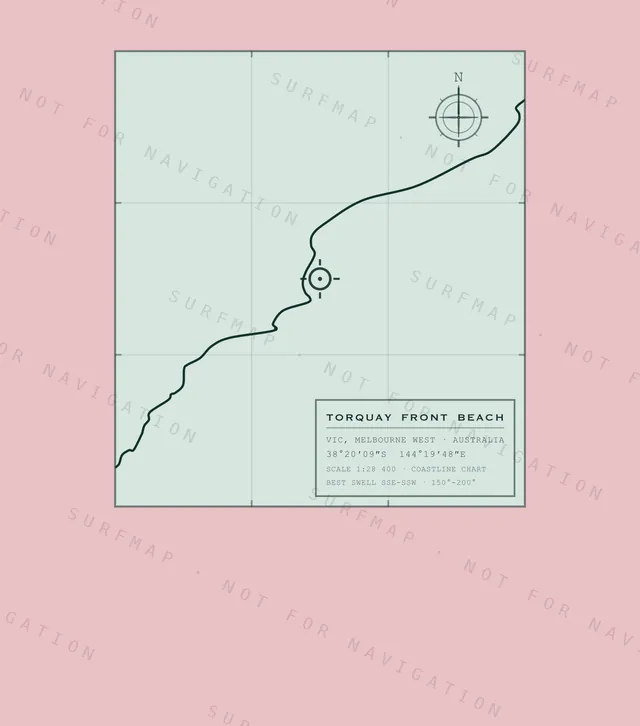
Torquay Front Beach
VIC · Melbourne West · Australia
$39.00
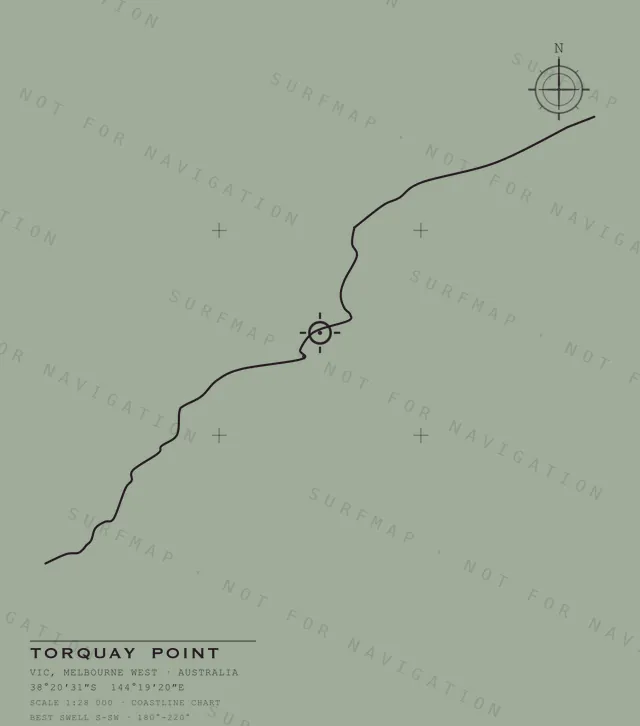
Torquay Point
VIC · Melbourne West · Australia
$39.00
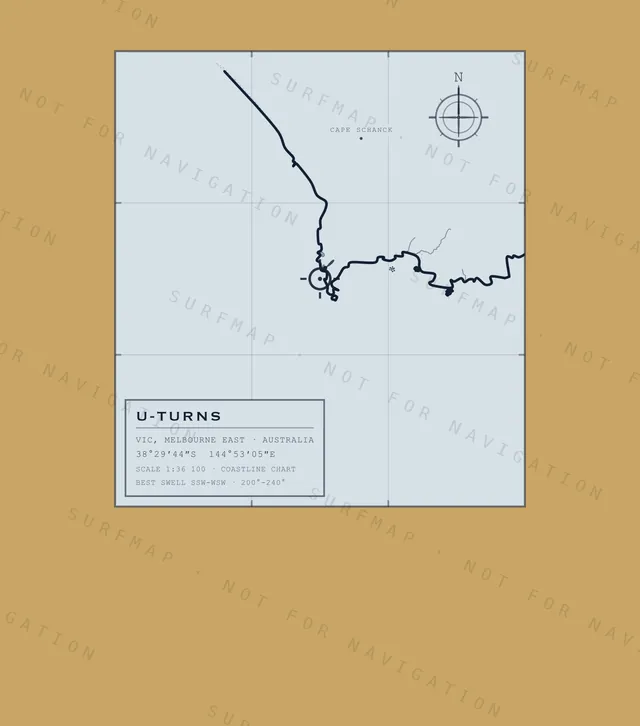
U-Turns
VIC · Melbourne East · Australia
$39.00
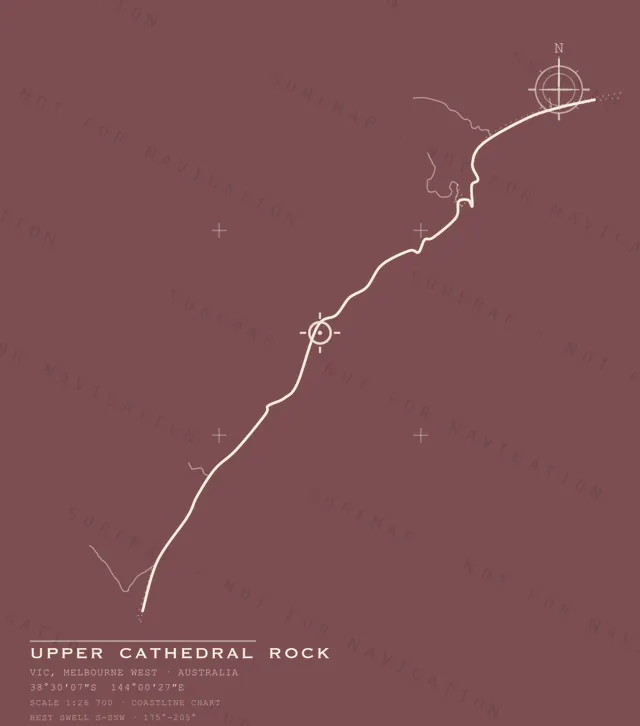
Upper Cathedral Rock
VIC · Melbourne West · Australia
$39.00
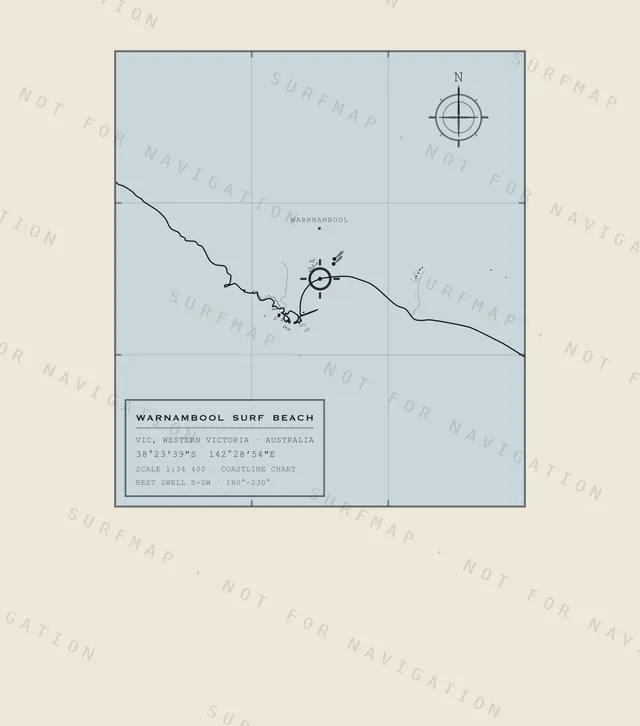
Warnambool Surf Beach
VIC · Western Victoria · Australia
$39.00
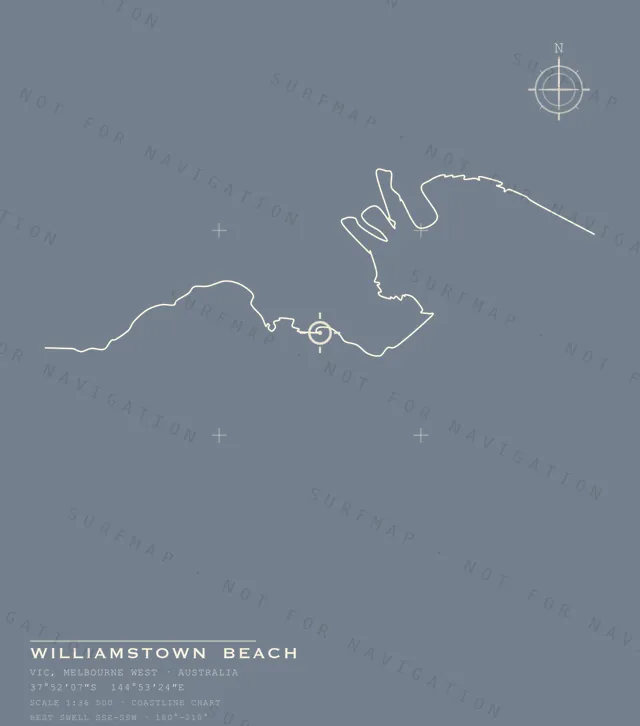
Williamstown Beach
VIC · Melbourne West · Australia
$39.00
Find your spot
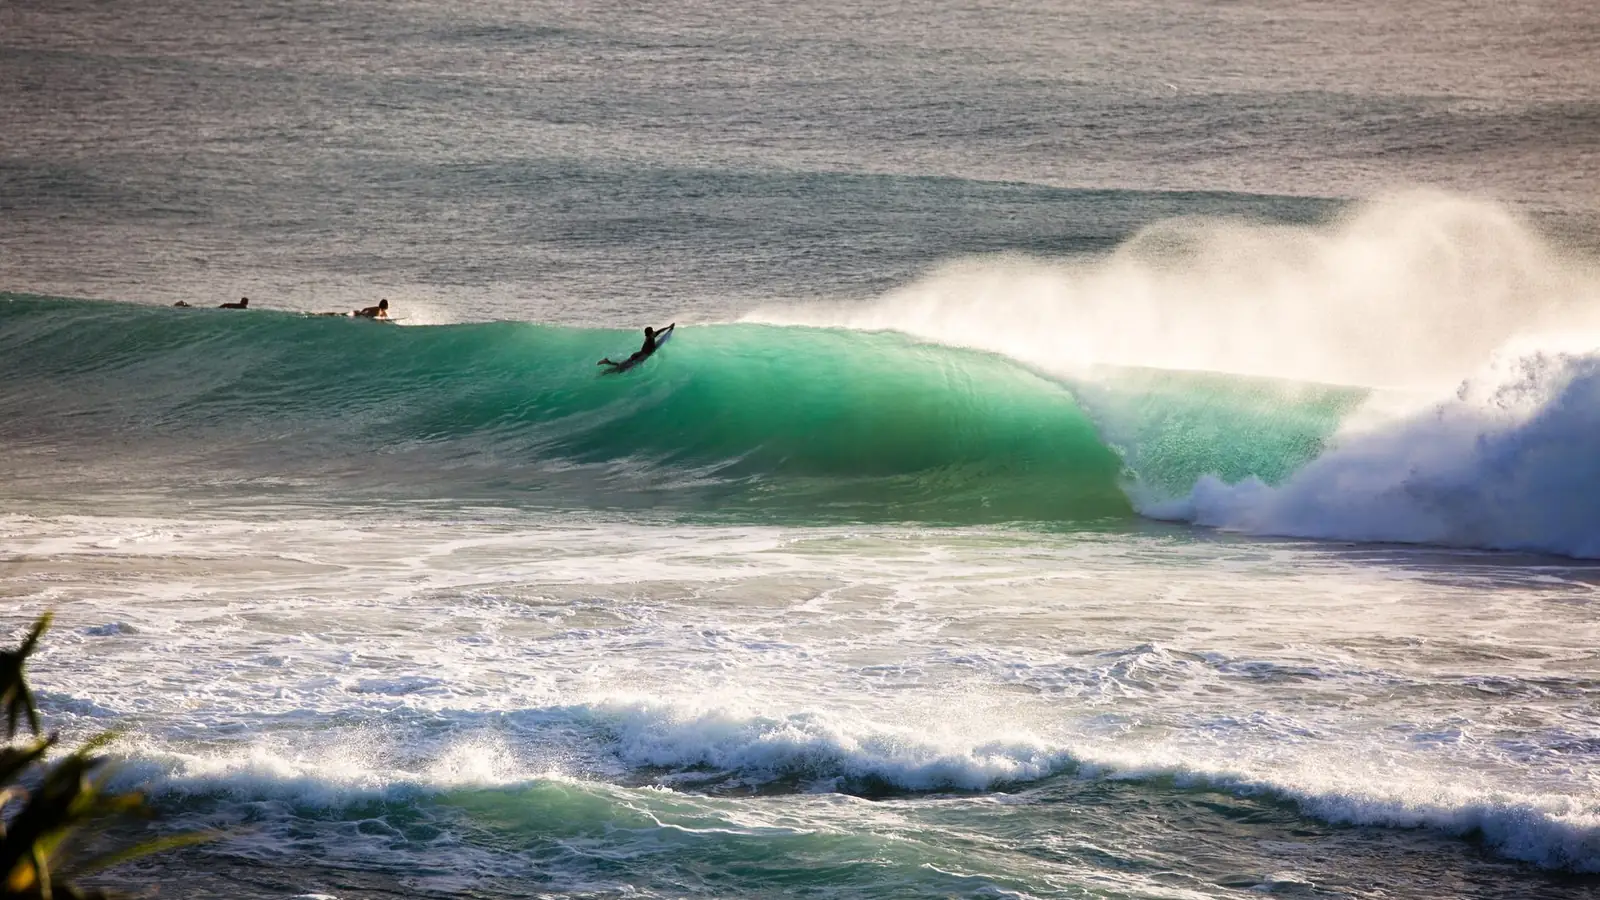
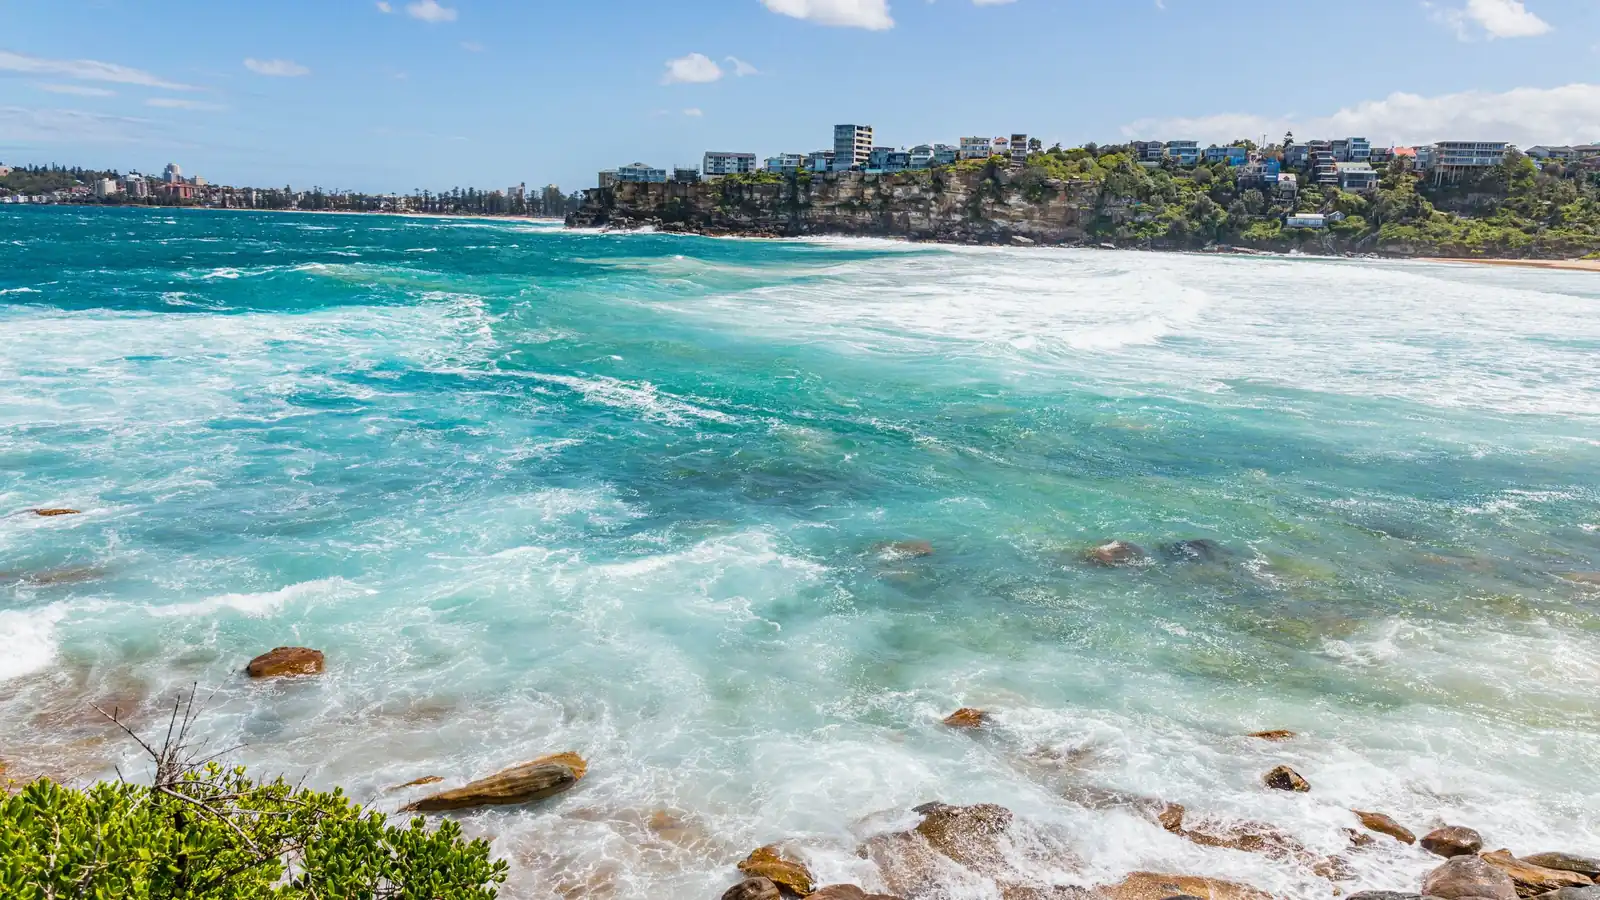
Every dot is a spot someone paddles out at, straight from the SurfMap database. Pick yours and its chart goes on your tee.